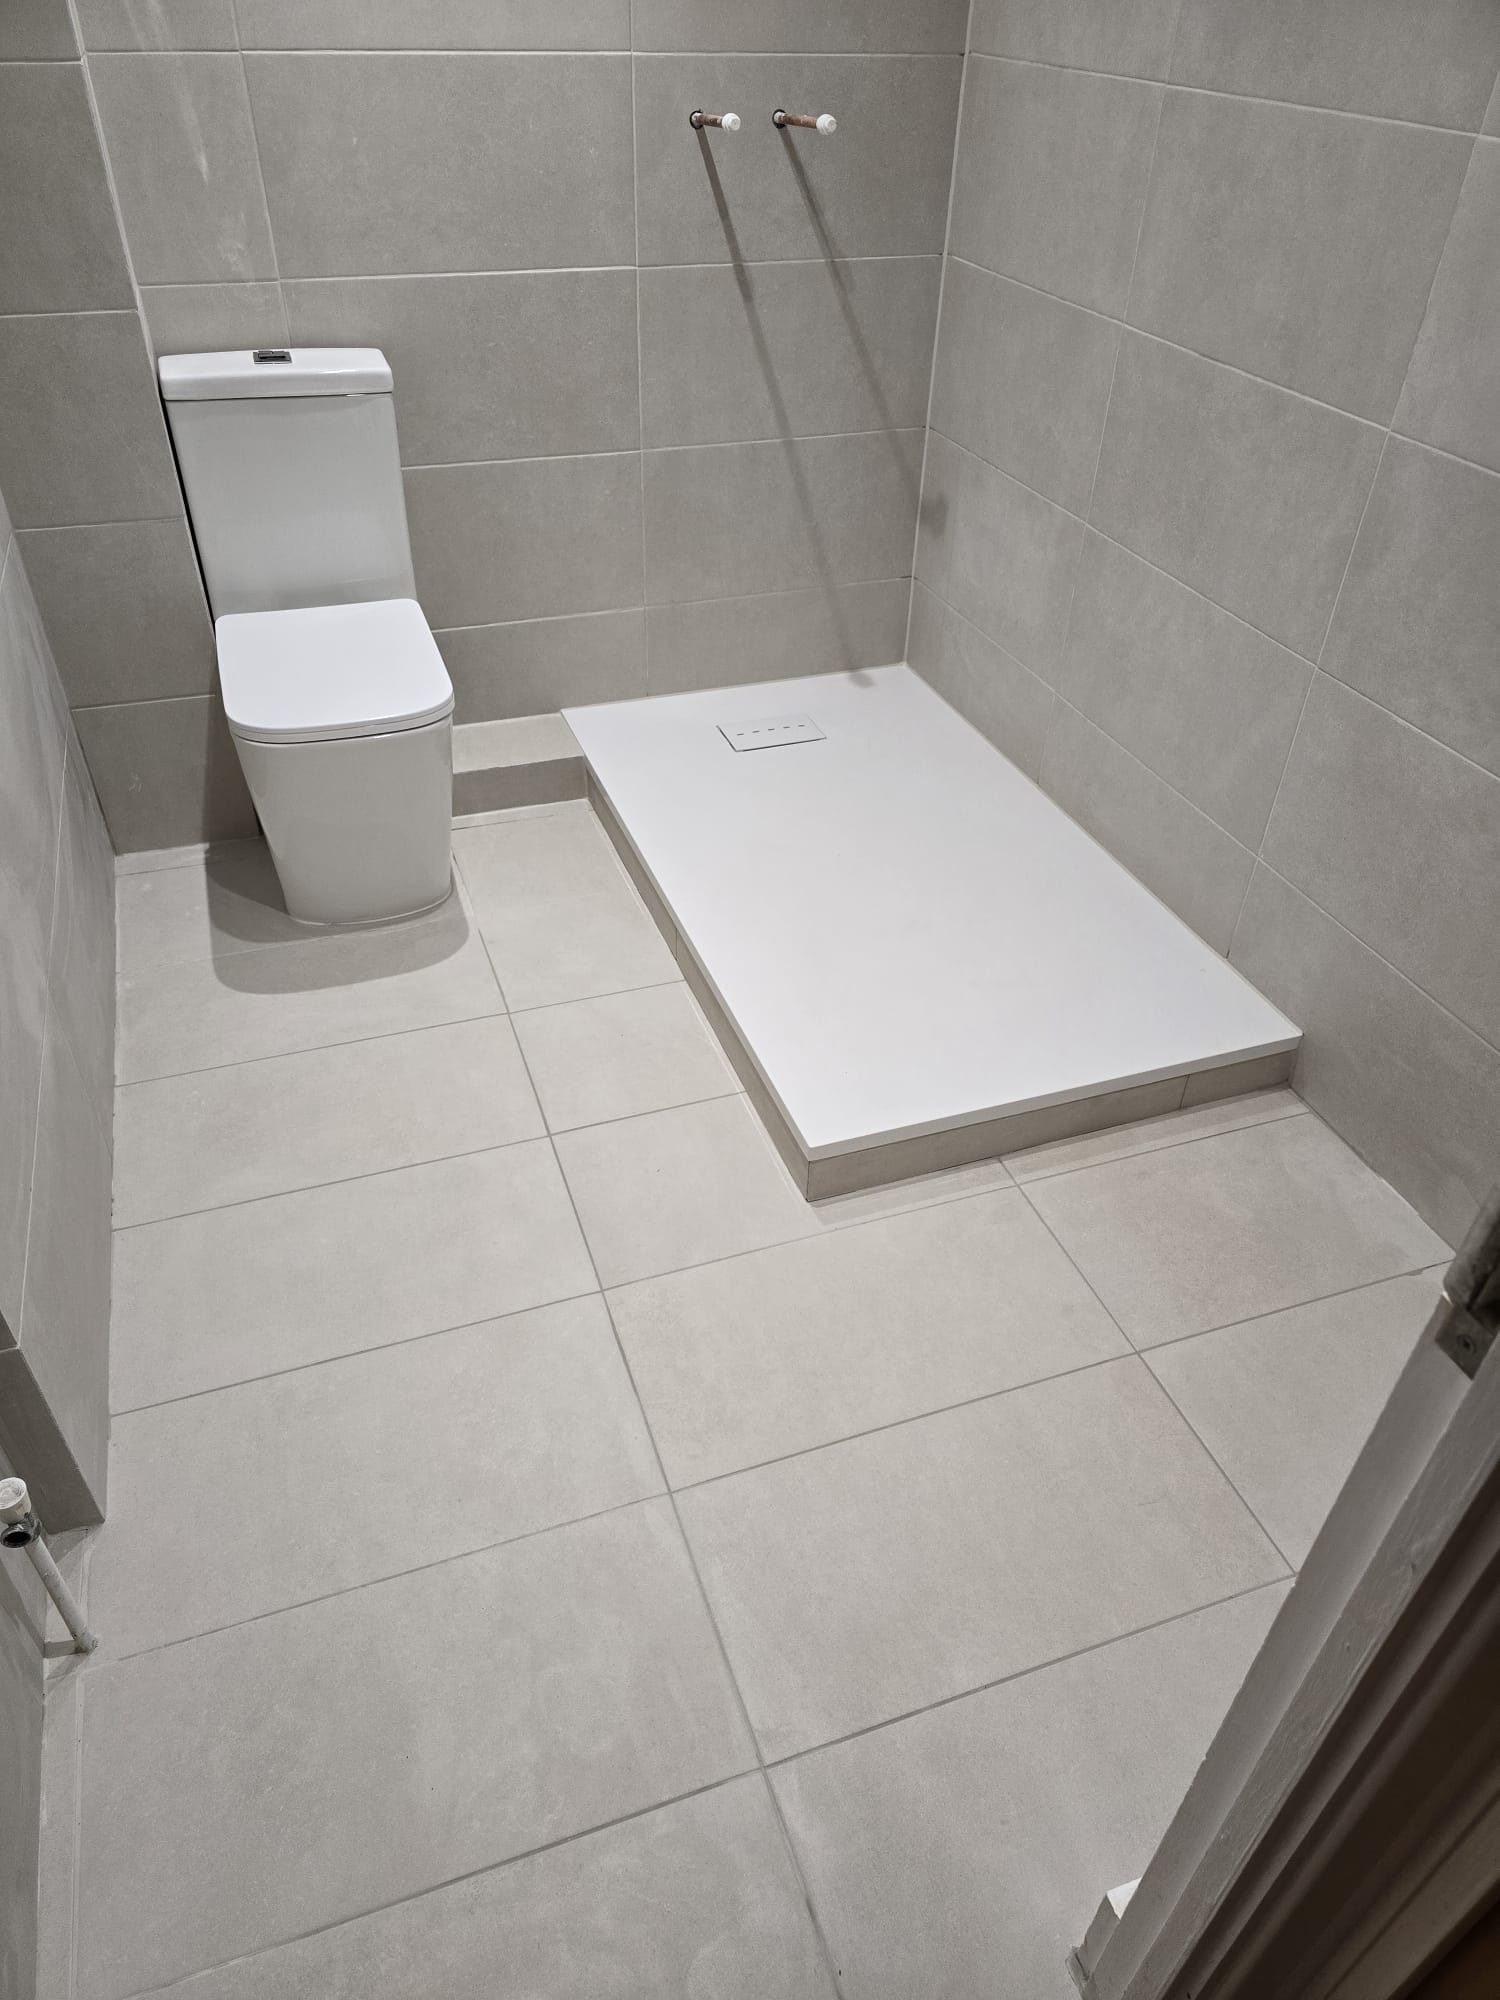
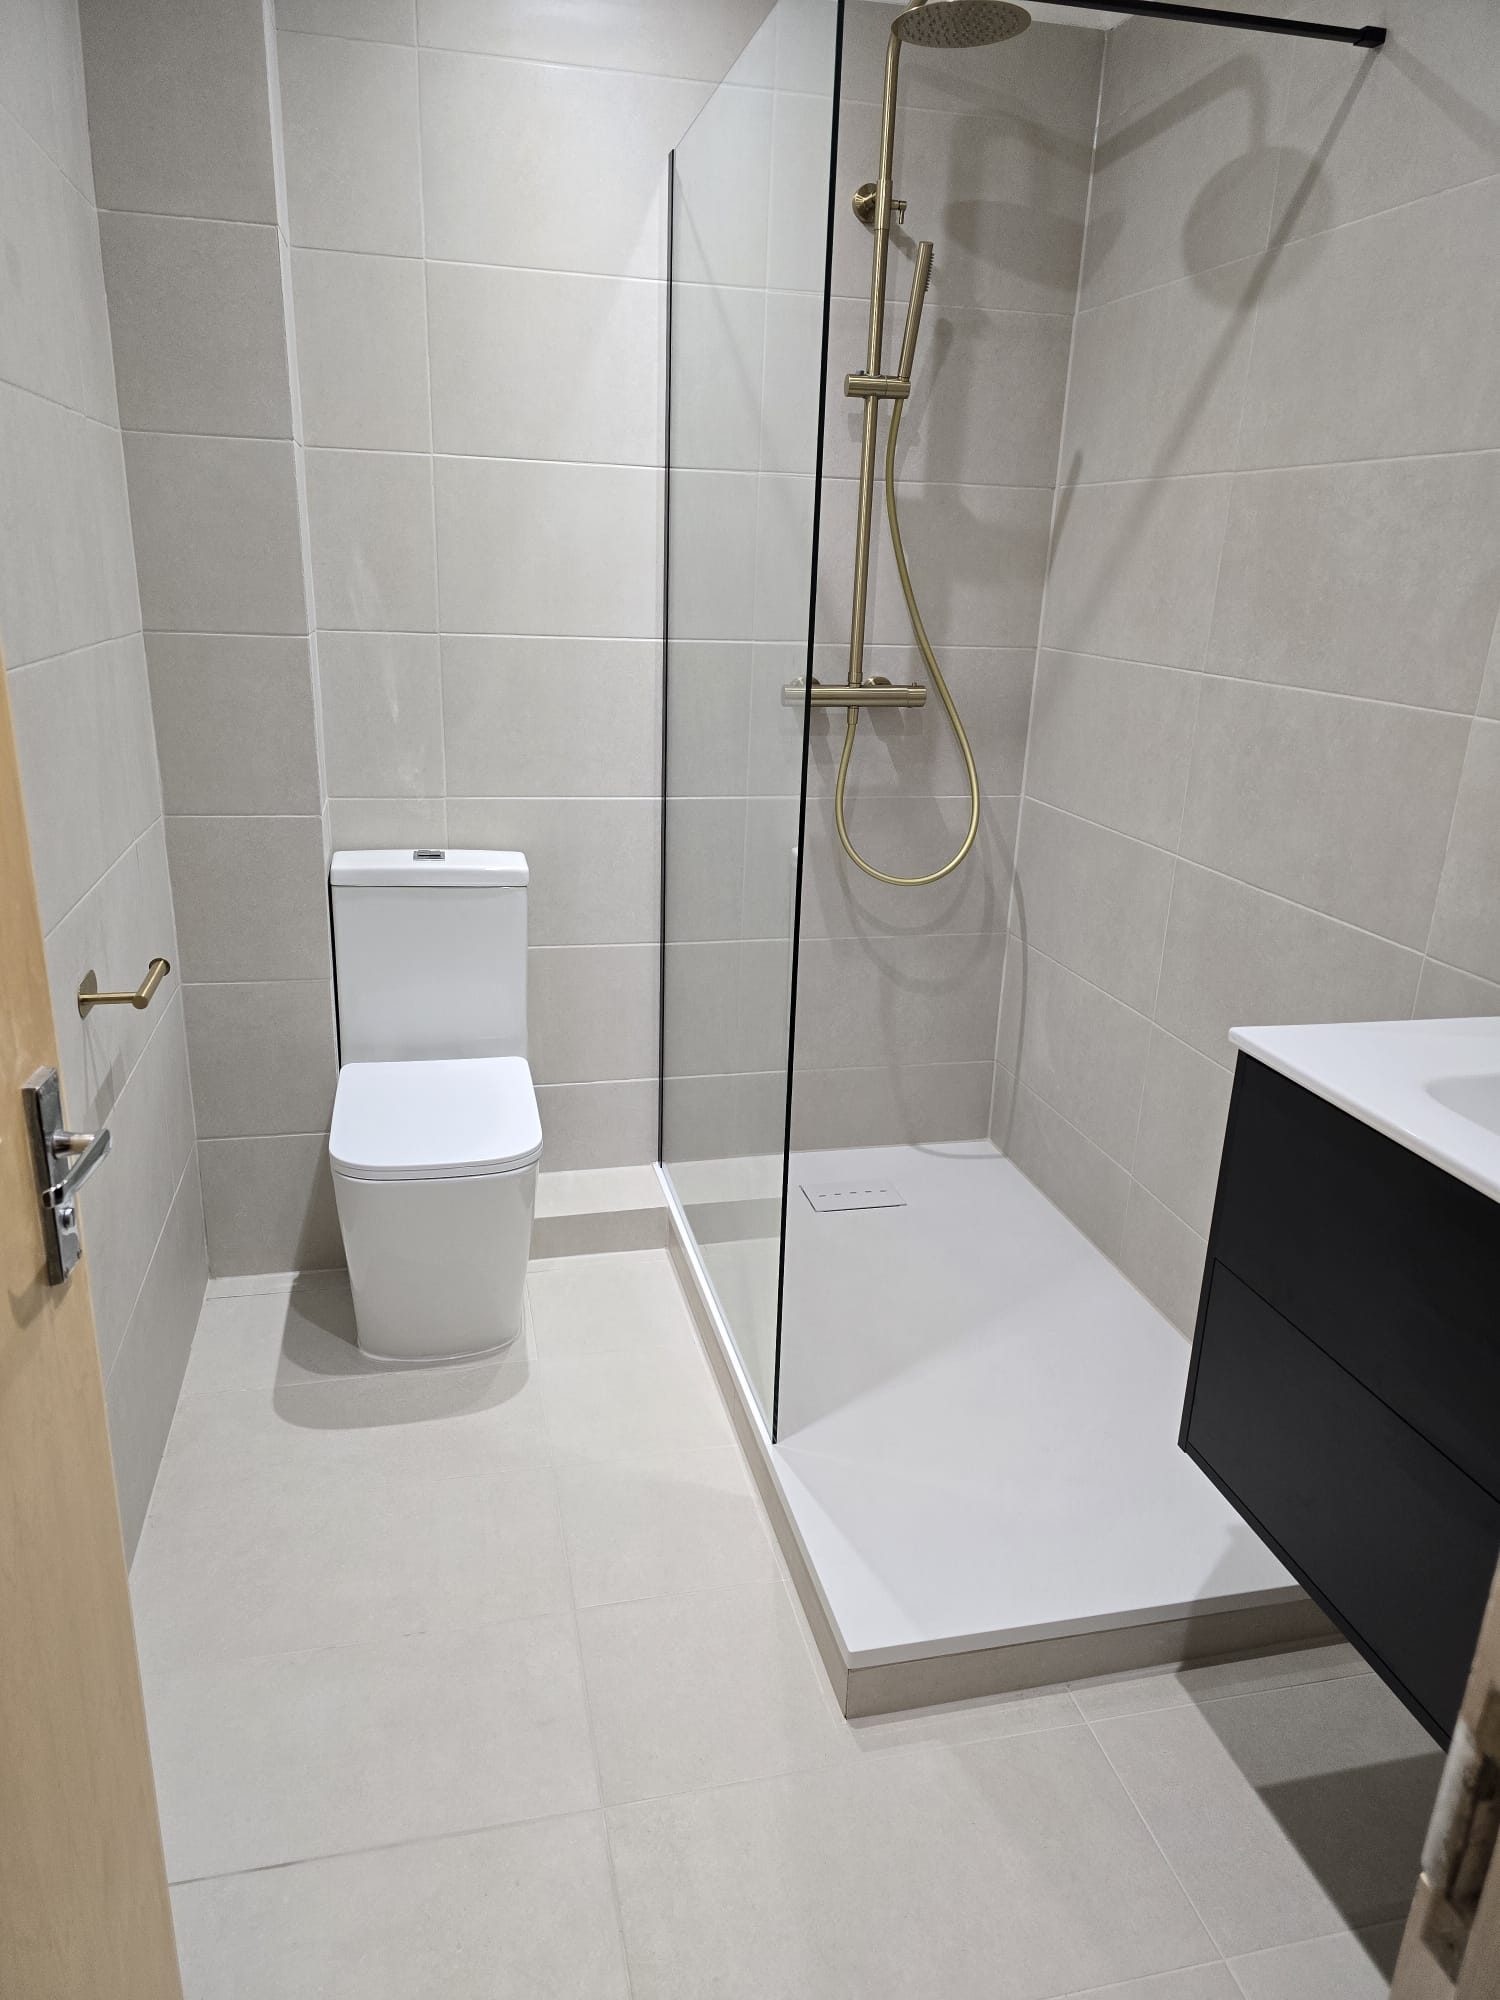
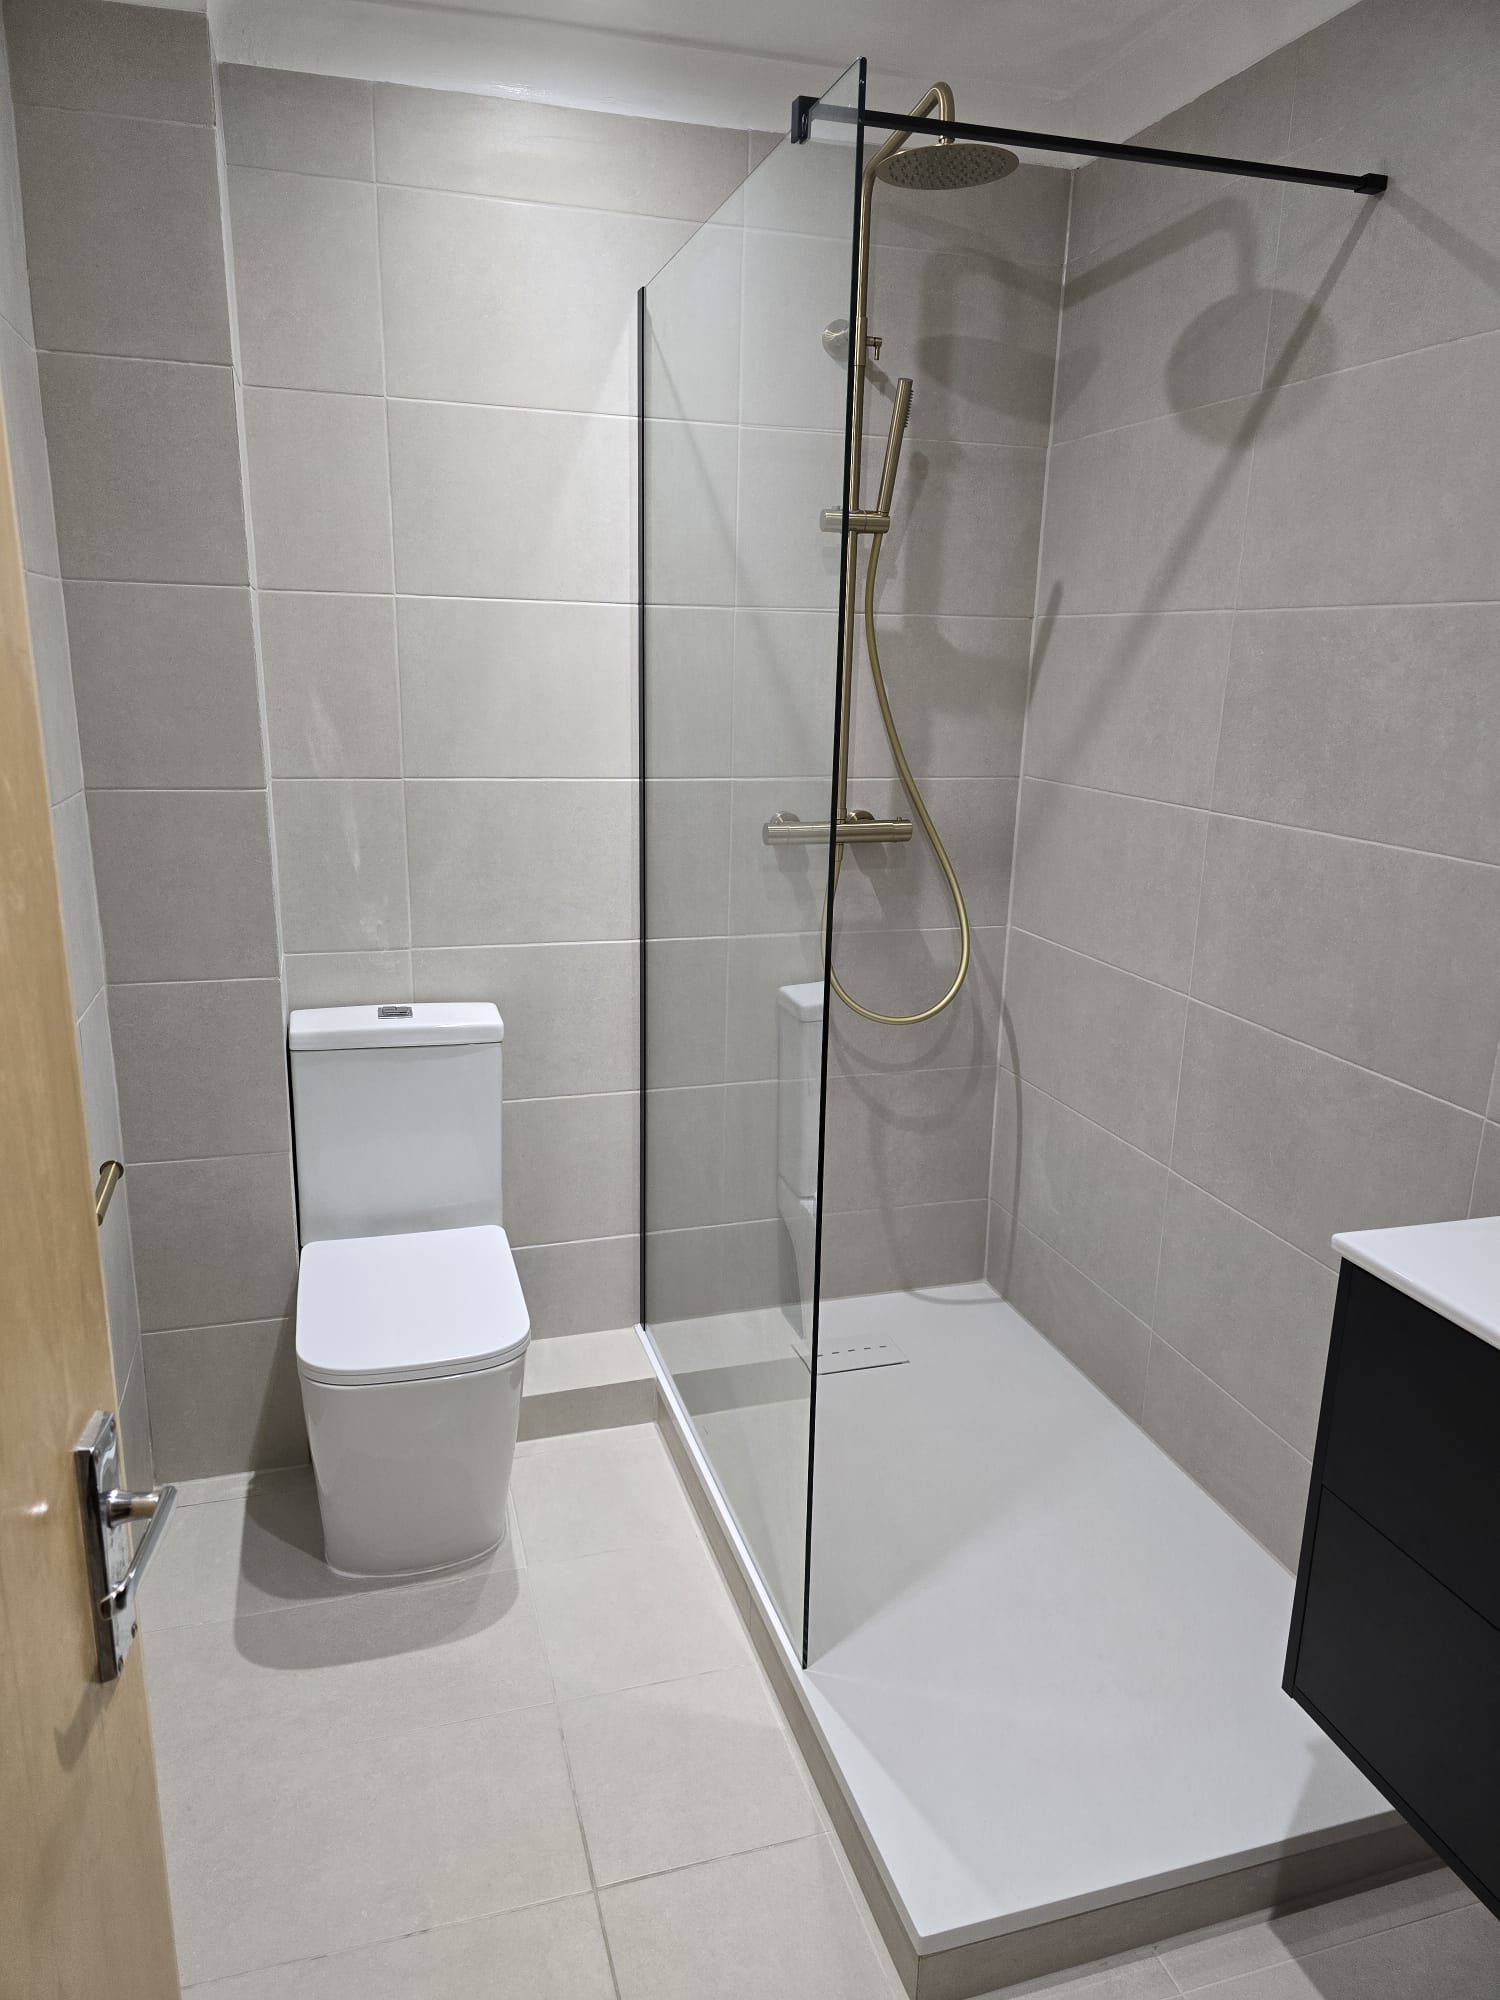
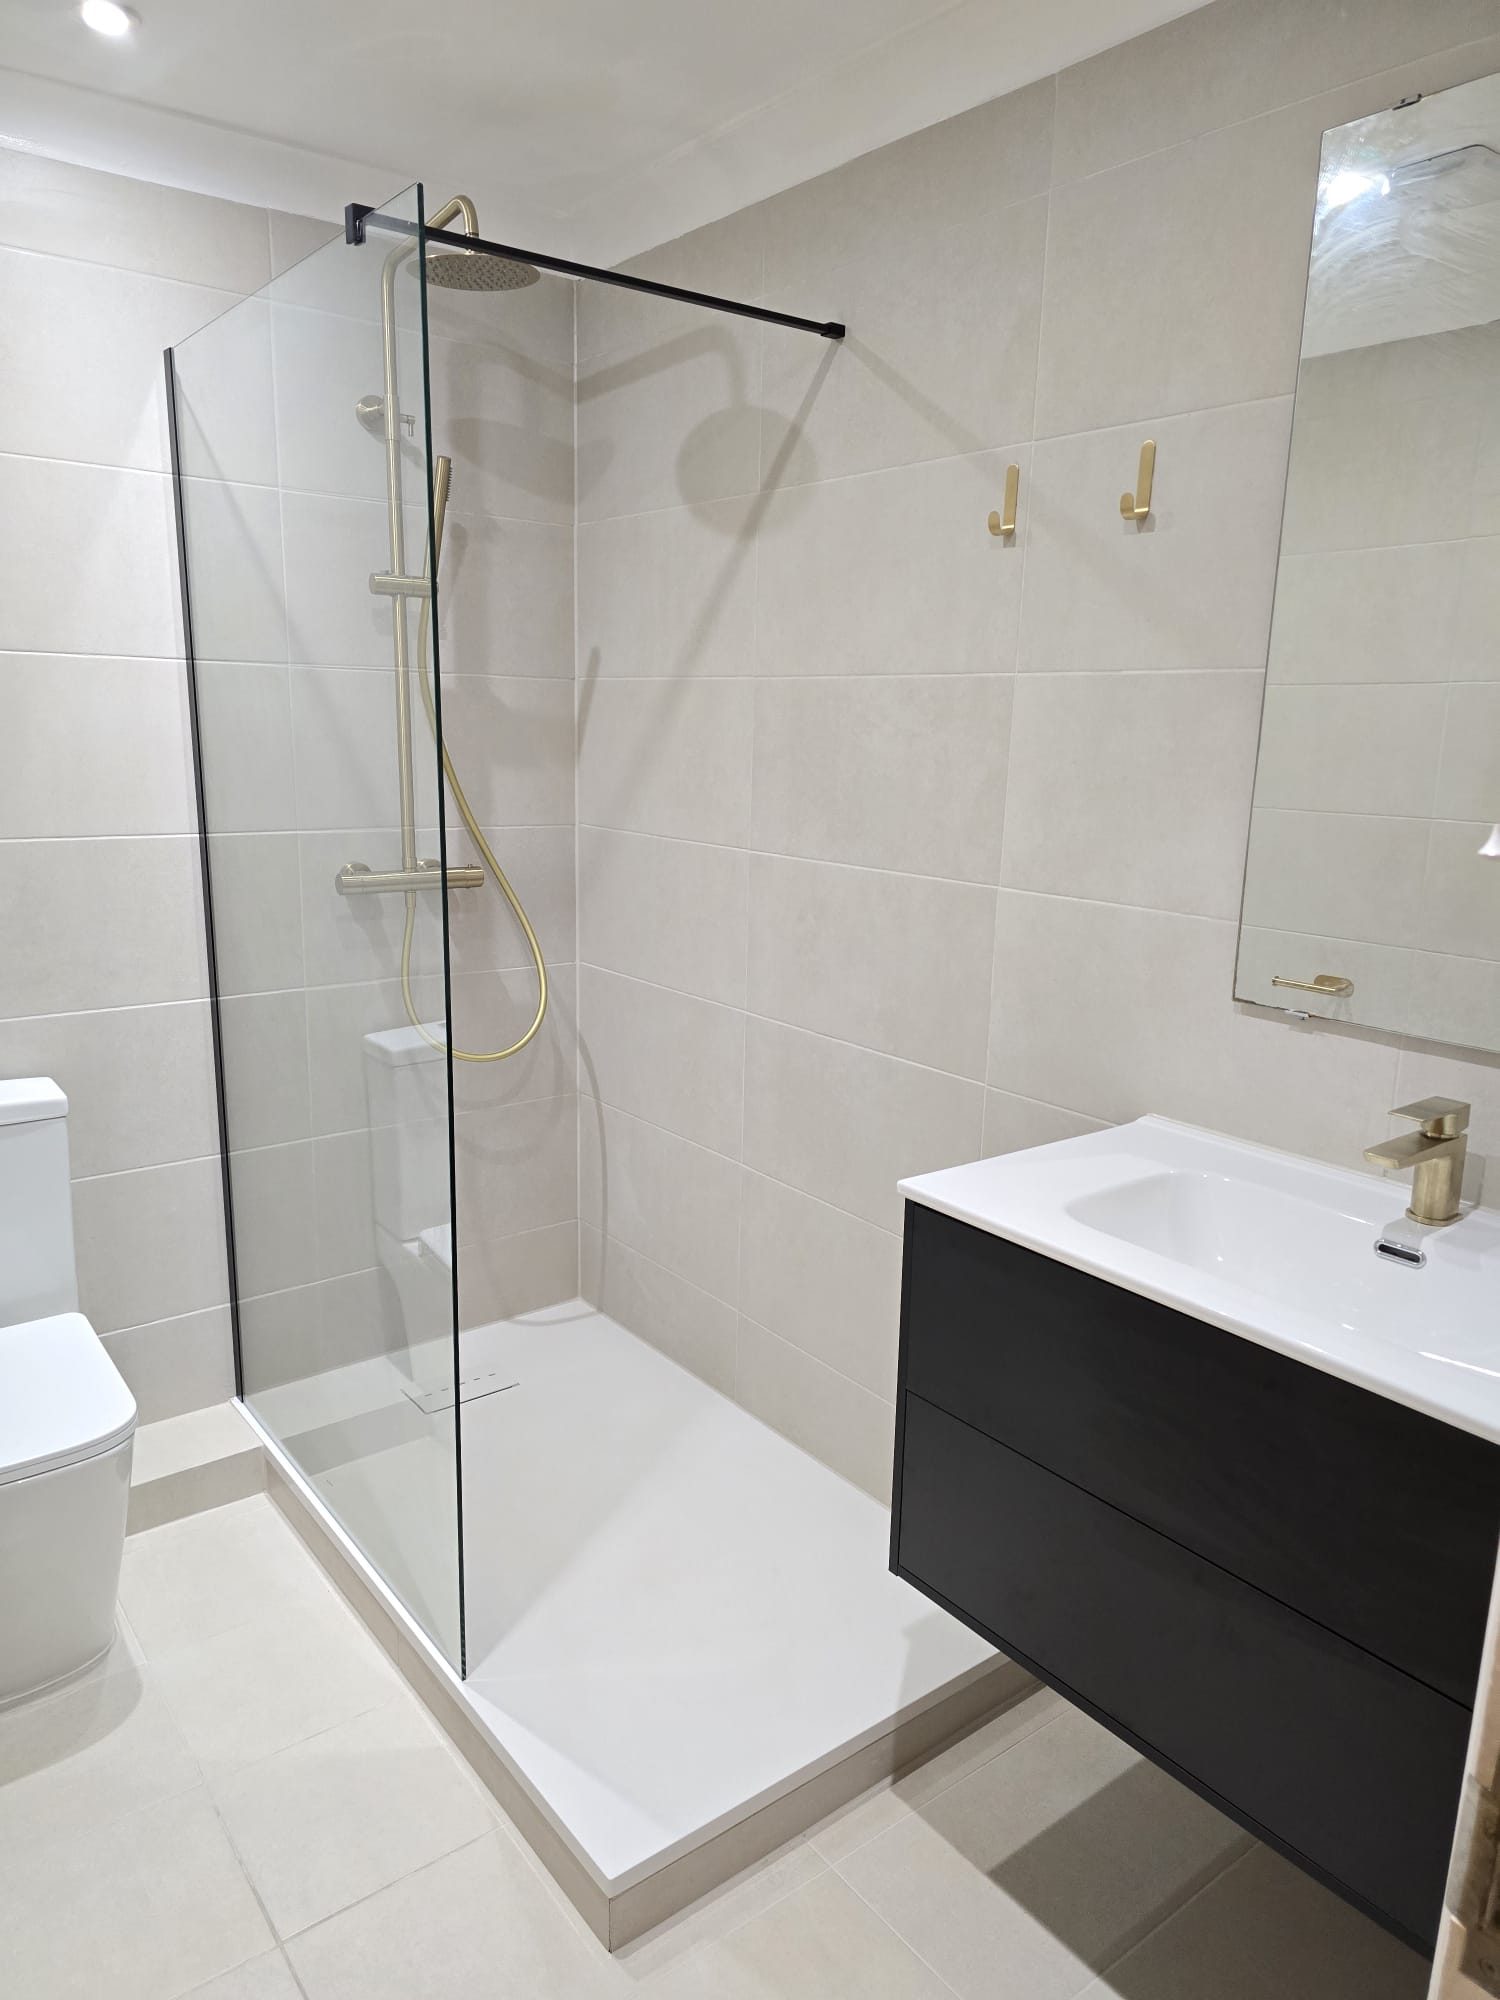
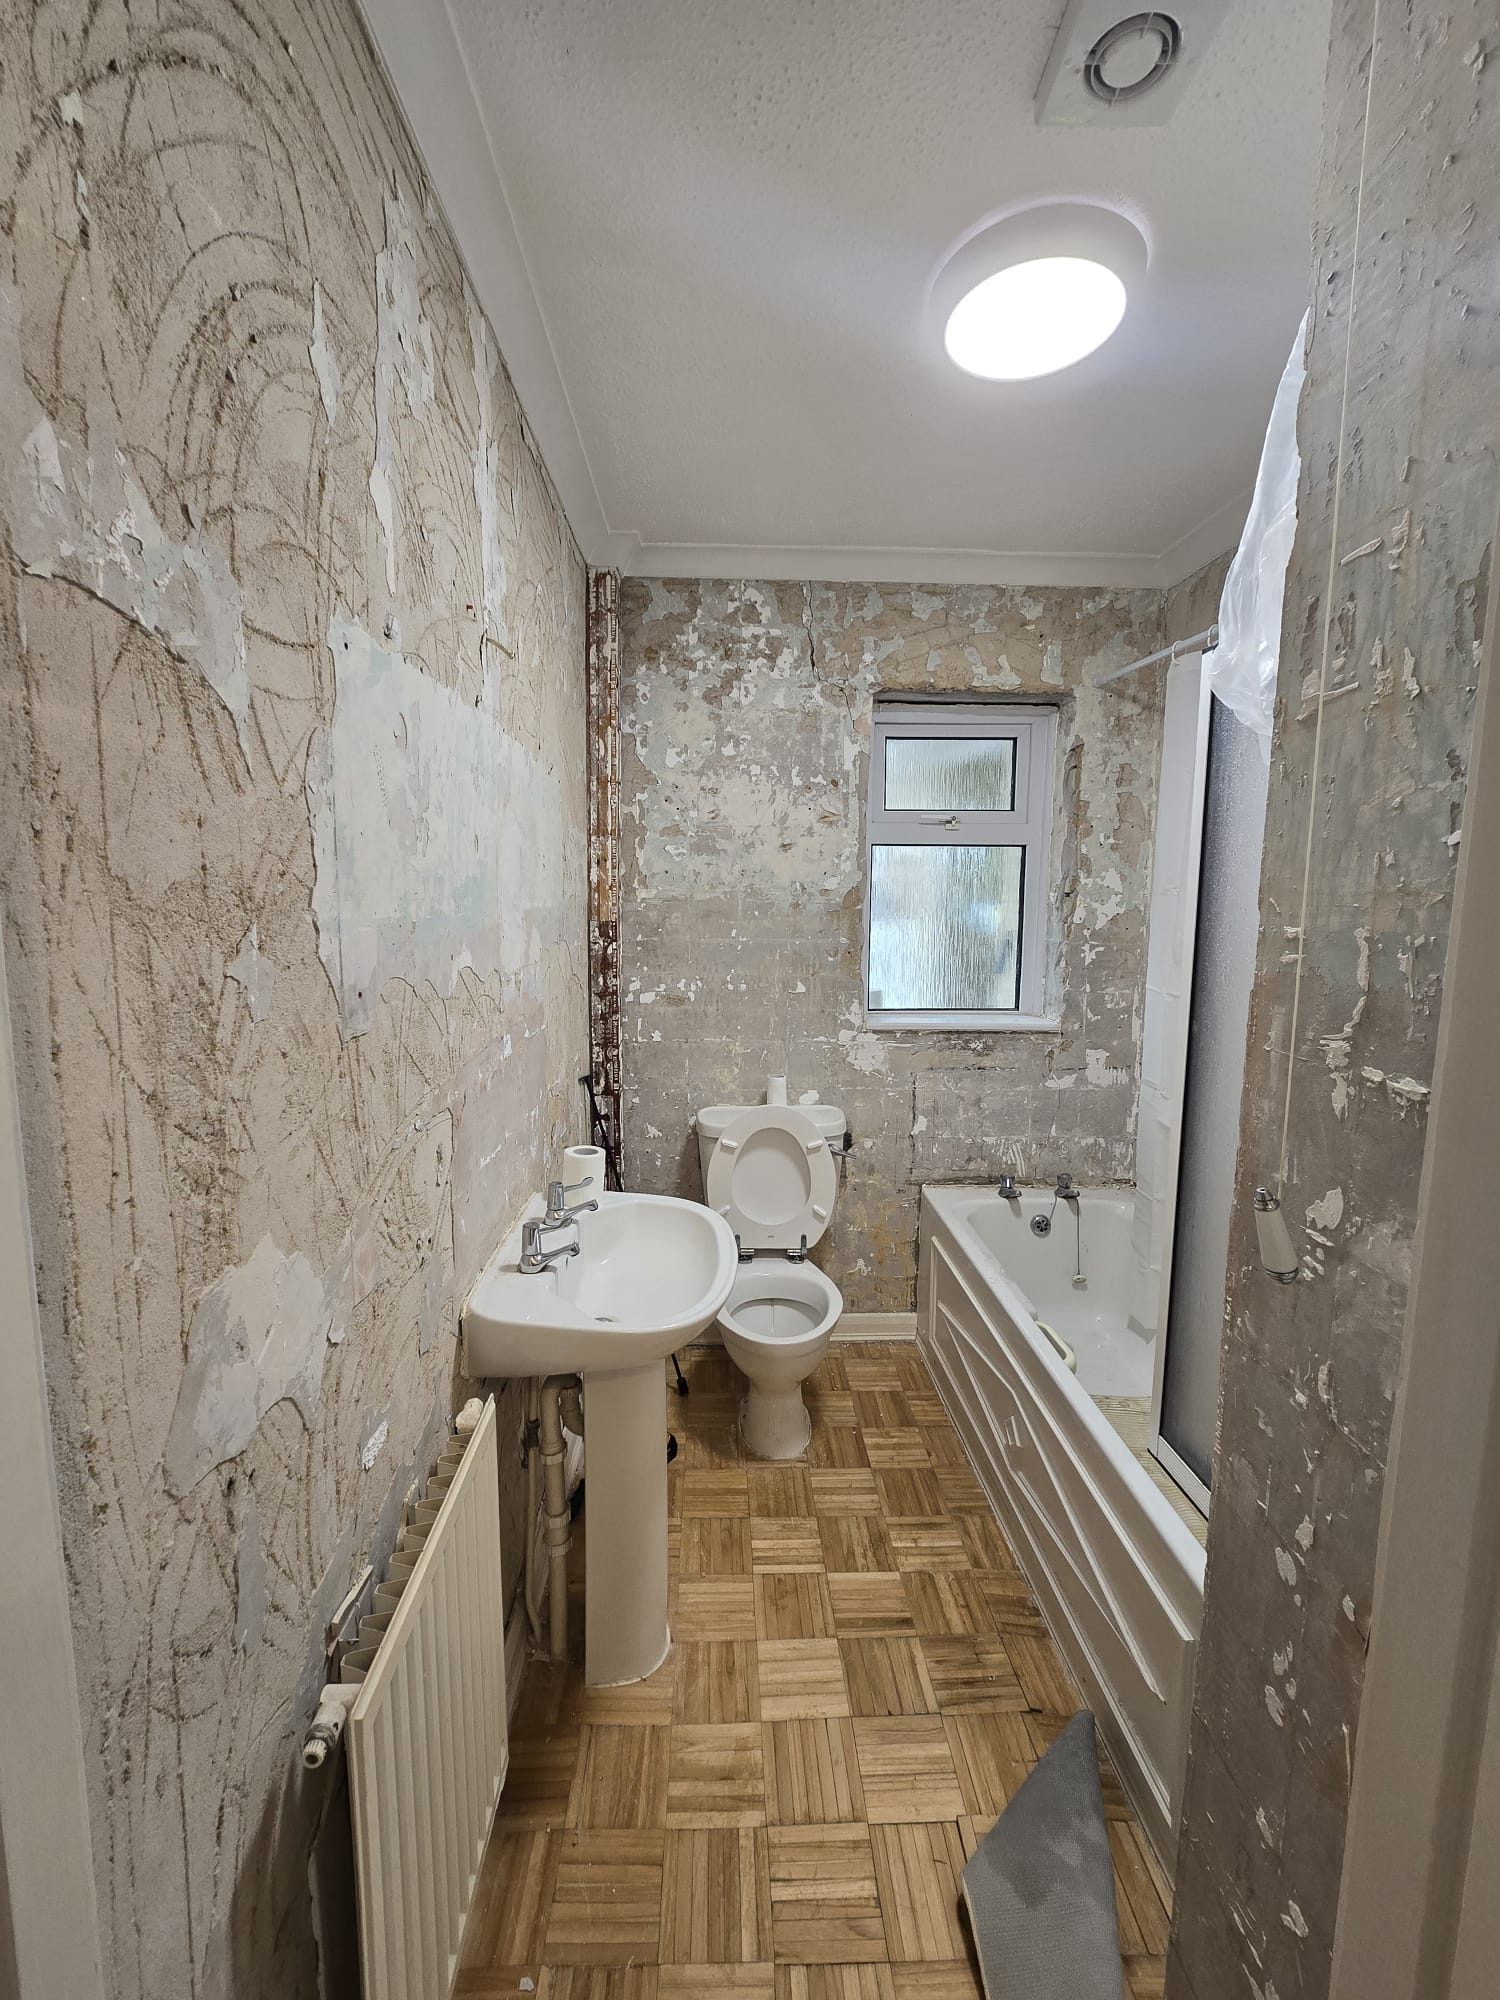
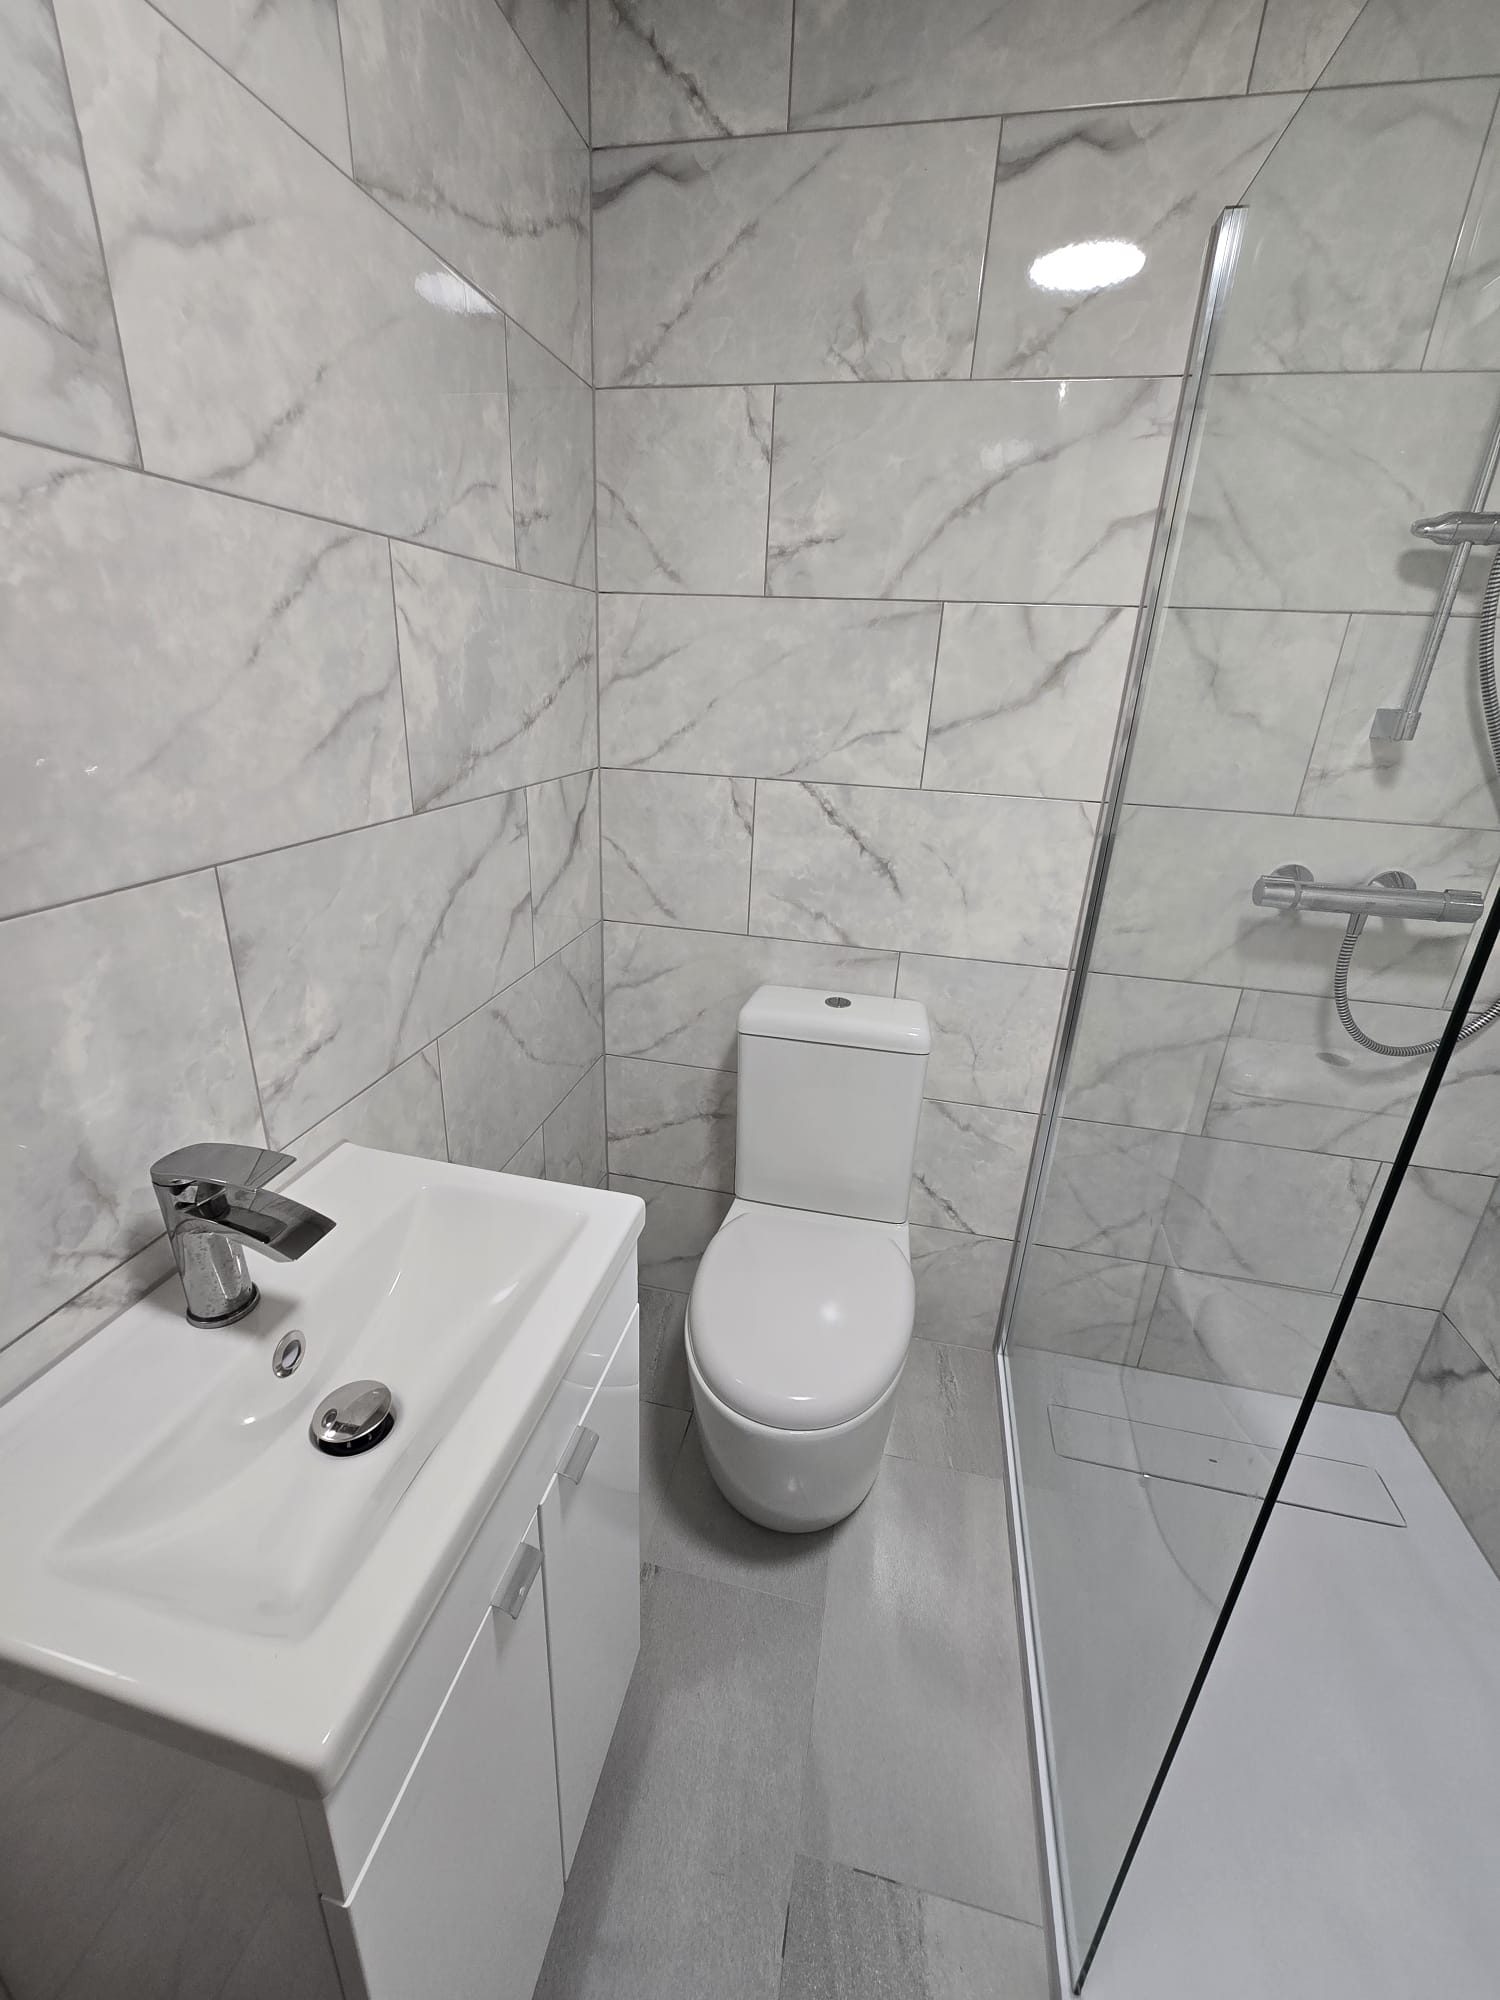
Our project portfolio is built from genuine before-and-after work completed on site. This first case study shows a full bathroom refurbishment from stripped-back condition to a clean, modern shower room.
Bathroom Refurbishment
From dated bathroom to modern walk-in shower room.
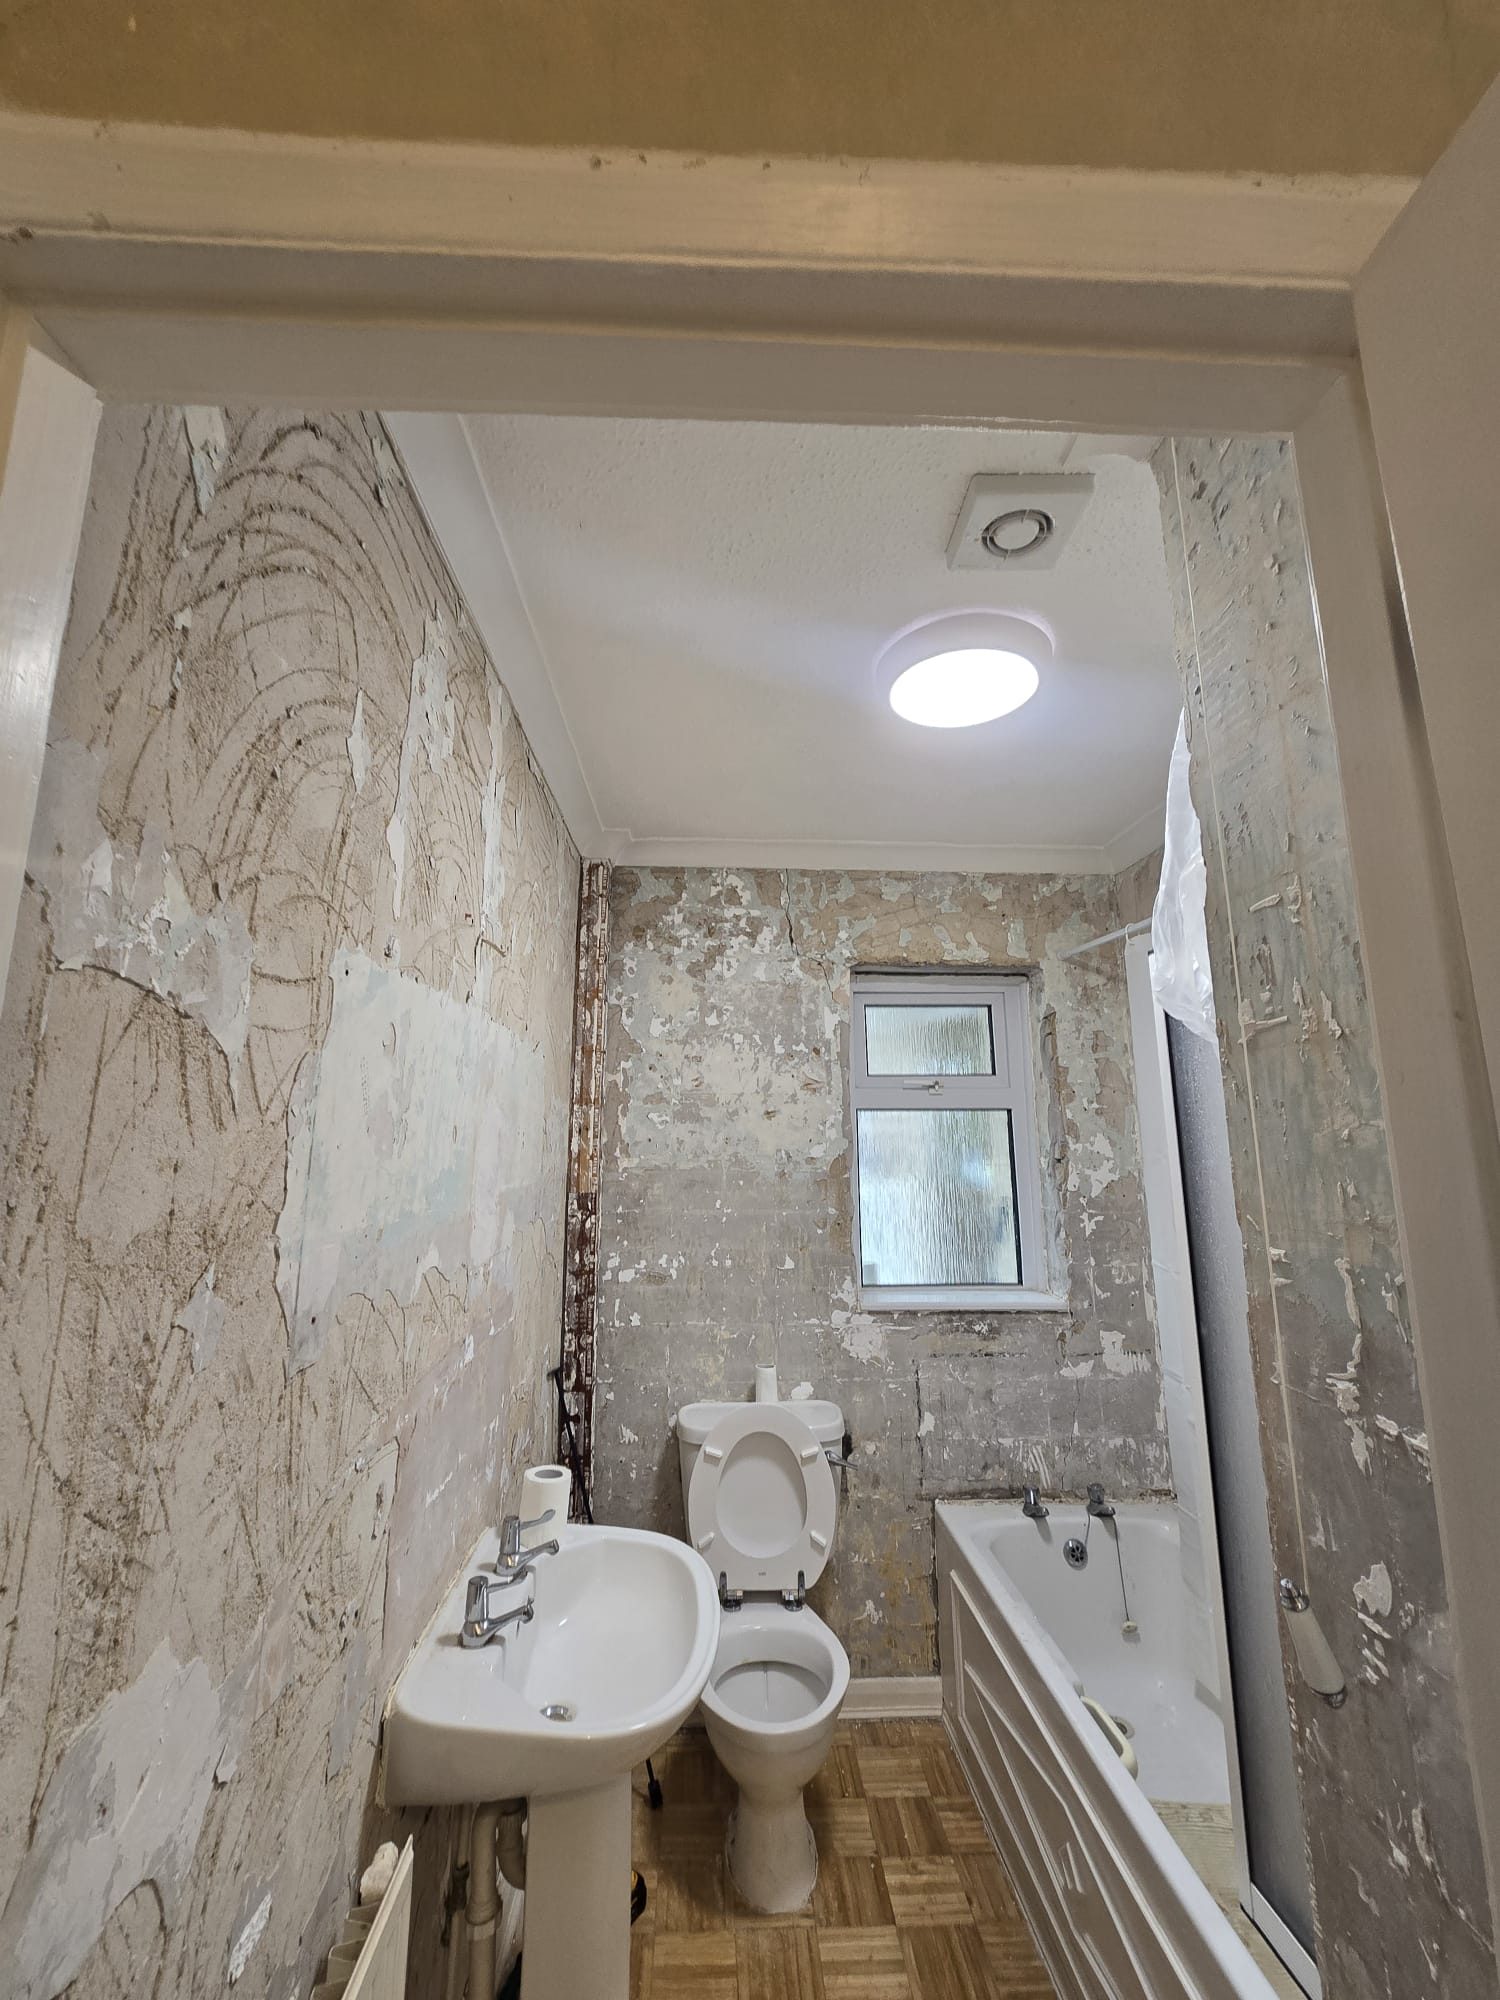
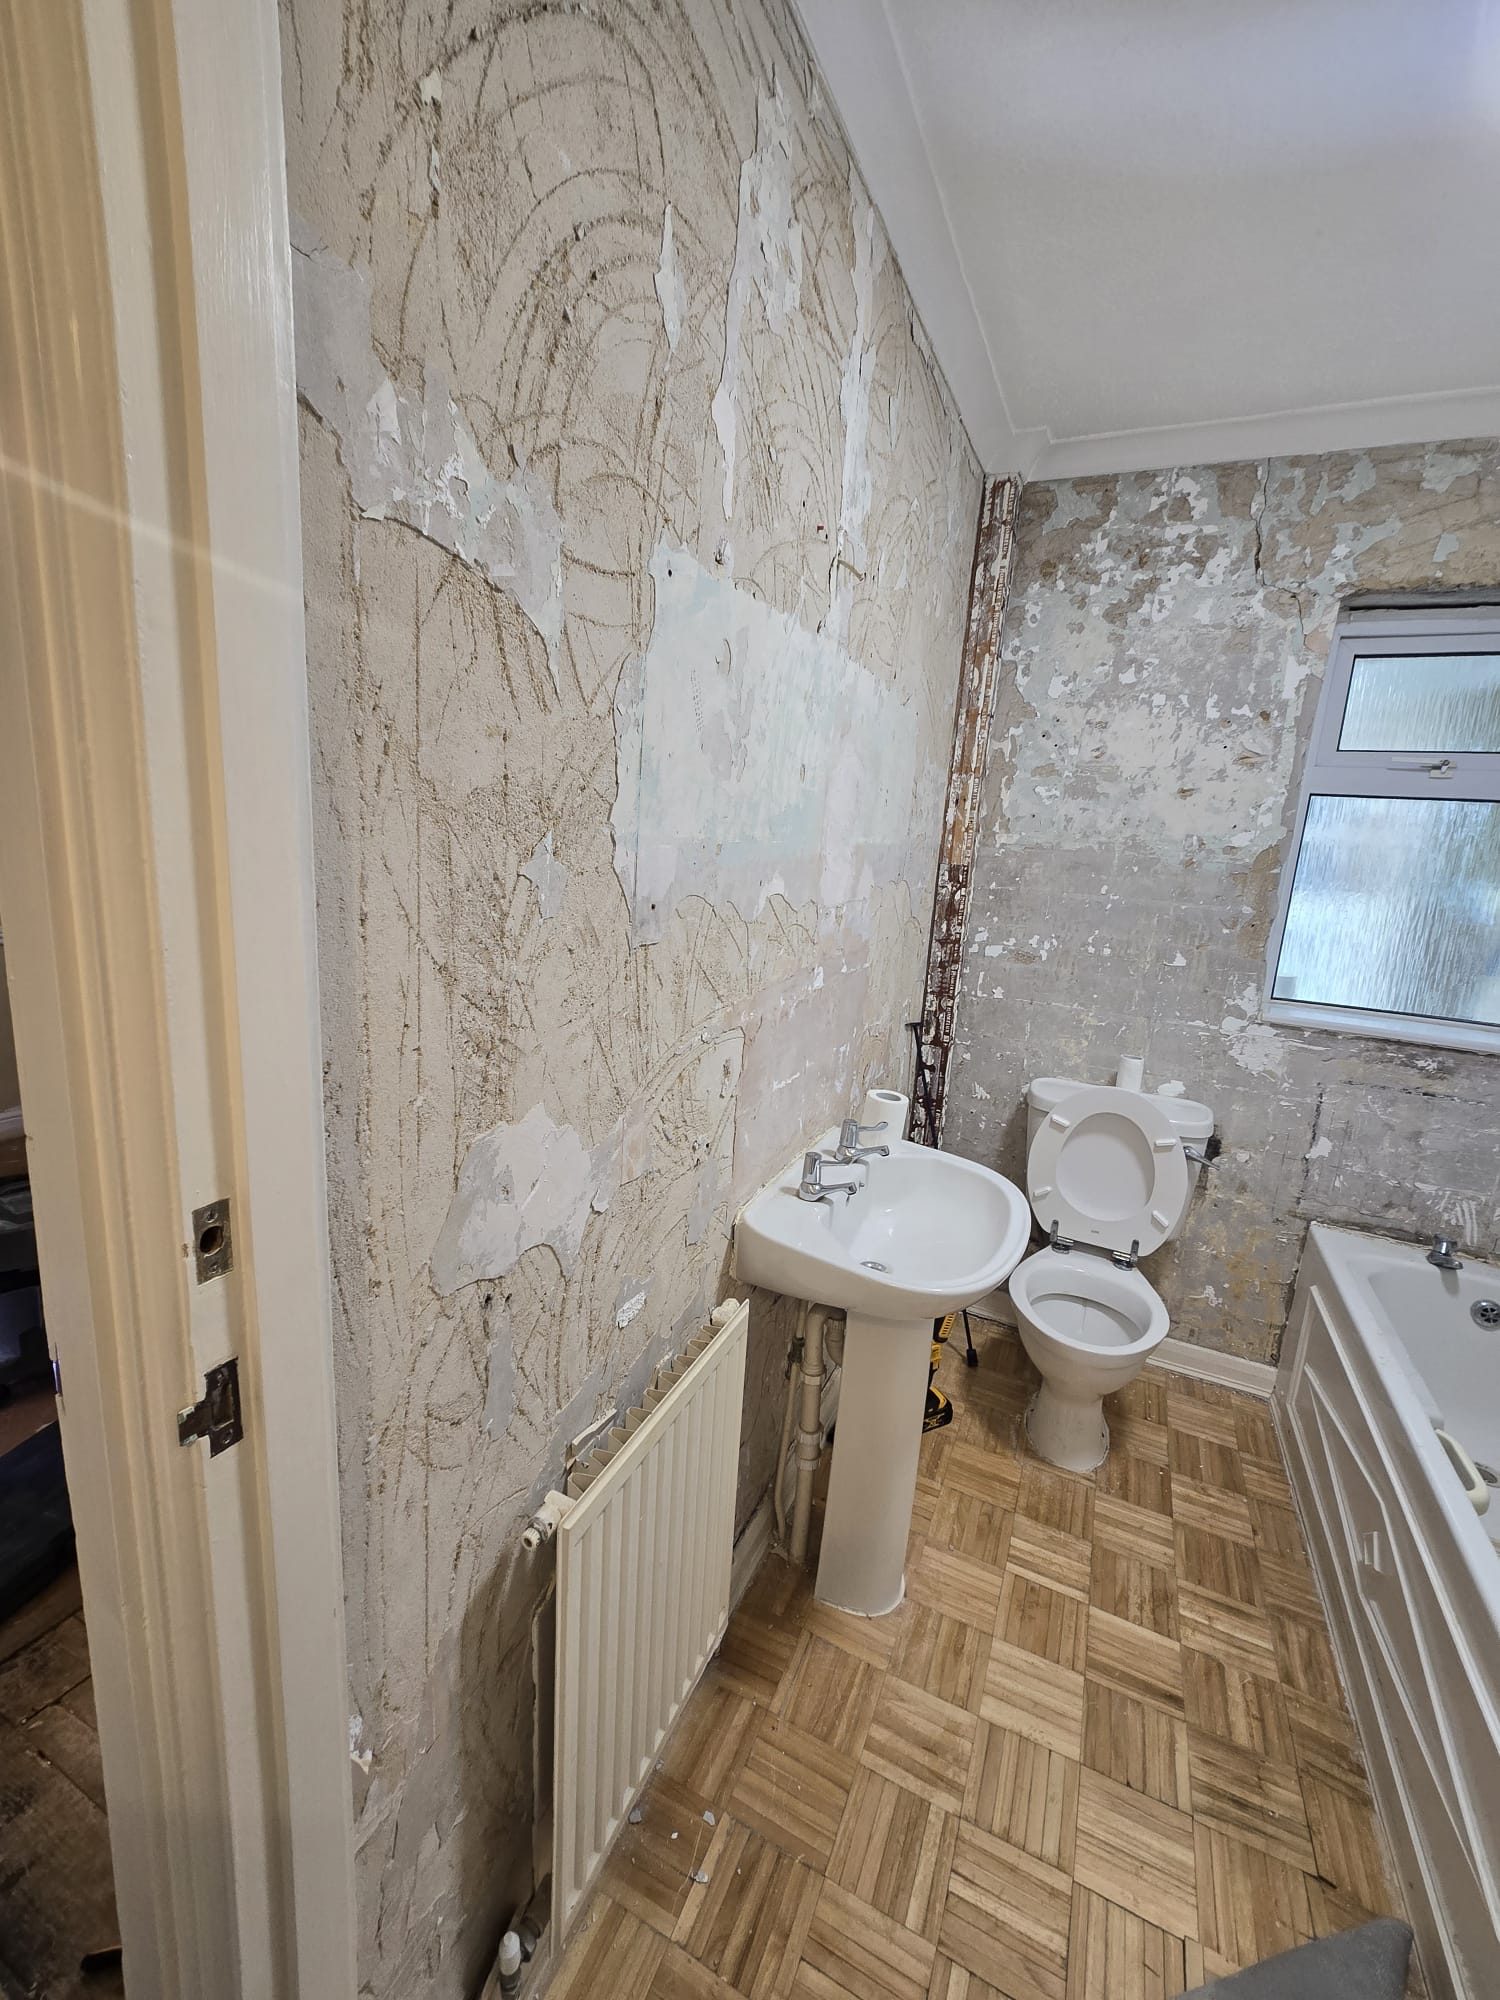
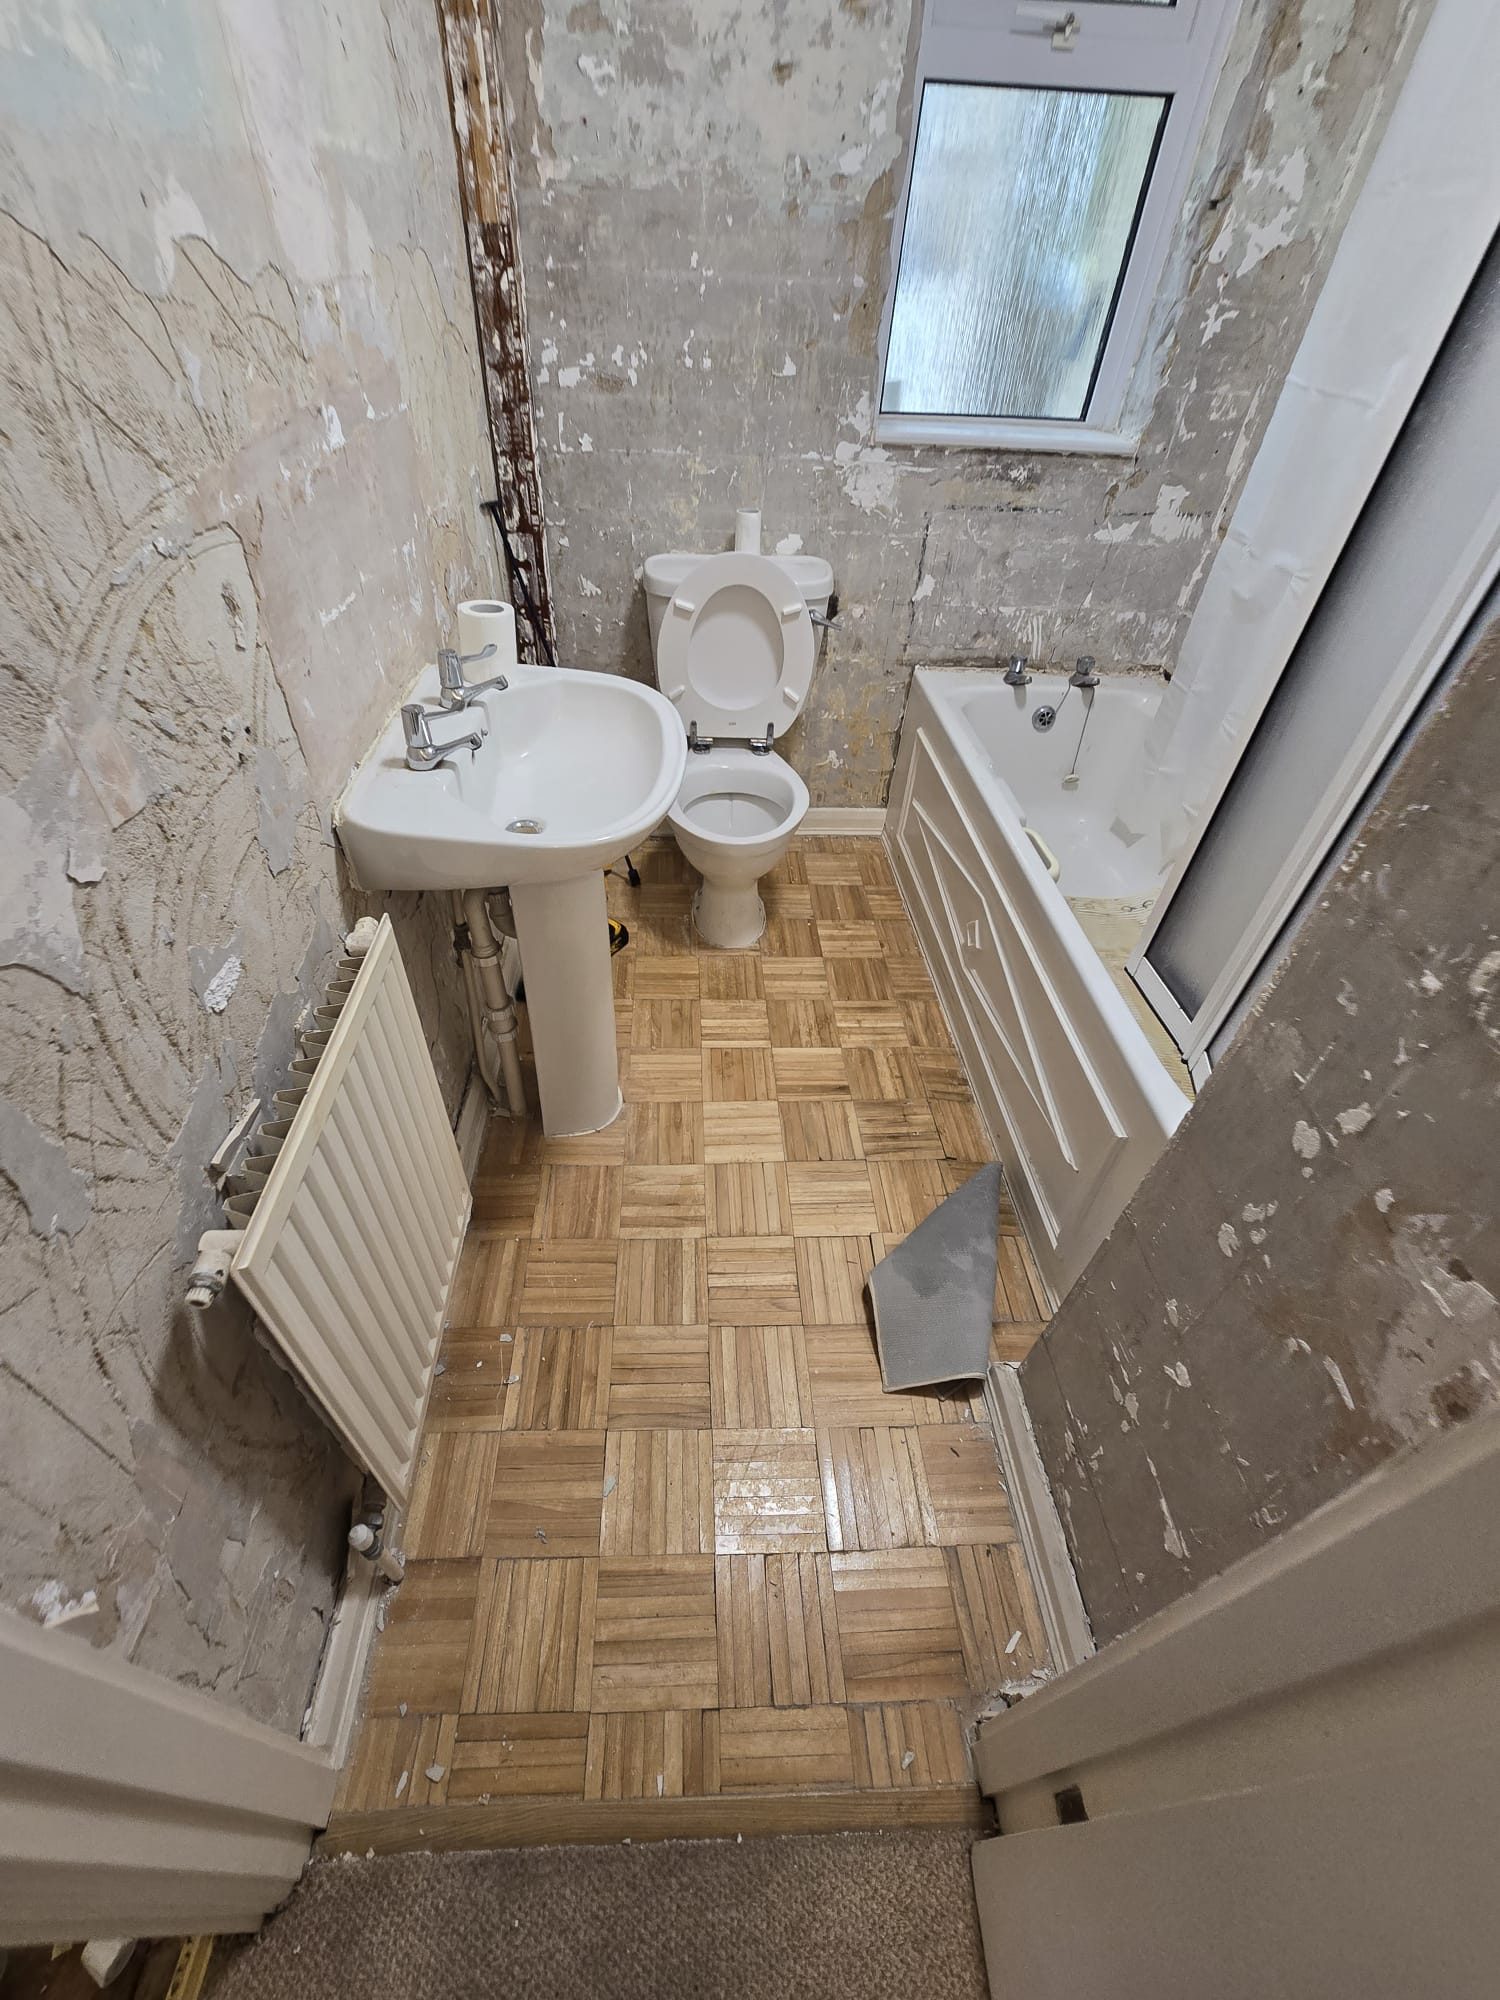
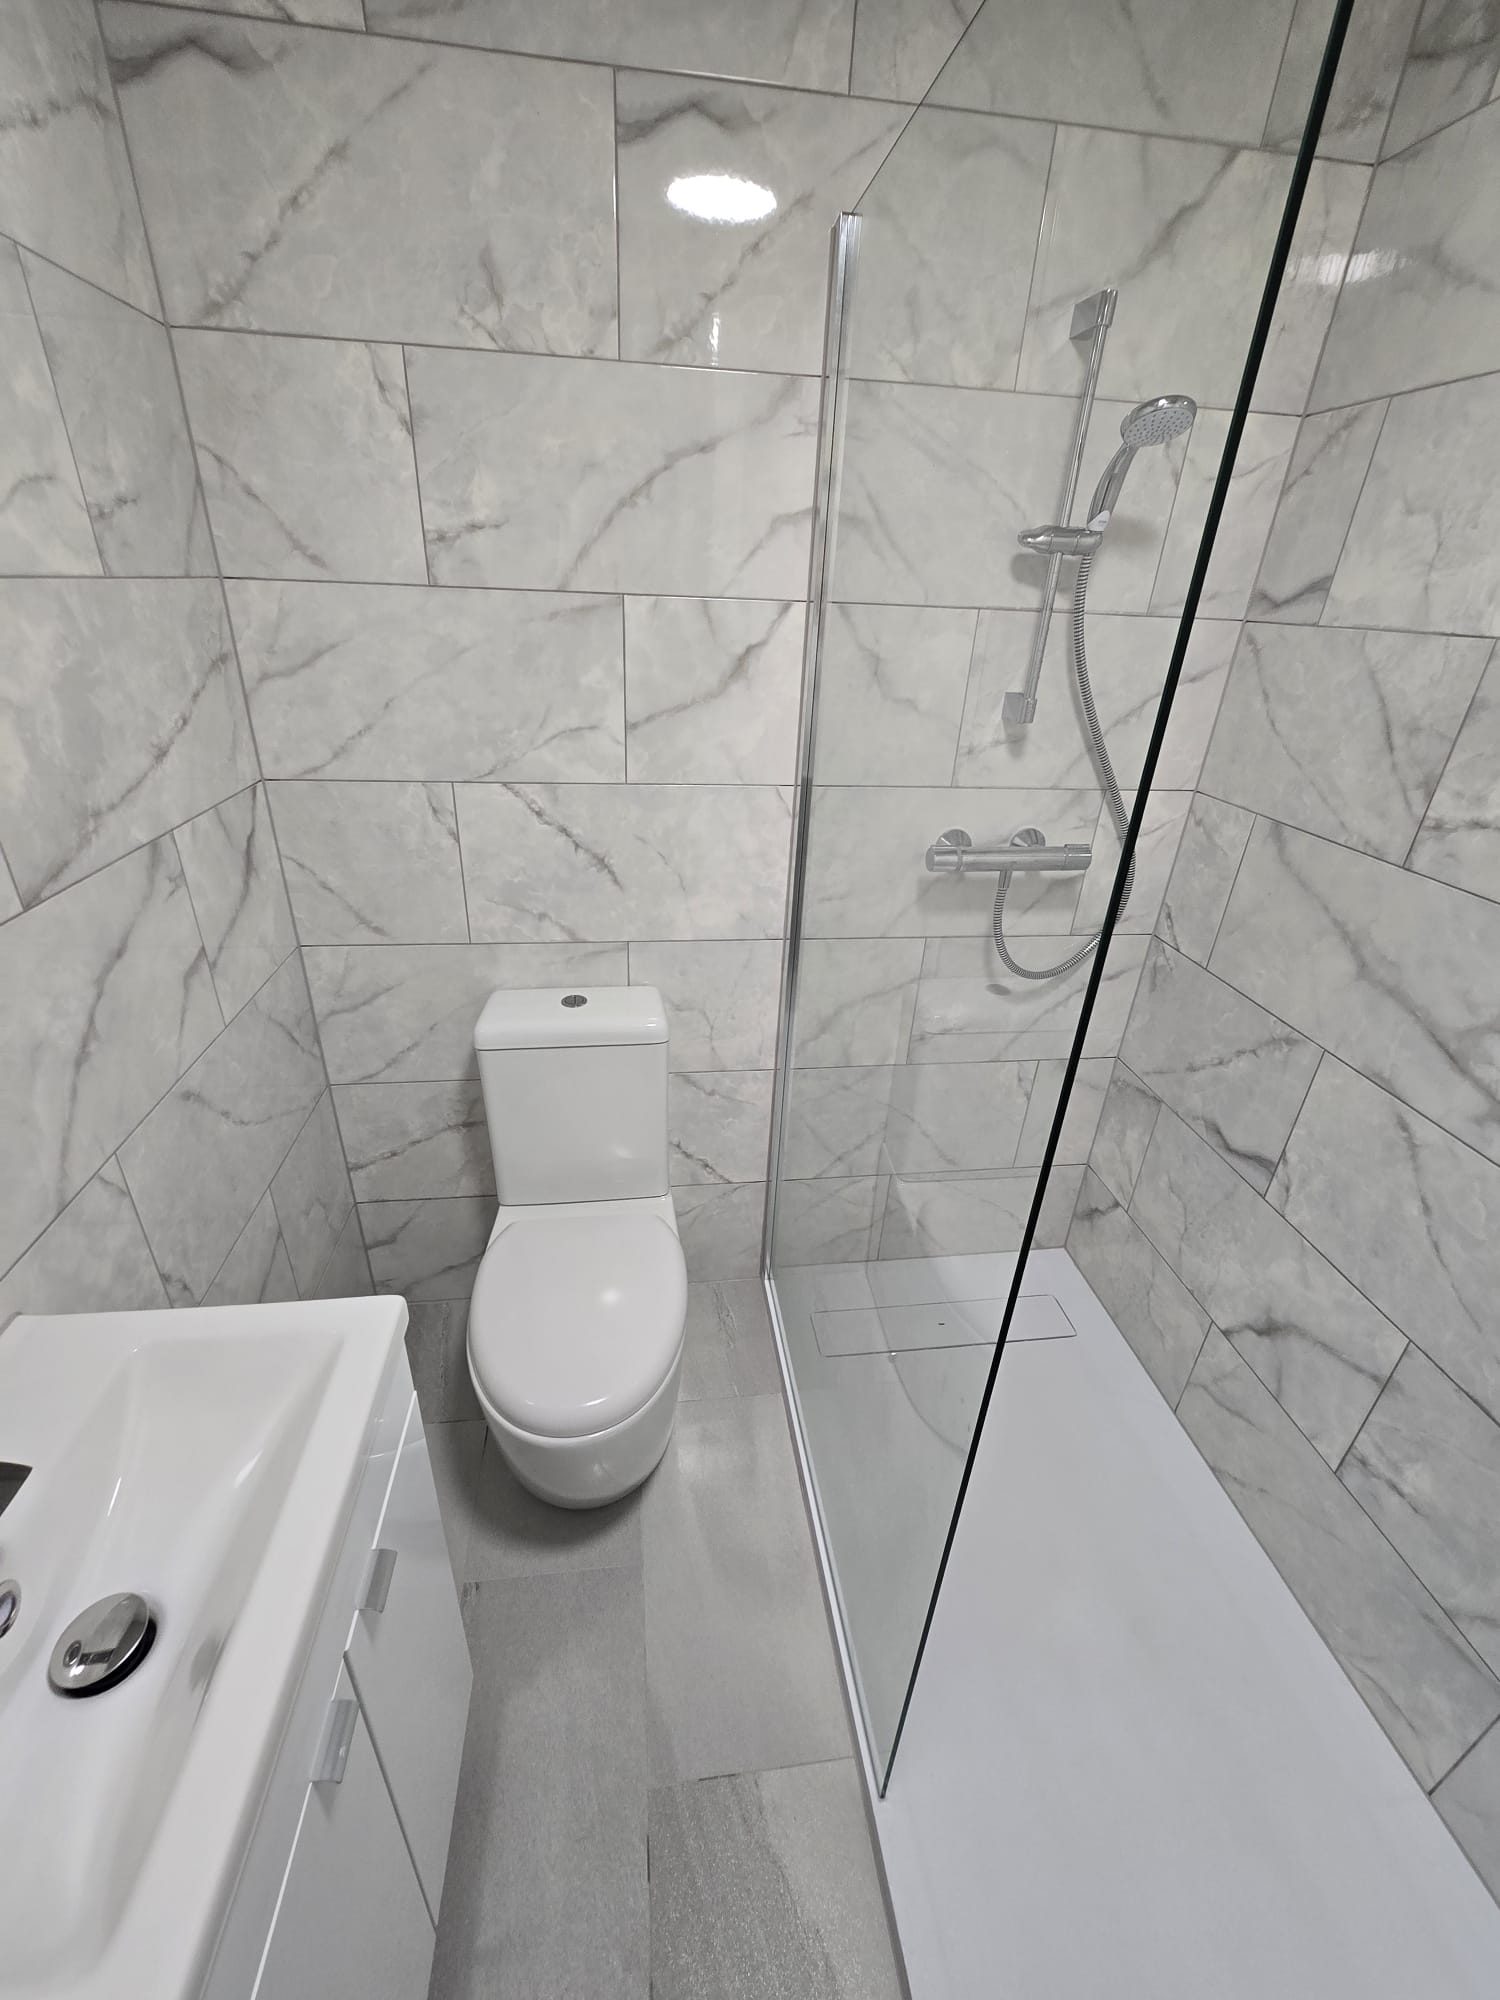
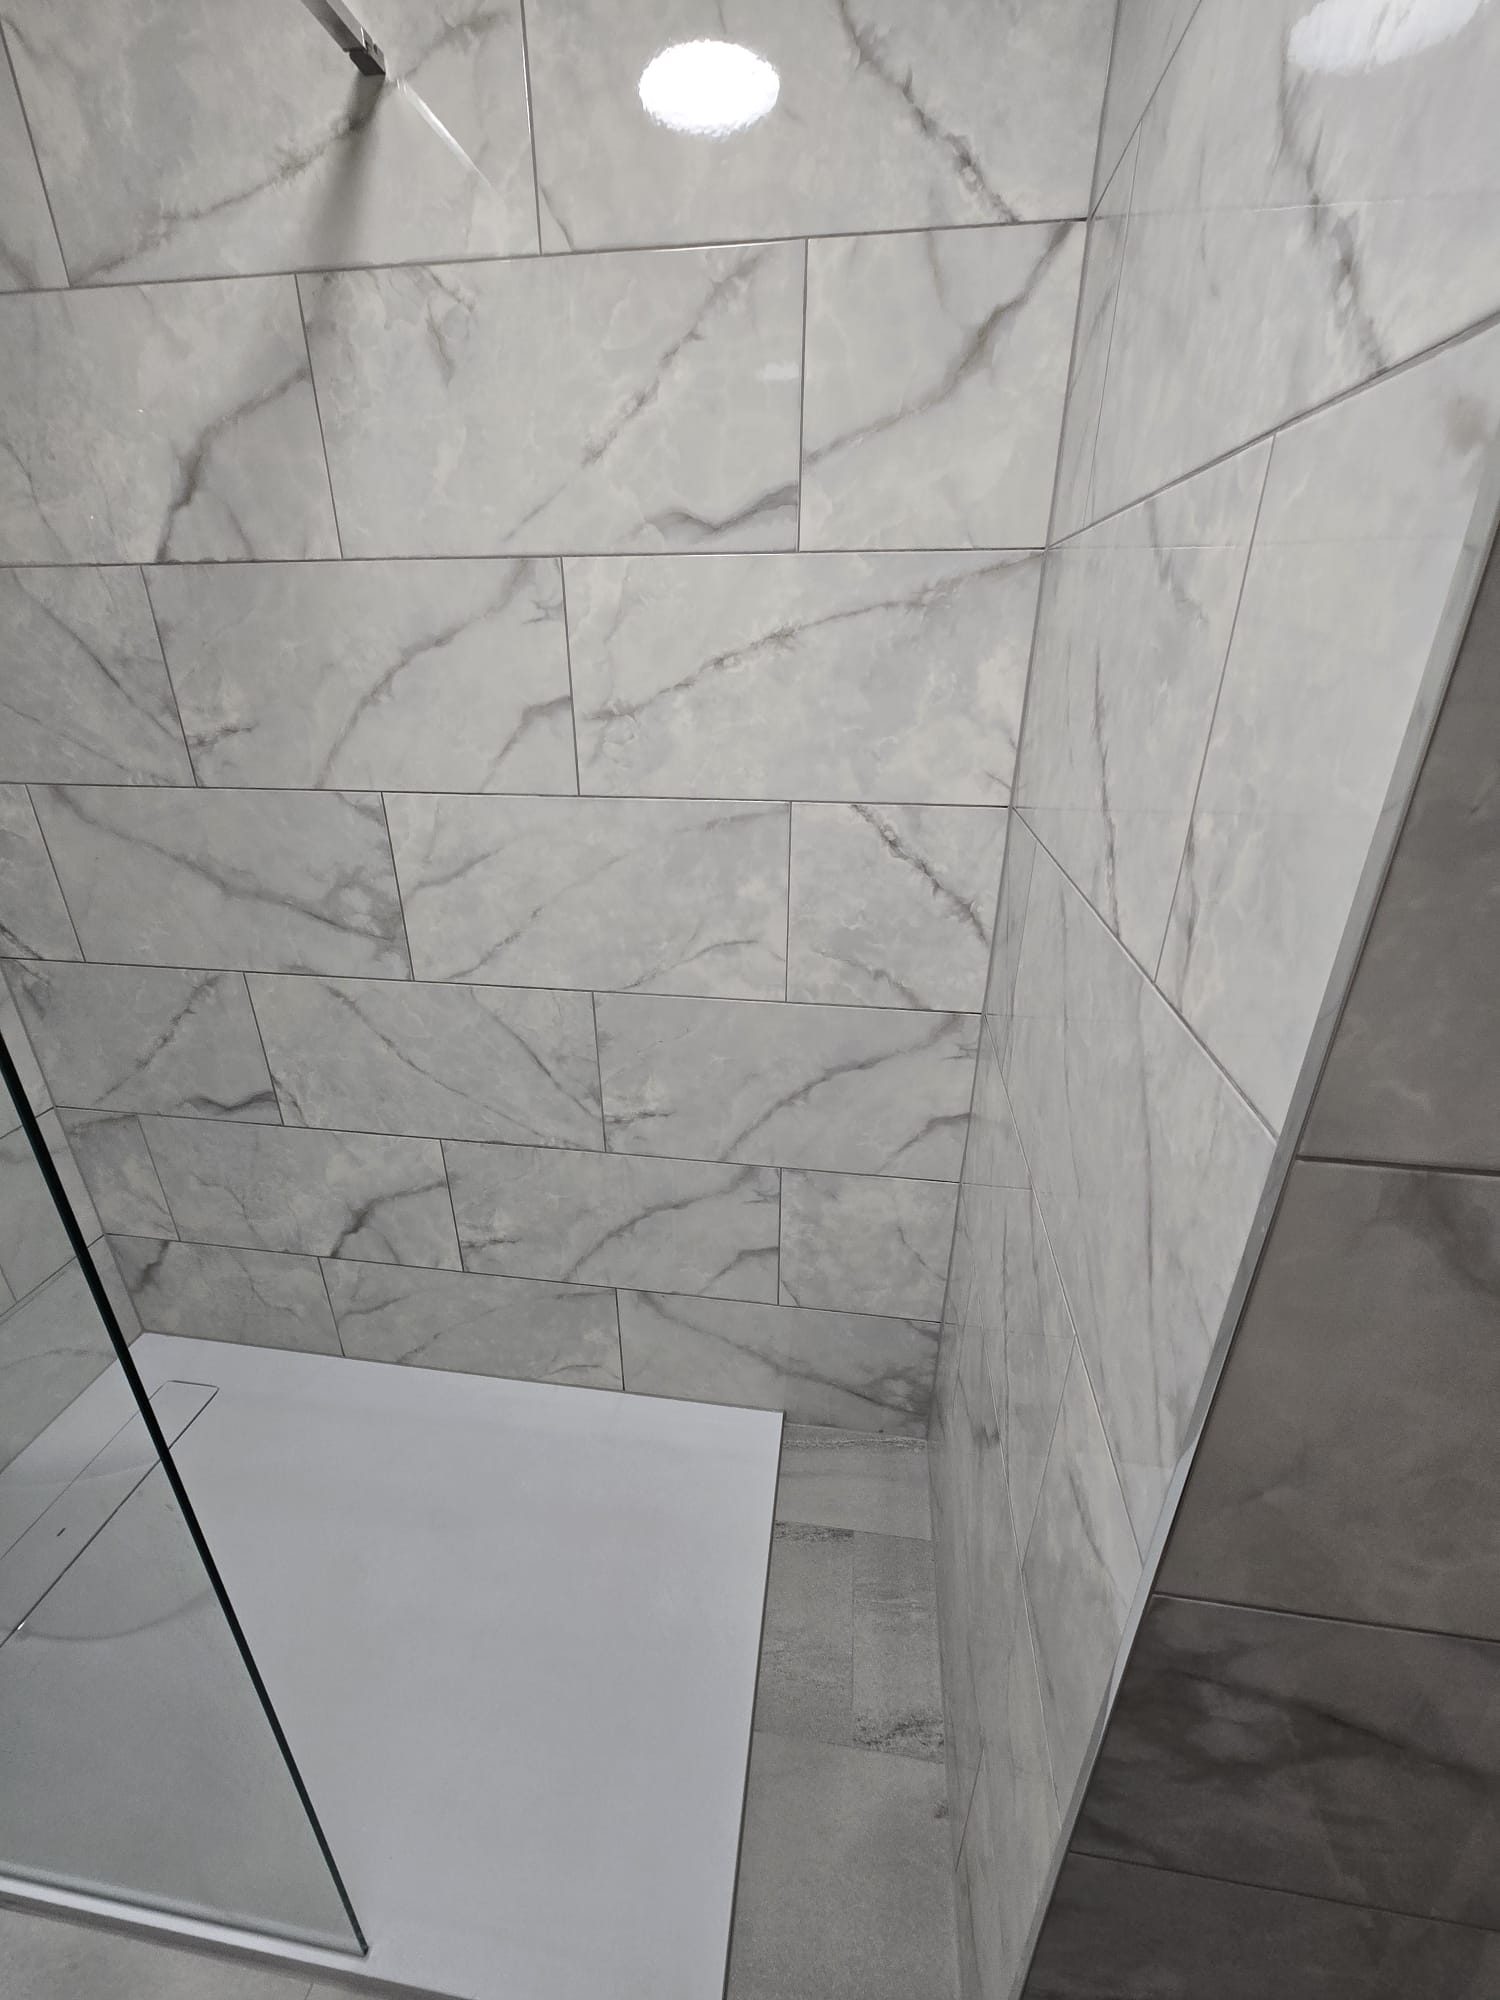
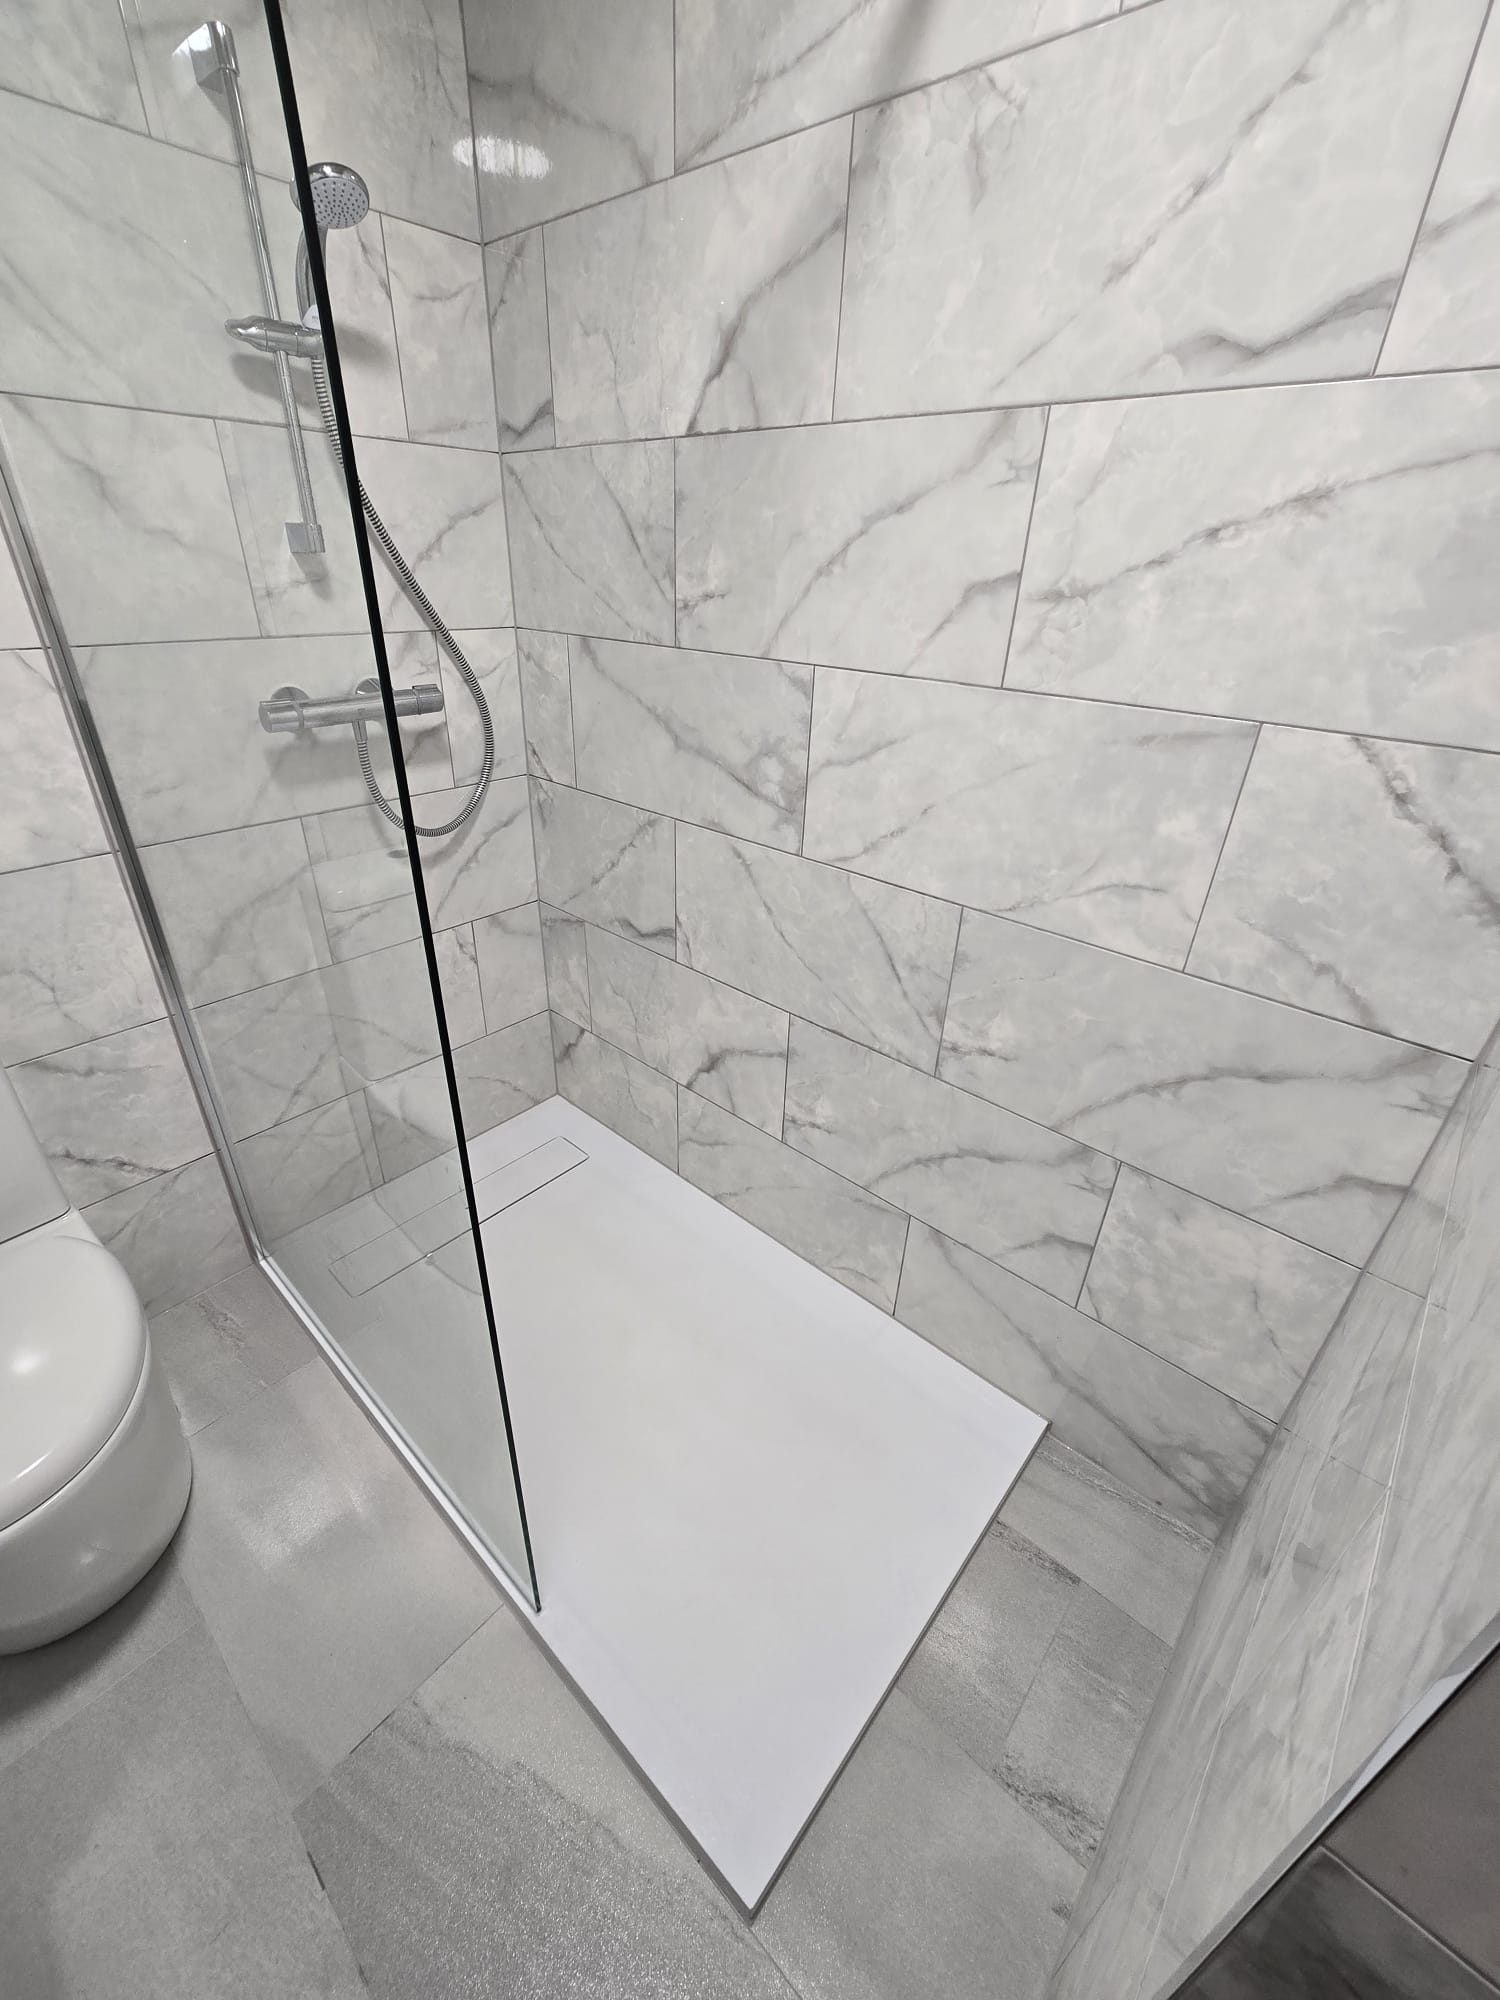
The original bathroom was stripped back and fully refreshed with large-format marble-effect wall tiles, grey floor tiles, a low-profile shower tray with glass screen, modern sanitaryware and a compact vanity unit.
Full refurbishmentWall & floor tilingPlumbingSanitaryware installationShower installation
Before & After
See the transformation.
Drag the divider across the image to compare the original bathroom with the completed refurbishment.
BEFOREAFTER
↔
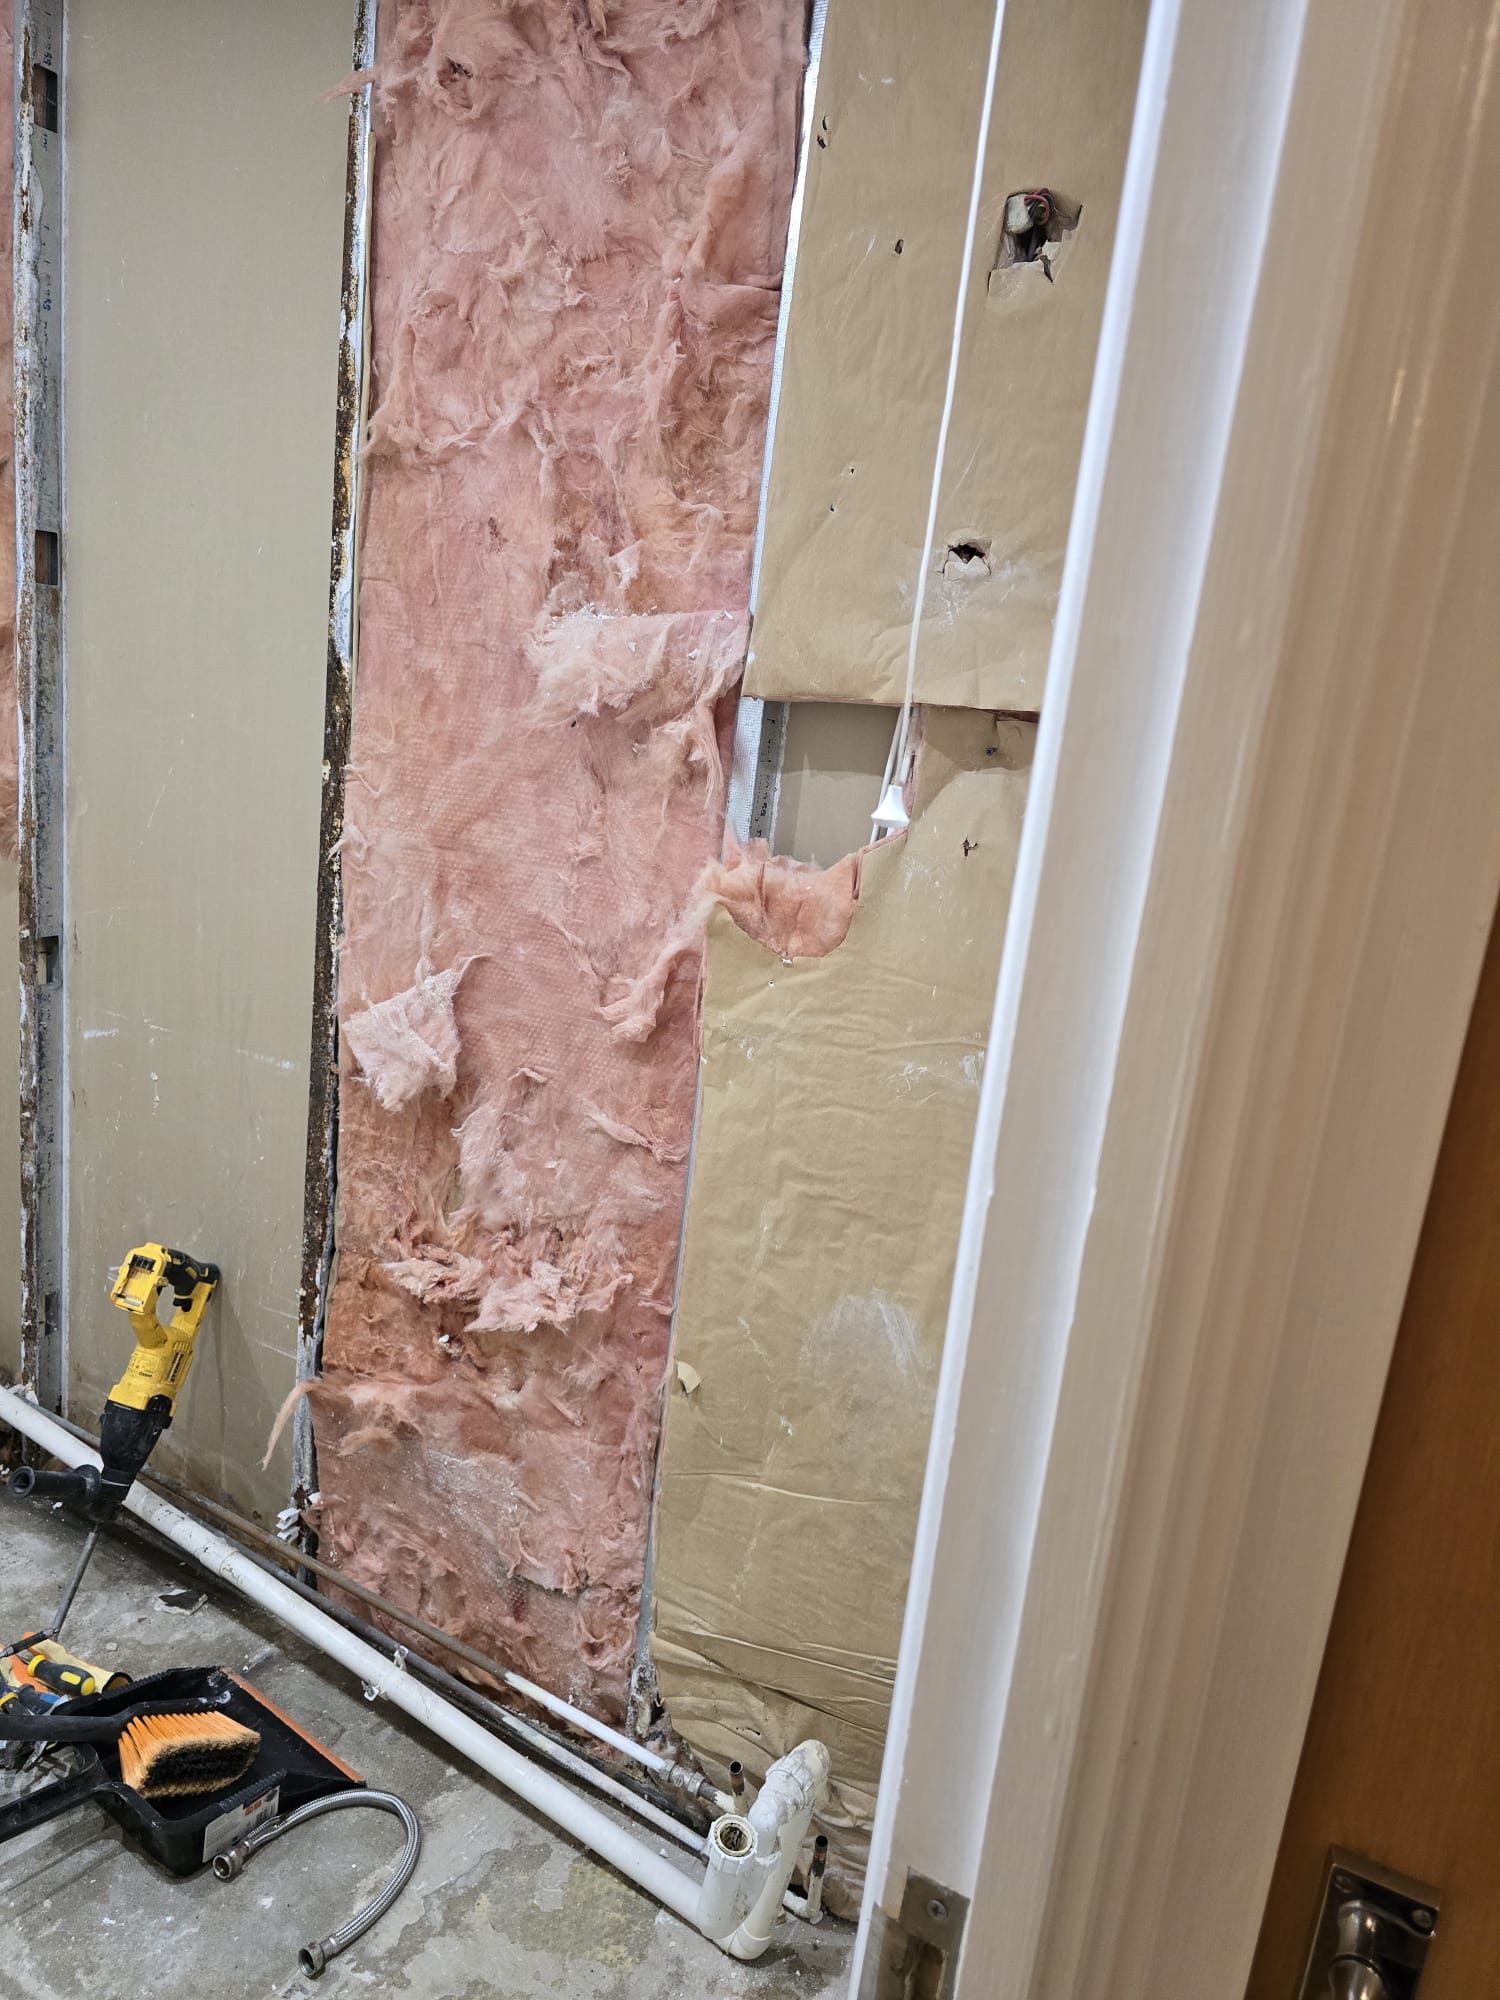
Strip-out & preparationExisting finishes removed and surfaces prepared for refurbishment.
Shower conversionBath replaced with a low-profile shower tray and glass screen.
Fixtures & finishNew vanity, sanitaryware and chrome shower fittings installed.
Before
Starting condition
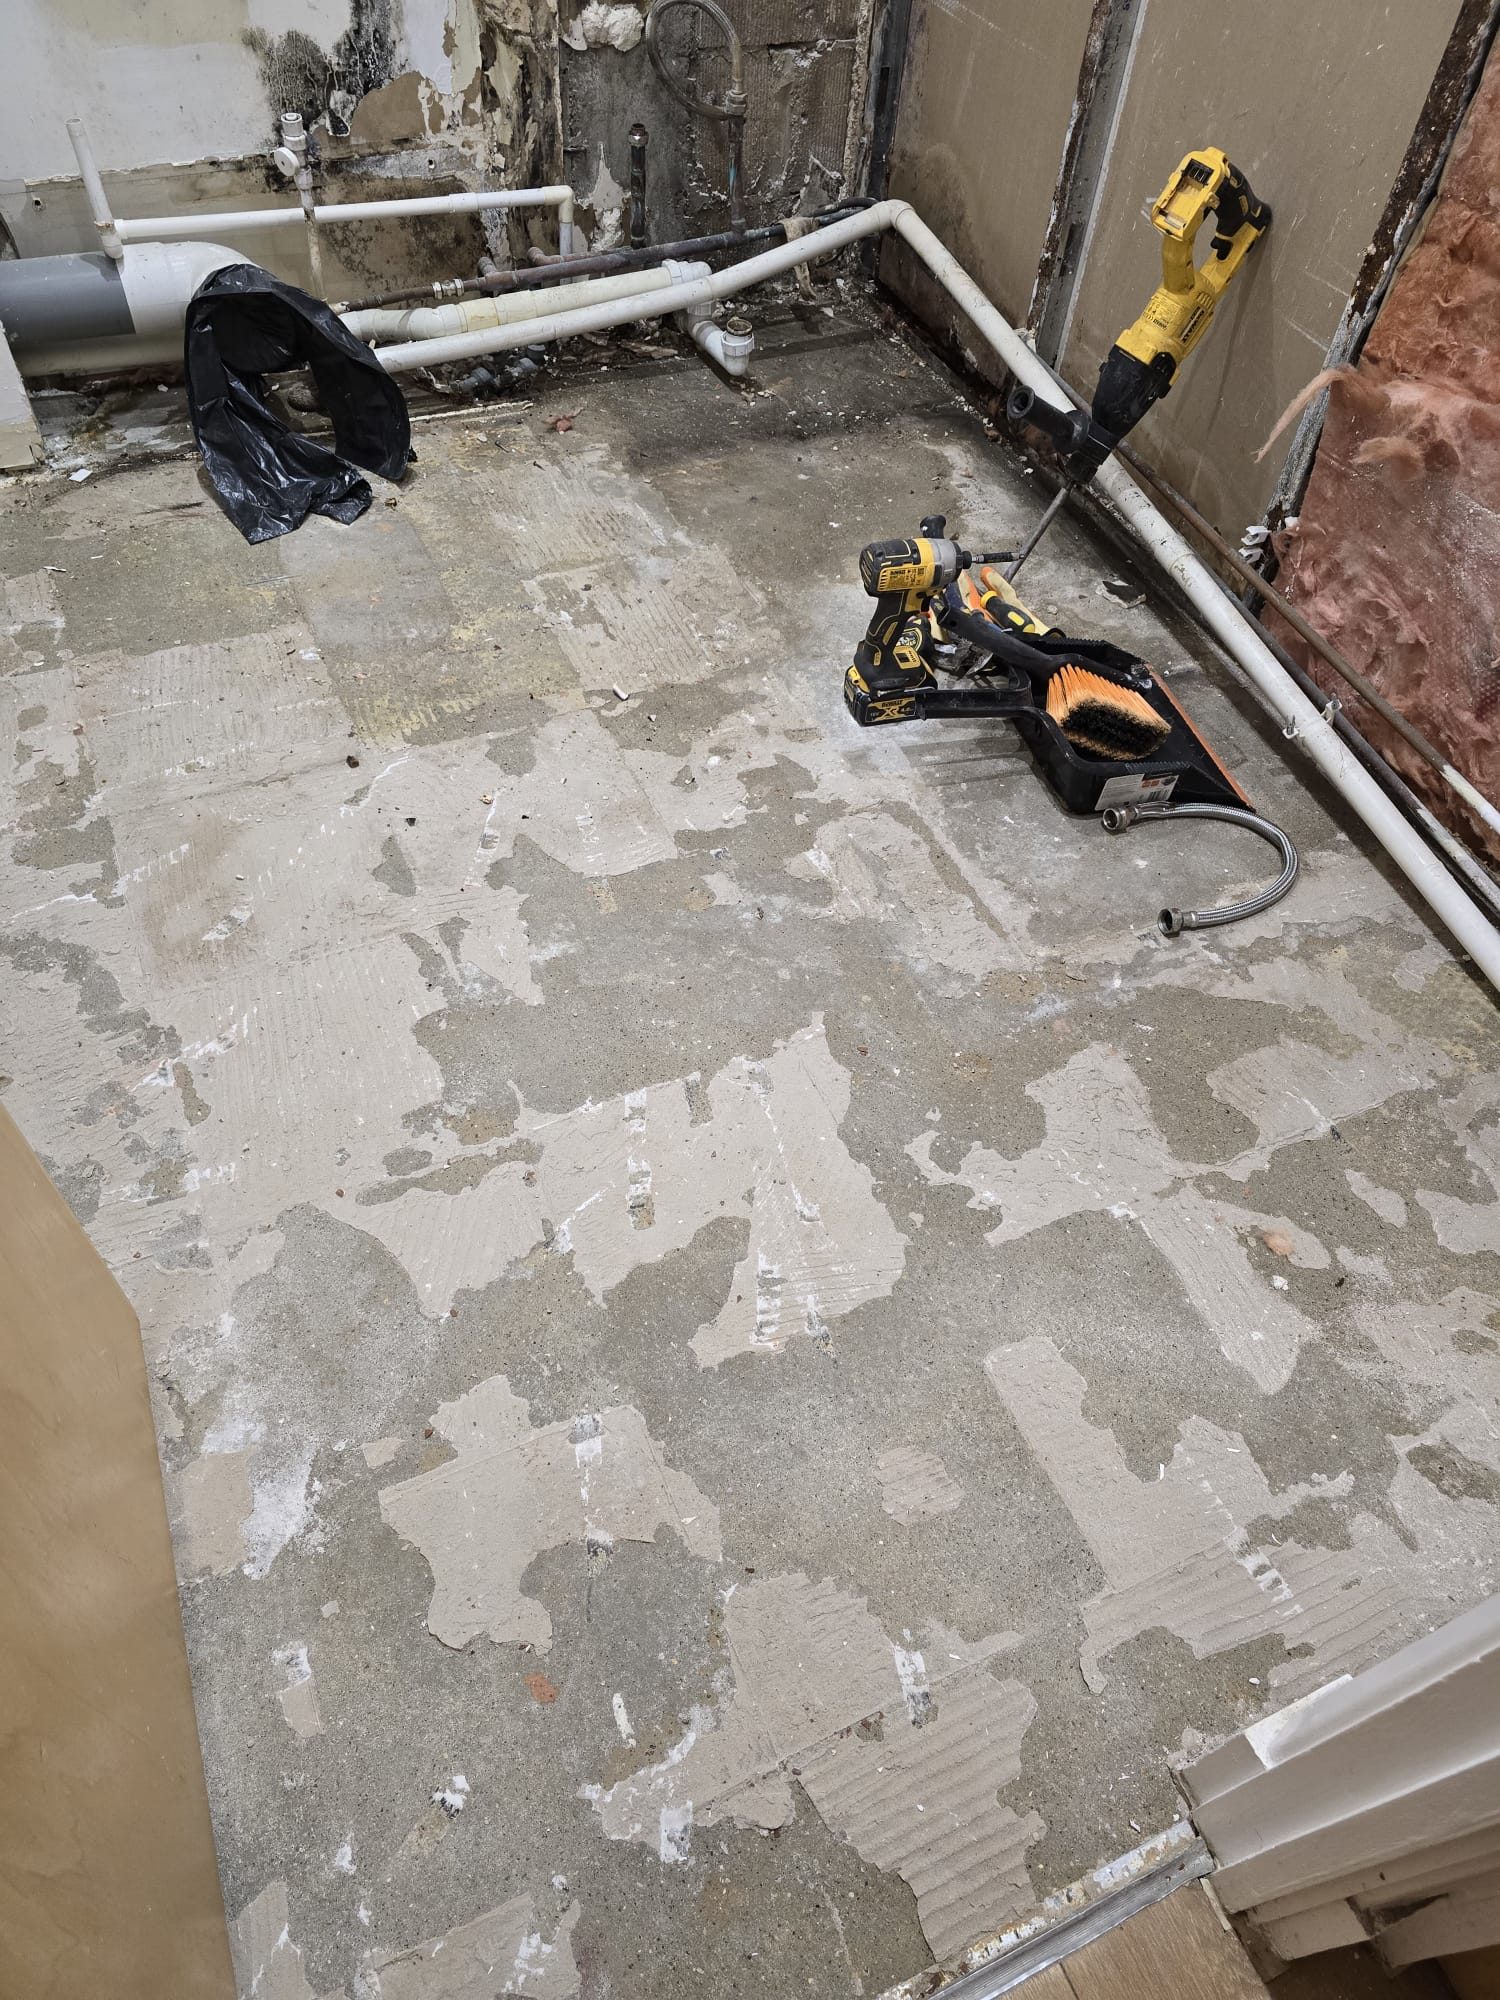
The bathroom had been stripped back, exposing tired wall surfaces and an older bath, basin, WC and flooring arrangement.
BeforeBeforeBeforeBefore
After
Completed refurbishment
The finished space has a brighter, cleaner layout with full-height tiling and a more practical walk-in shower arrangement.
AfterAfterAfterAfter
Project 02
Bathroom Refurbishment
Complete rebuild with walk-in shower and brushed brass details.
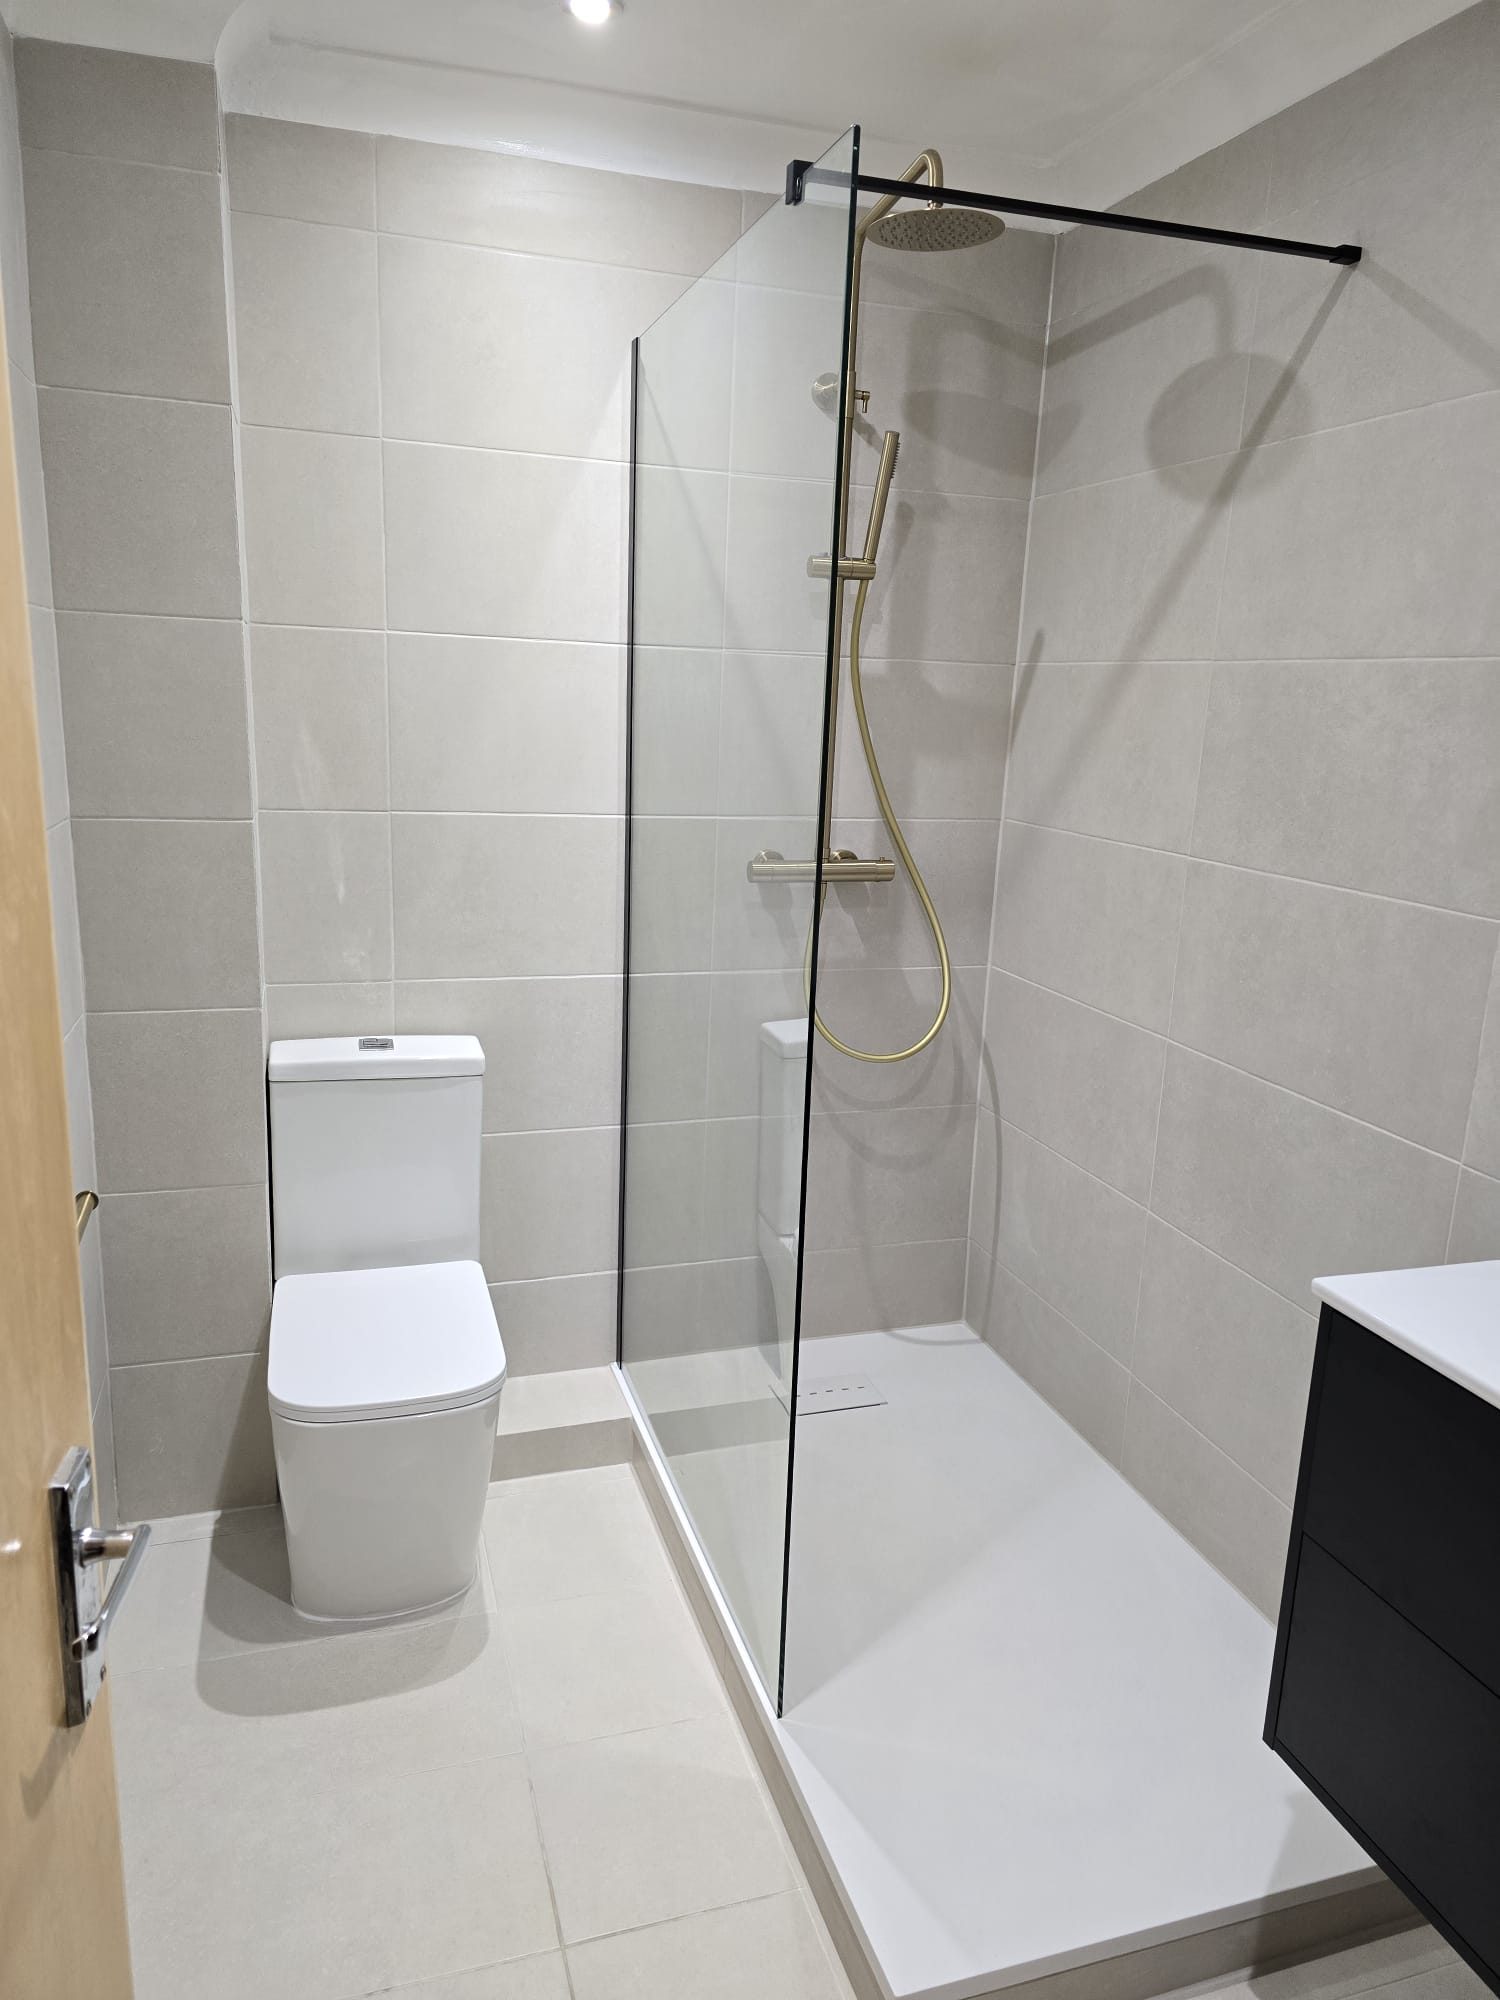
This bathroom was taken back to the underlying structure and rebuilt with new plumbing arrangements, large-format neutral tiling, a low-profile shower tray, frameless glass screen, modern WC and a dark wall-hung vanity. Brushed brass fittings add a warmer premium finish.
Full strip-outPlumbing alterationsWall & floor tilingWalk-in showerVanity installationBrushed brass fittings
Before & After
A full transformation from exposed services to finished bathroom.
Drag the divider to compare the stripped room with the completed walk-in shower bathroom.
BEFOREAFTER
↔
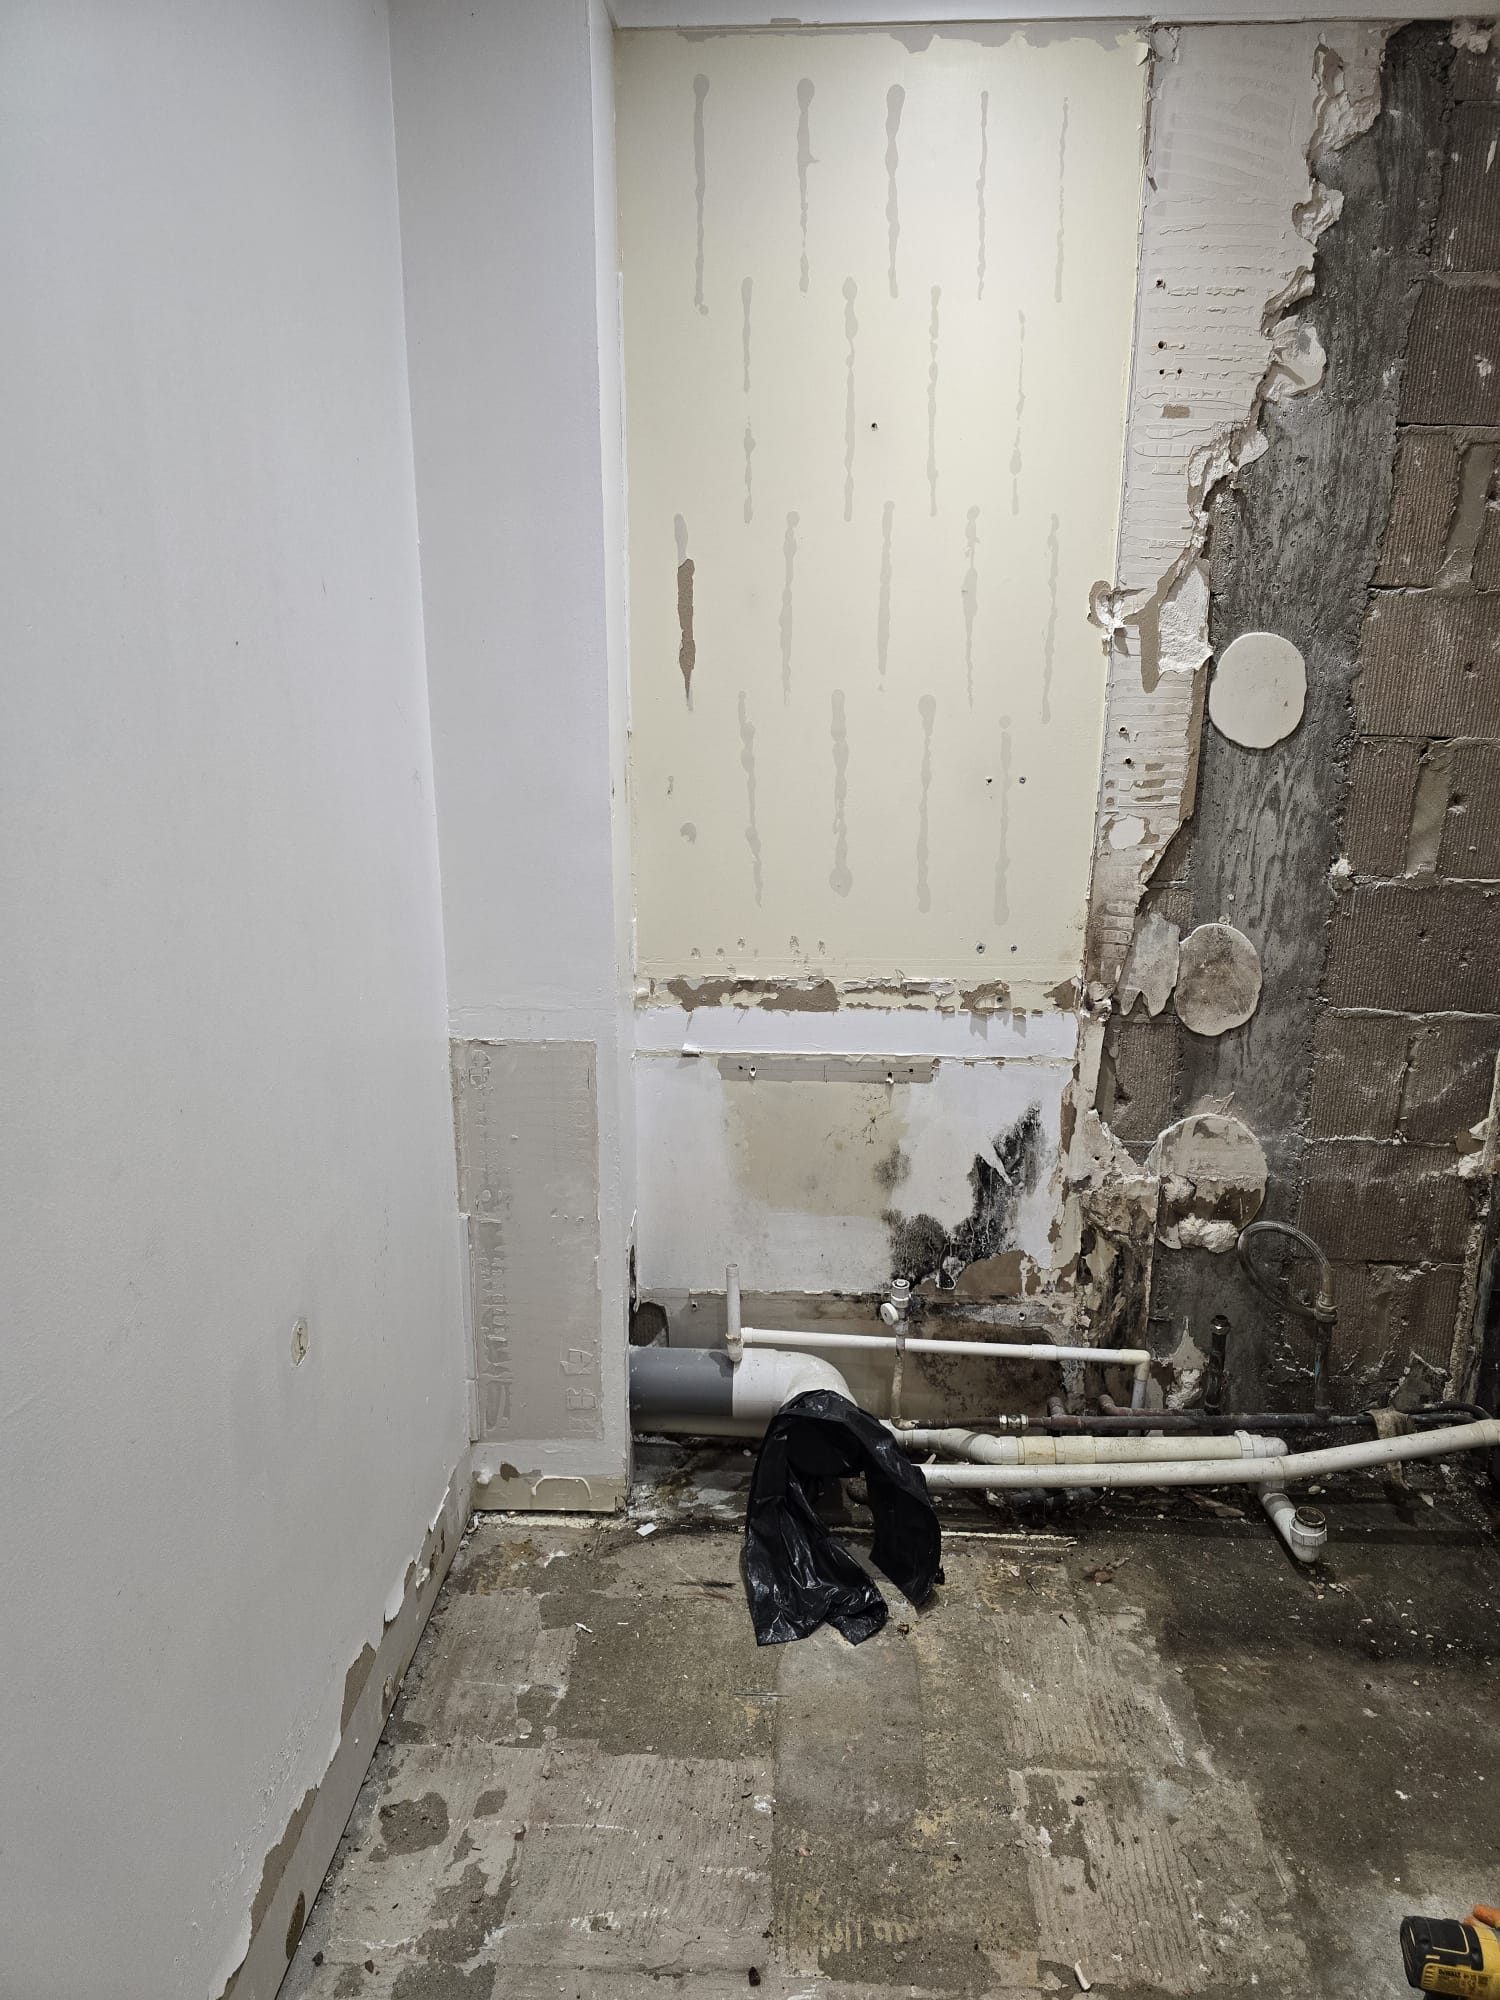
Strip-out & first fixExisting finishes removed to expose the walls, floor and plumbing routes.
Plumbing alterationsServices repositioned and prepared for the new sanitaryware and shower layout.
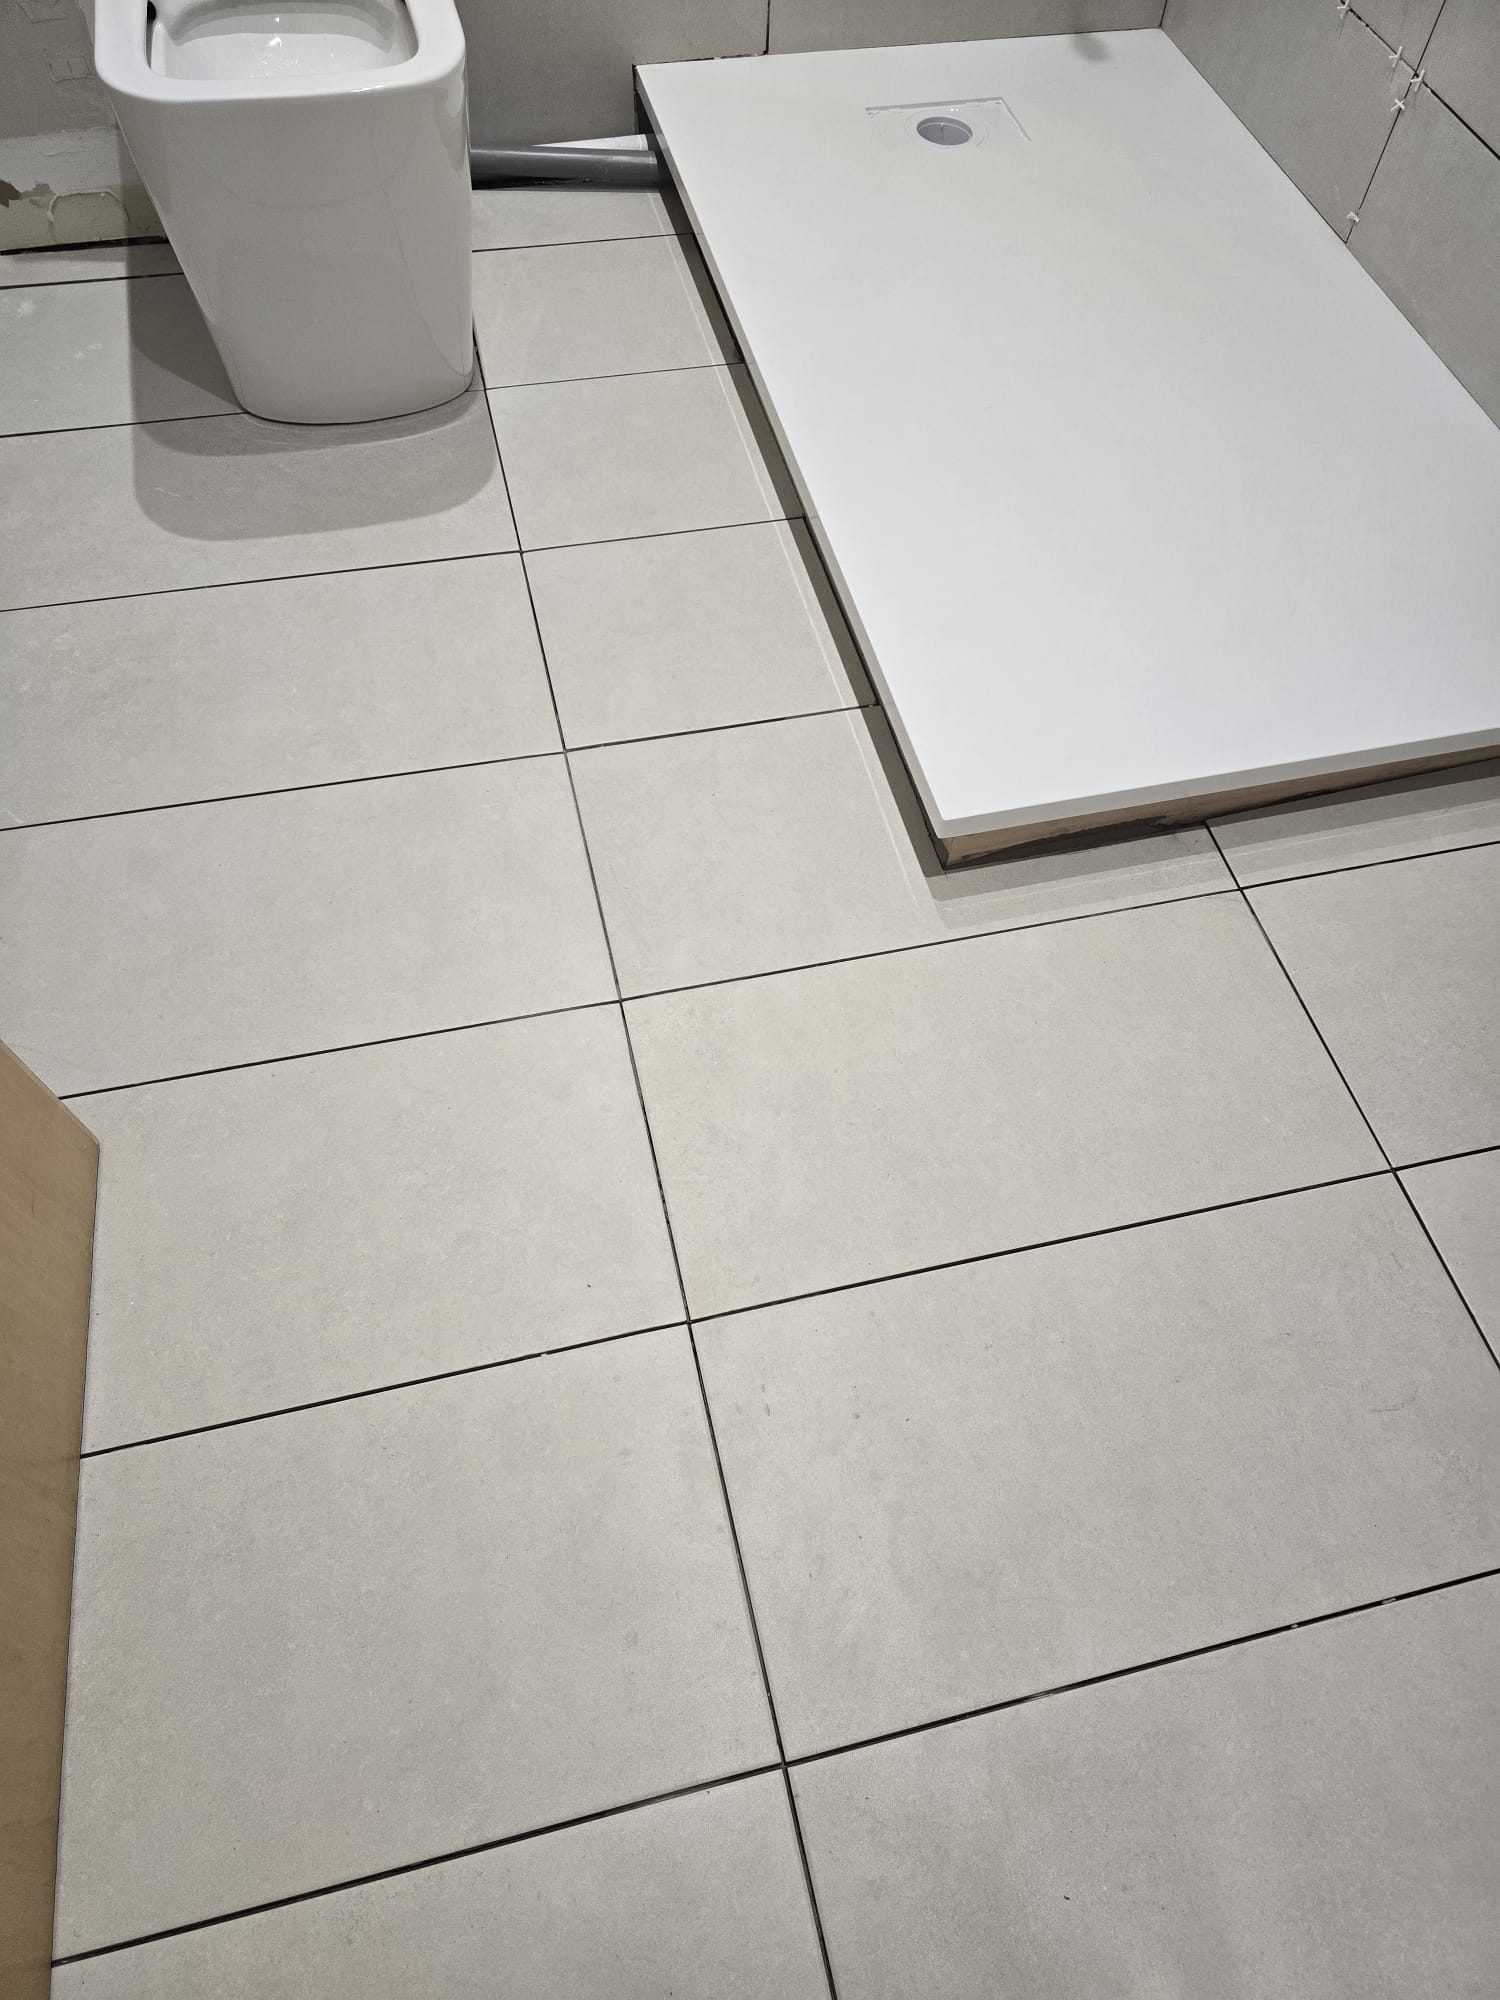
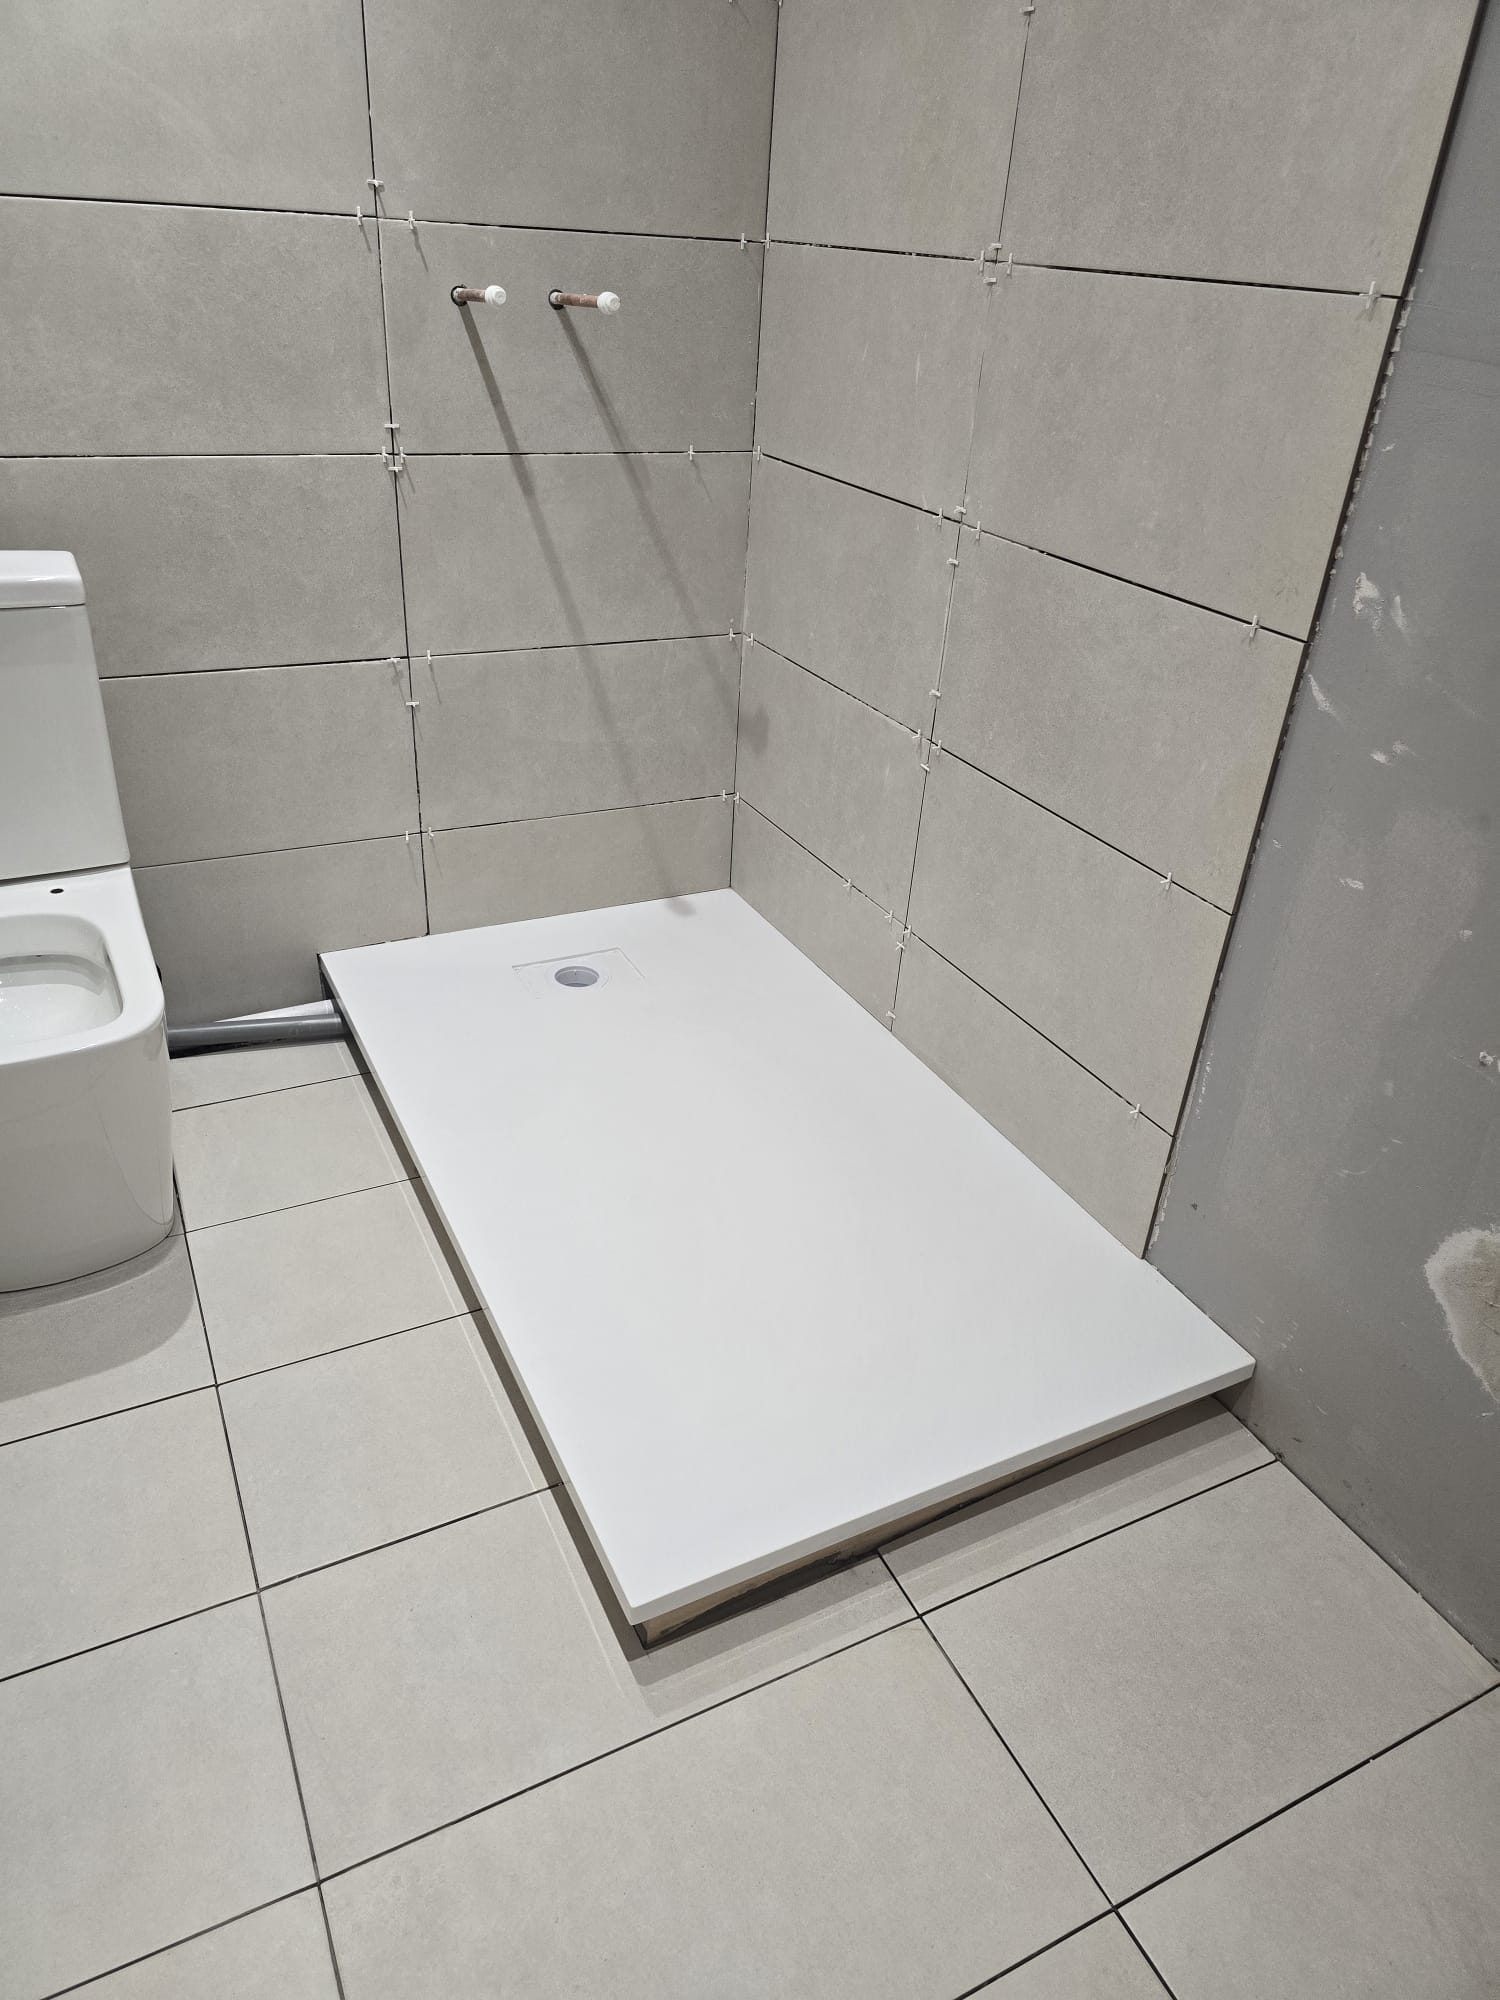
Tiling & shower baseLarge neutral tiles installed around a clean low-profile shower tray.
Premium finishingGlass screen, dark vanity and brushed brass fittings complete the room.
Preparation & Build
Behind the finished result
These images show the room during the strip-out, plumbing preparation, tiling and shower-tray installation stages.
Strip-outFirst fixPreparationFloor tilingWall tilingShower base
Completed
Finished bathroom
A bright, low-maintenance bathroom with a spacious walk-in shower, clean neutral surfaces and contrasting dark and brass details.
AfterAfterAfterAfter
Project 03
Kitchen Refurbishment
Full kitchen transformation with two-tone cabinetry and warm brass details.
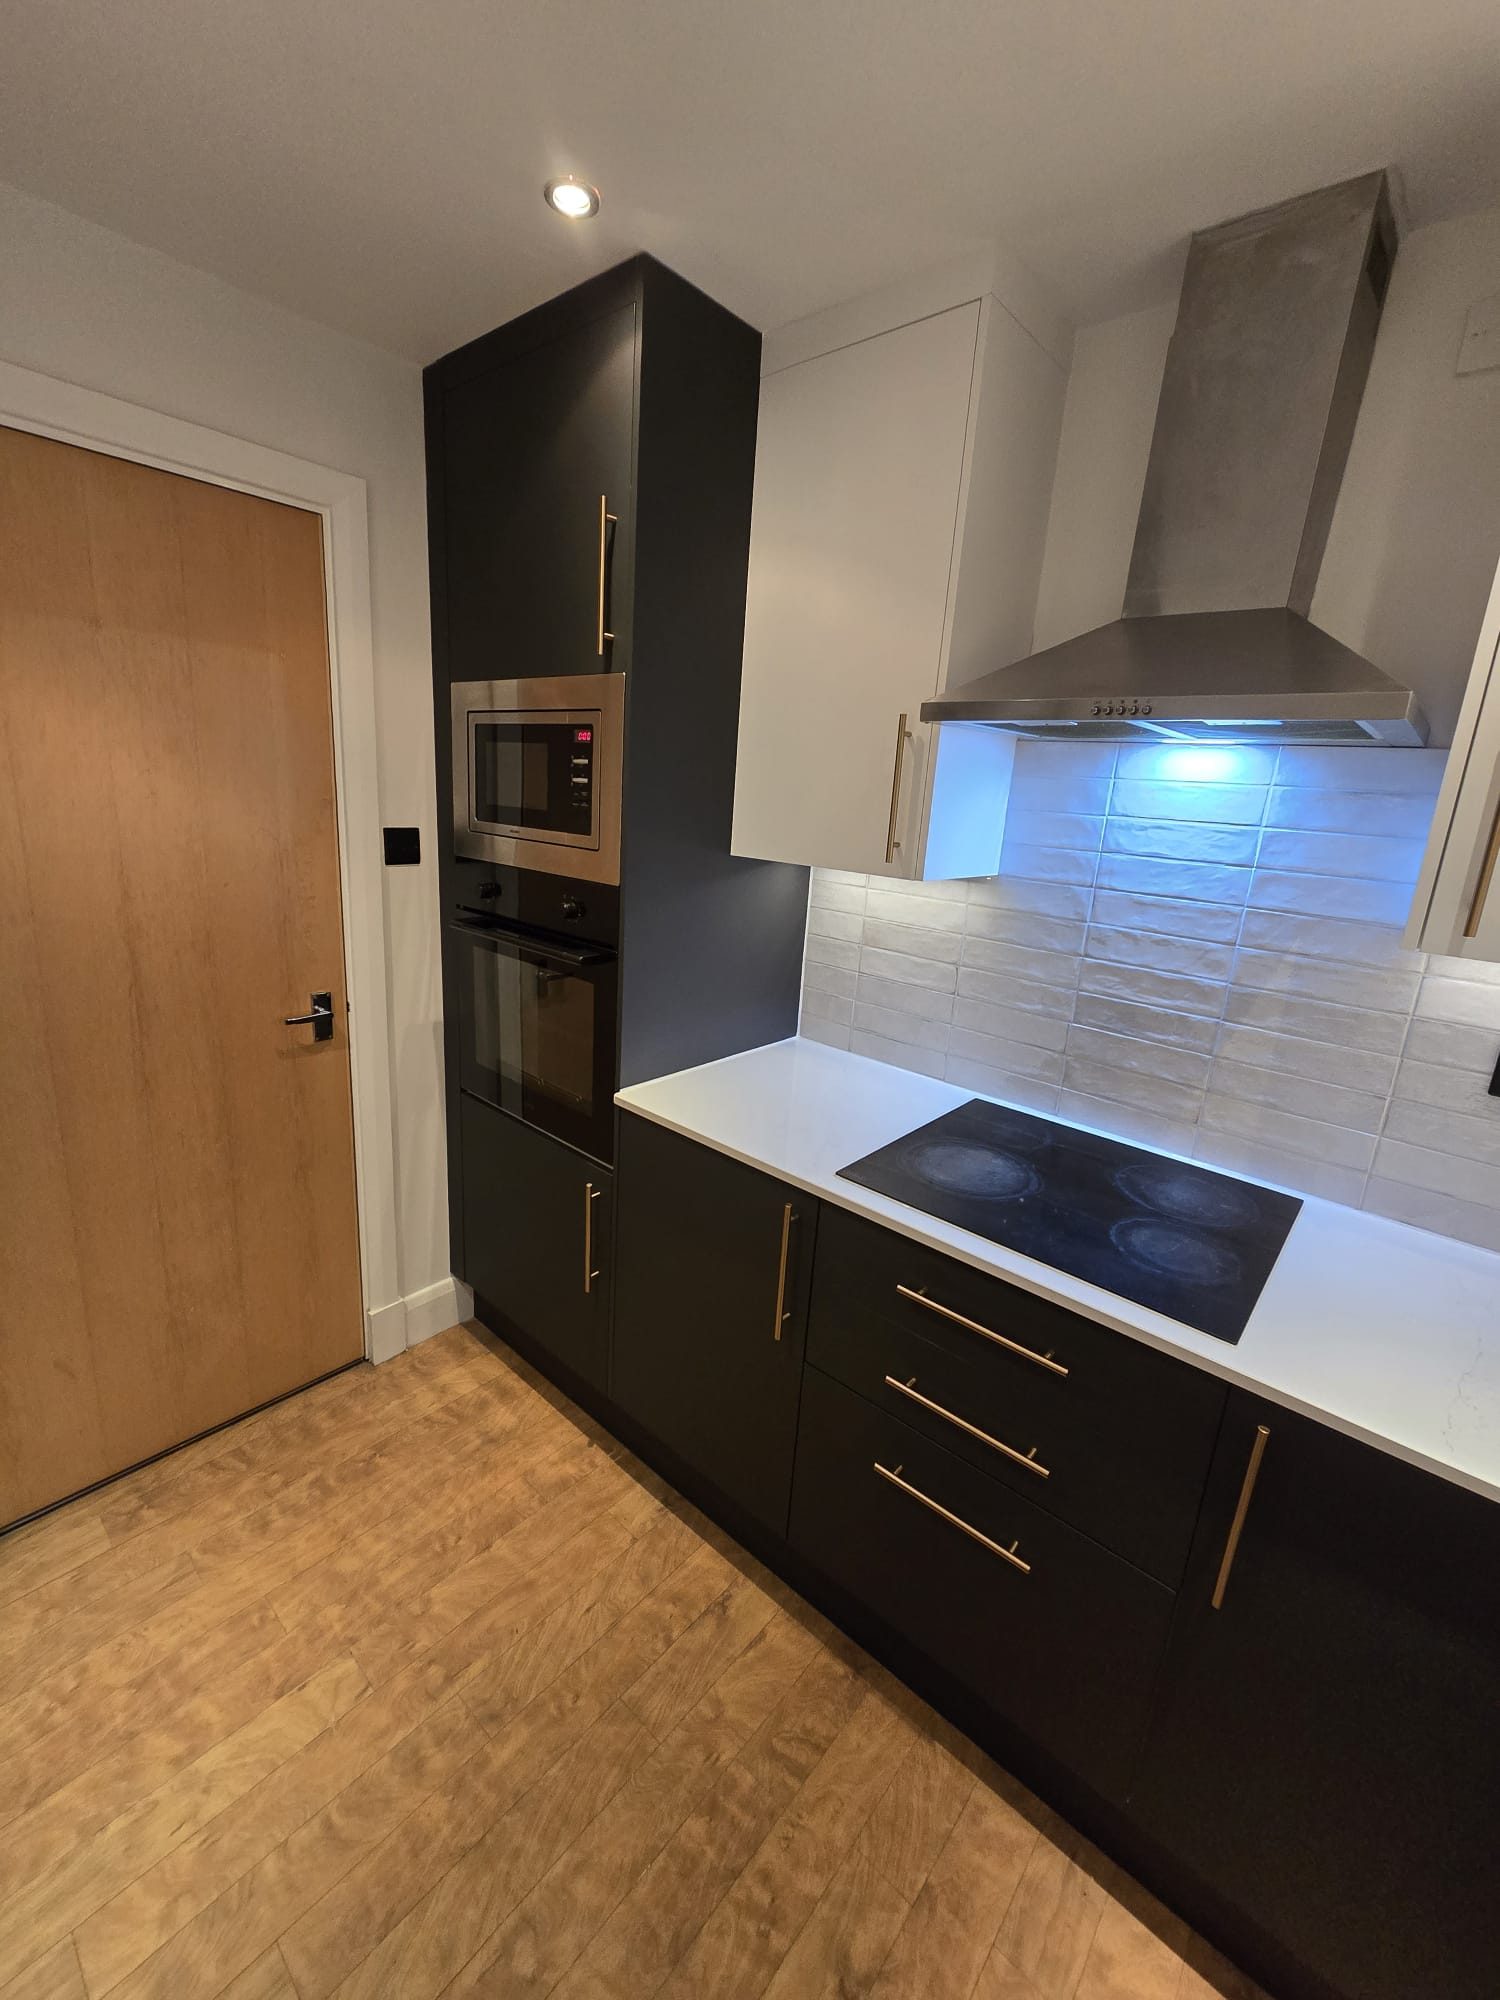
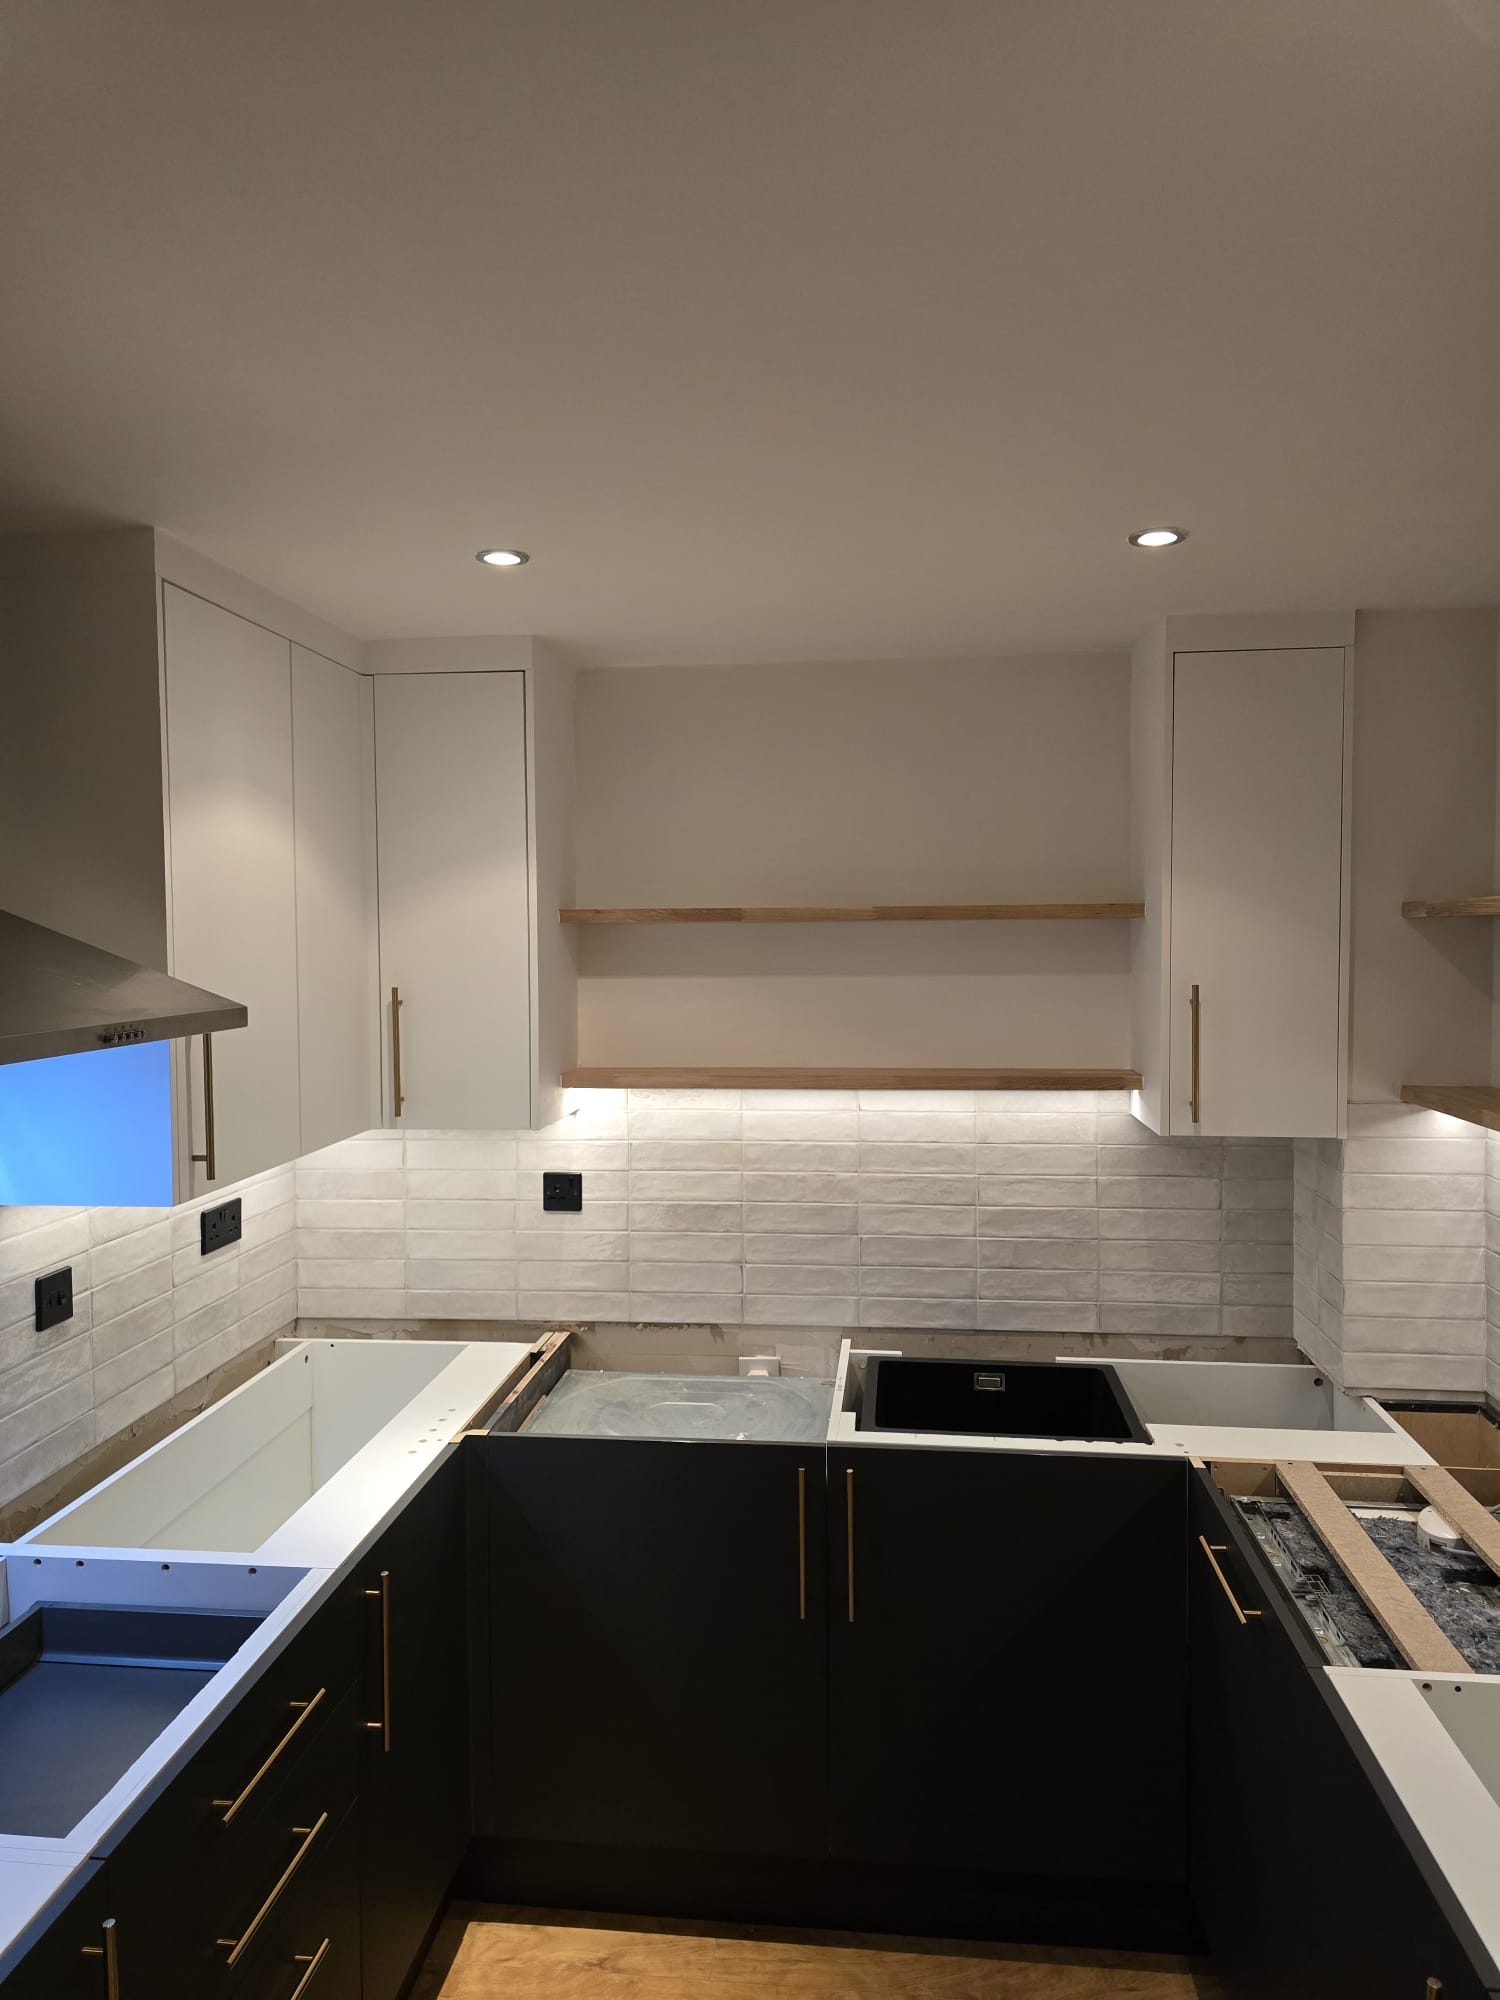
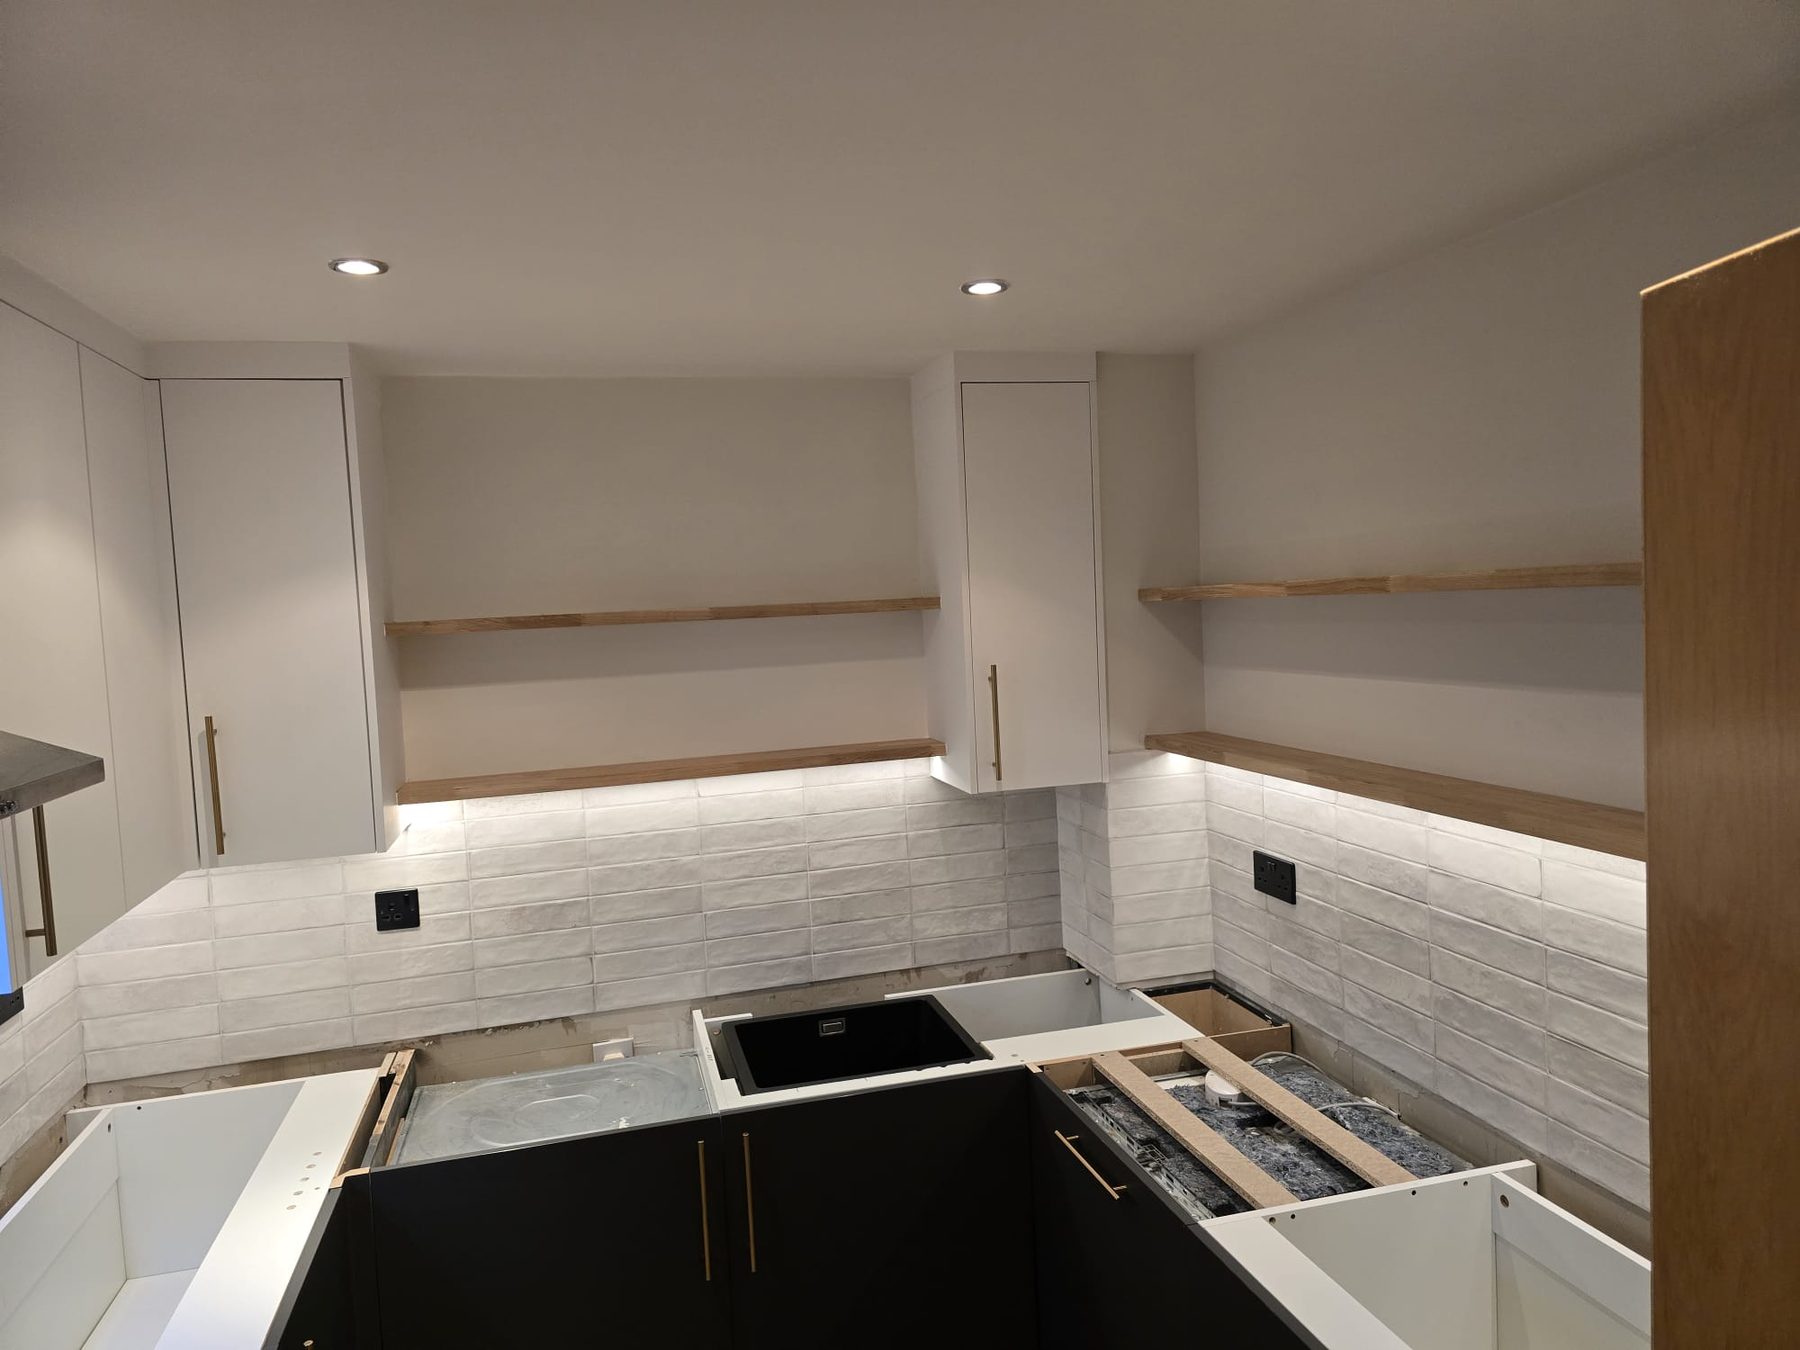
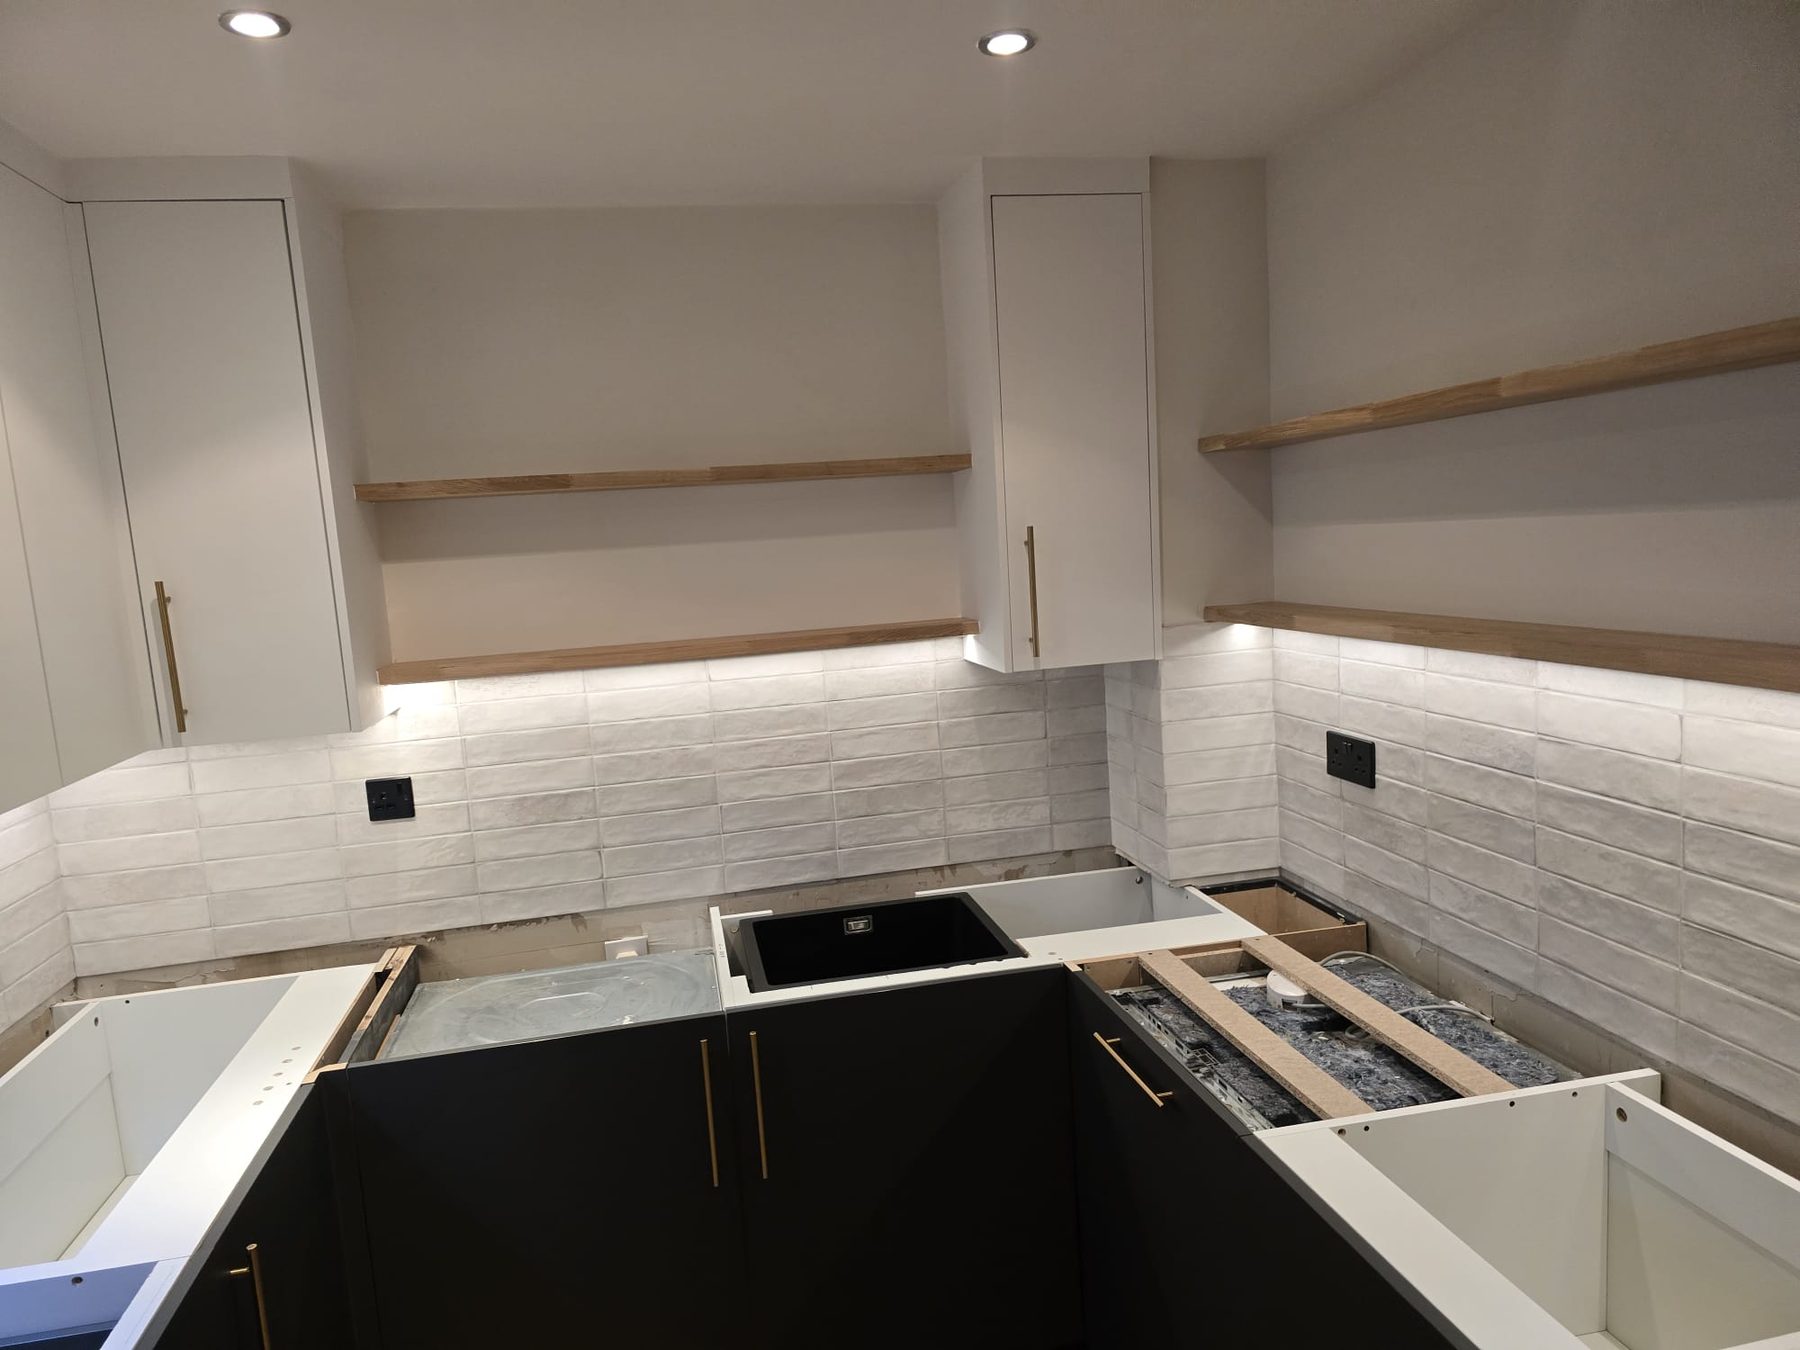
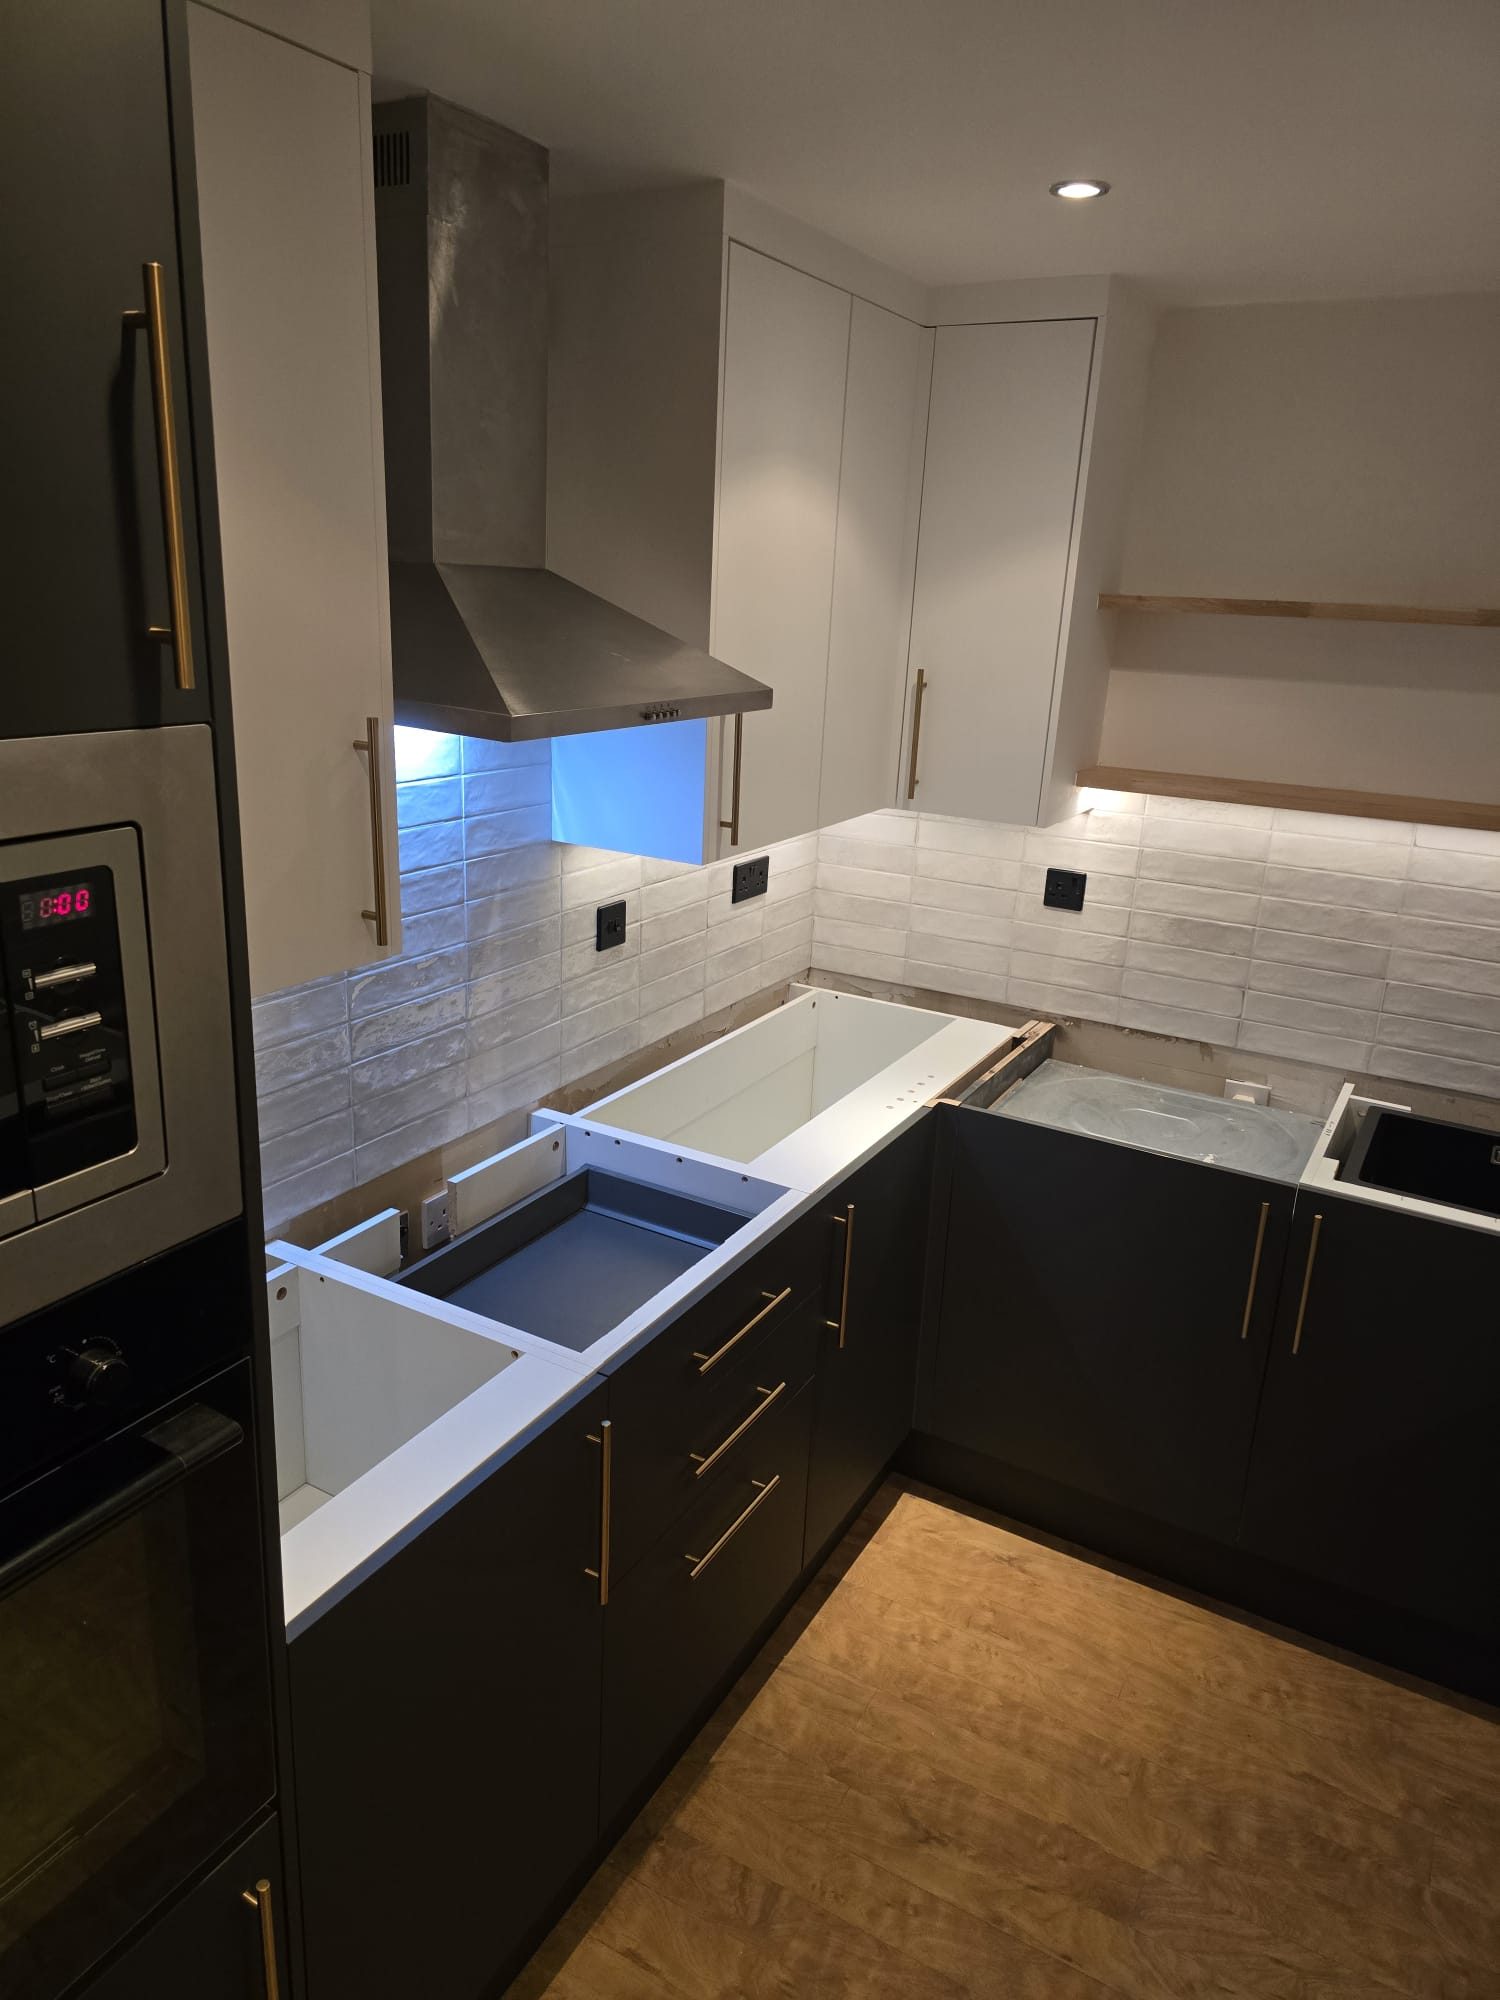
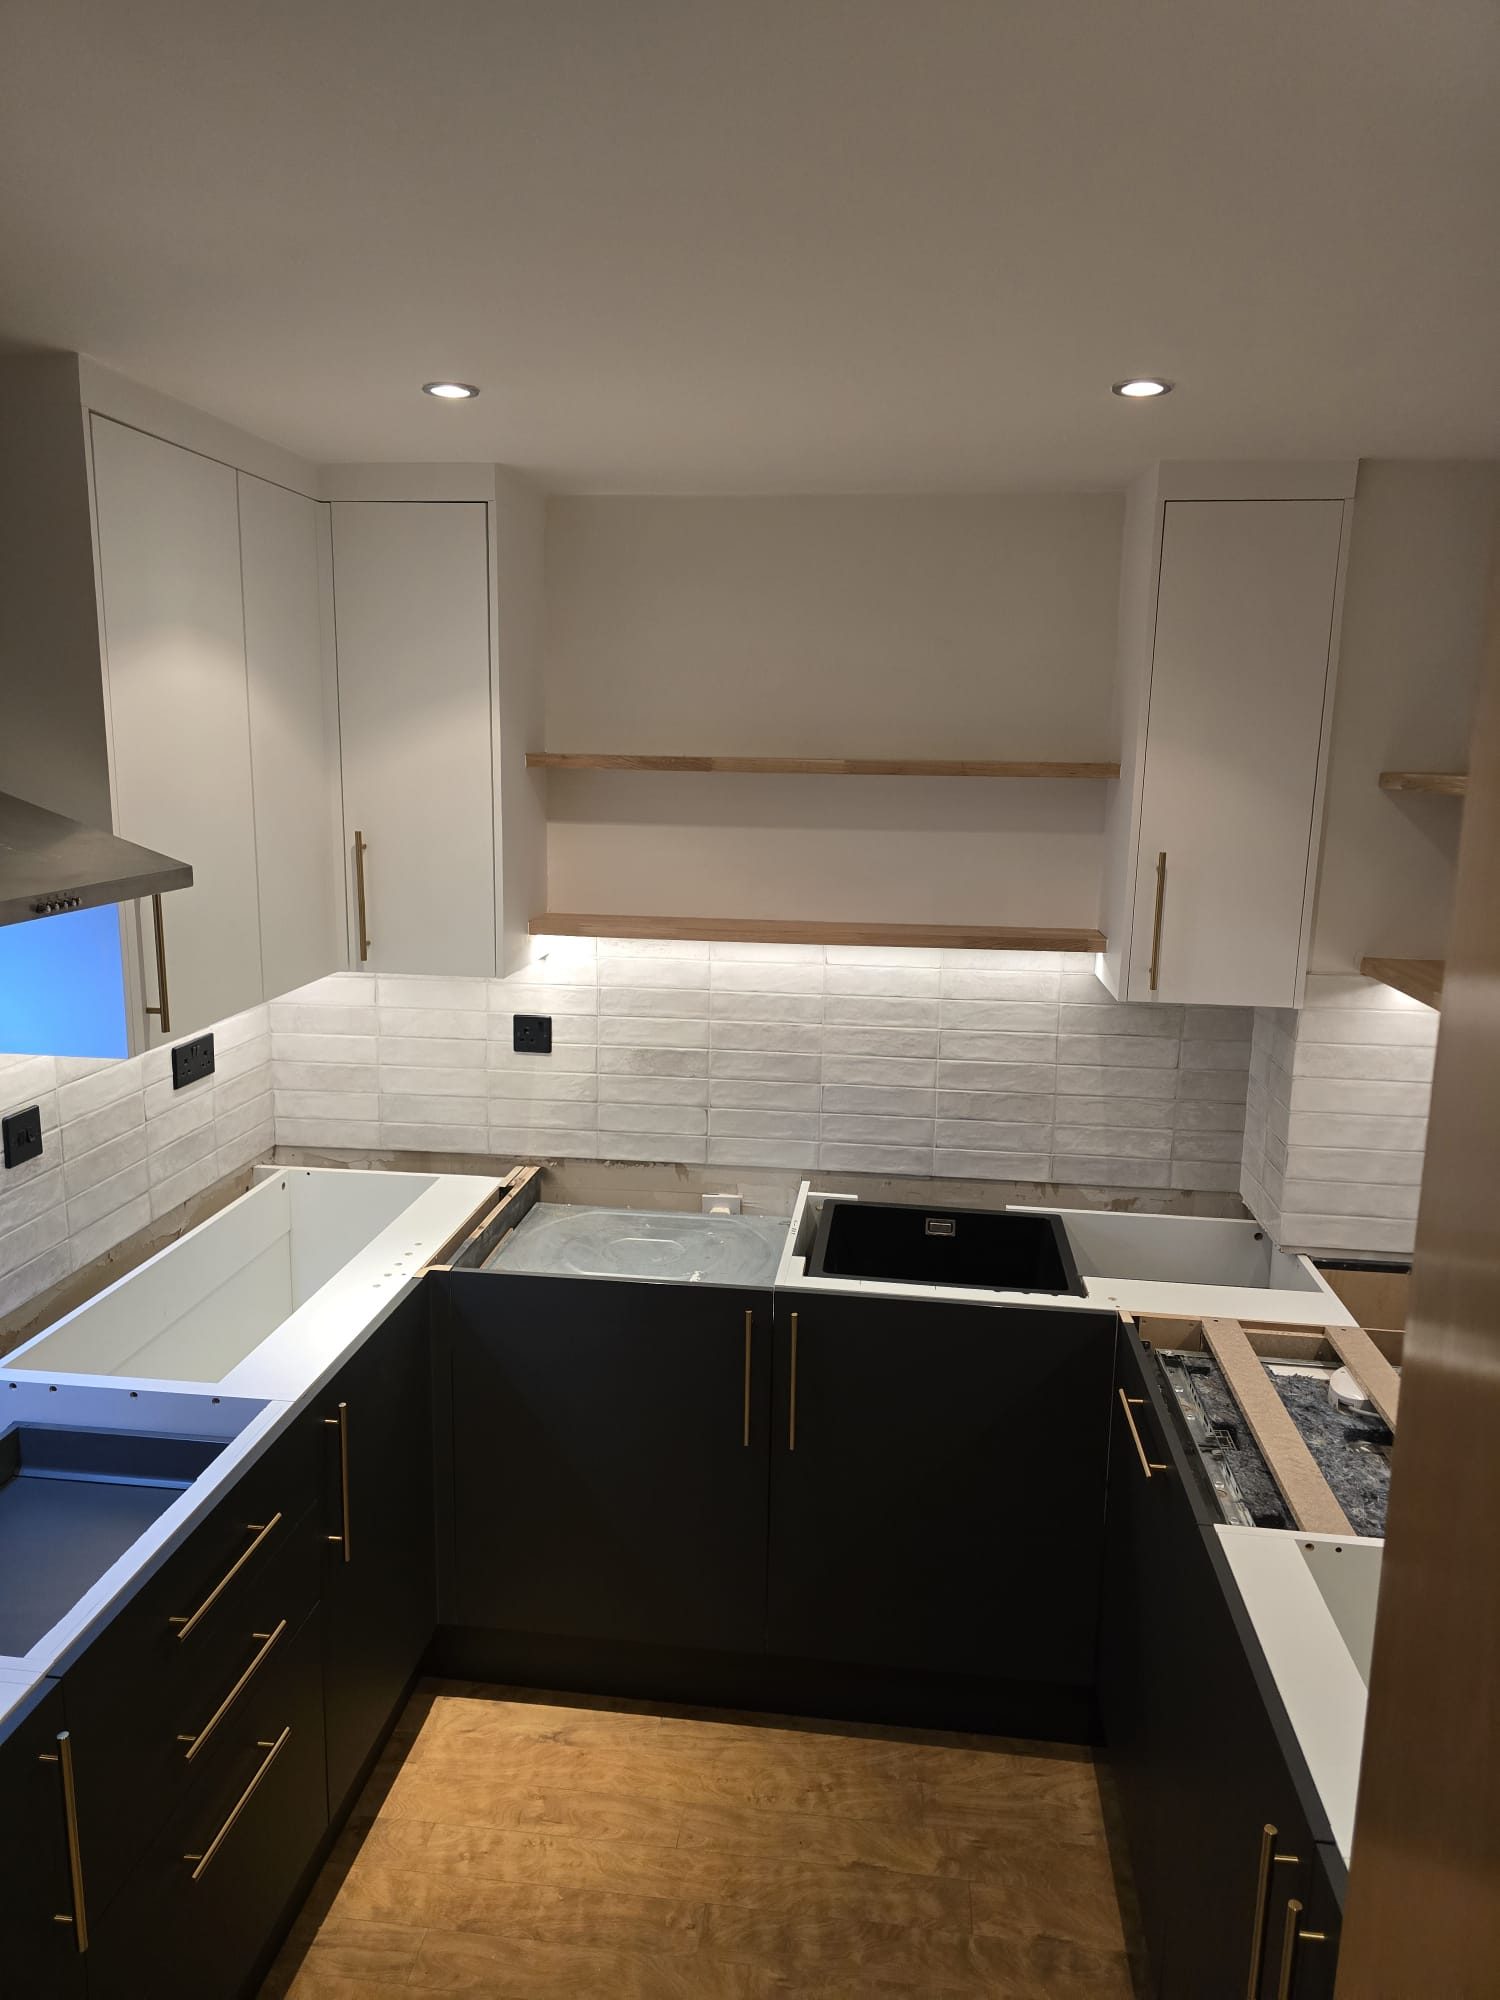
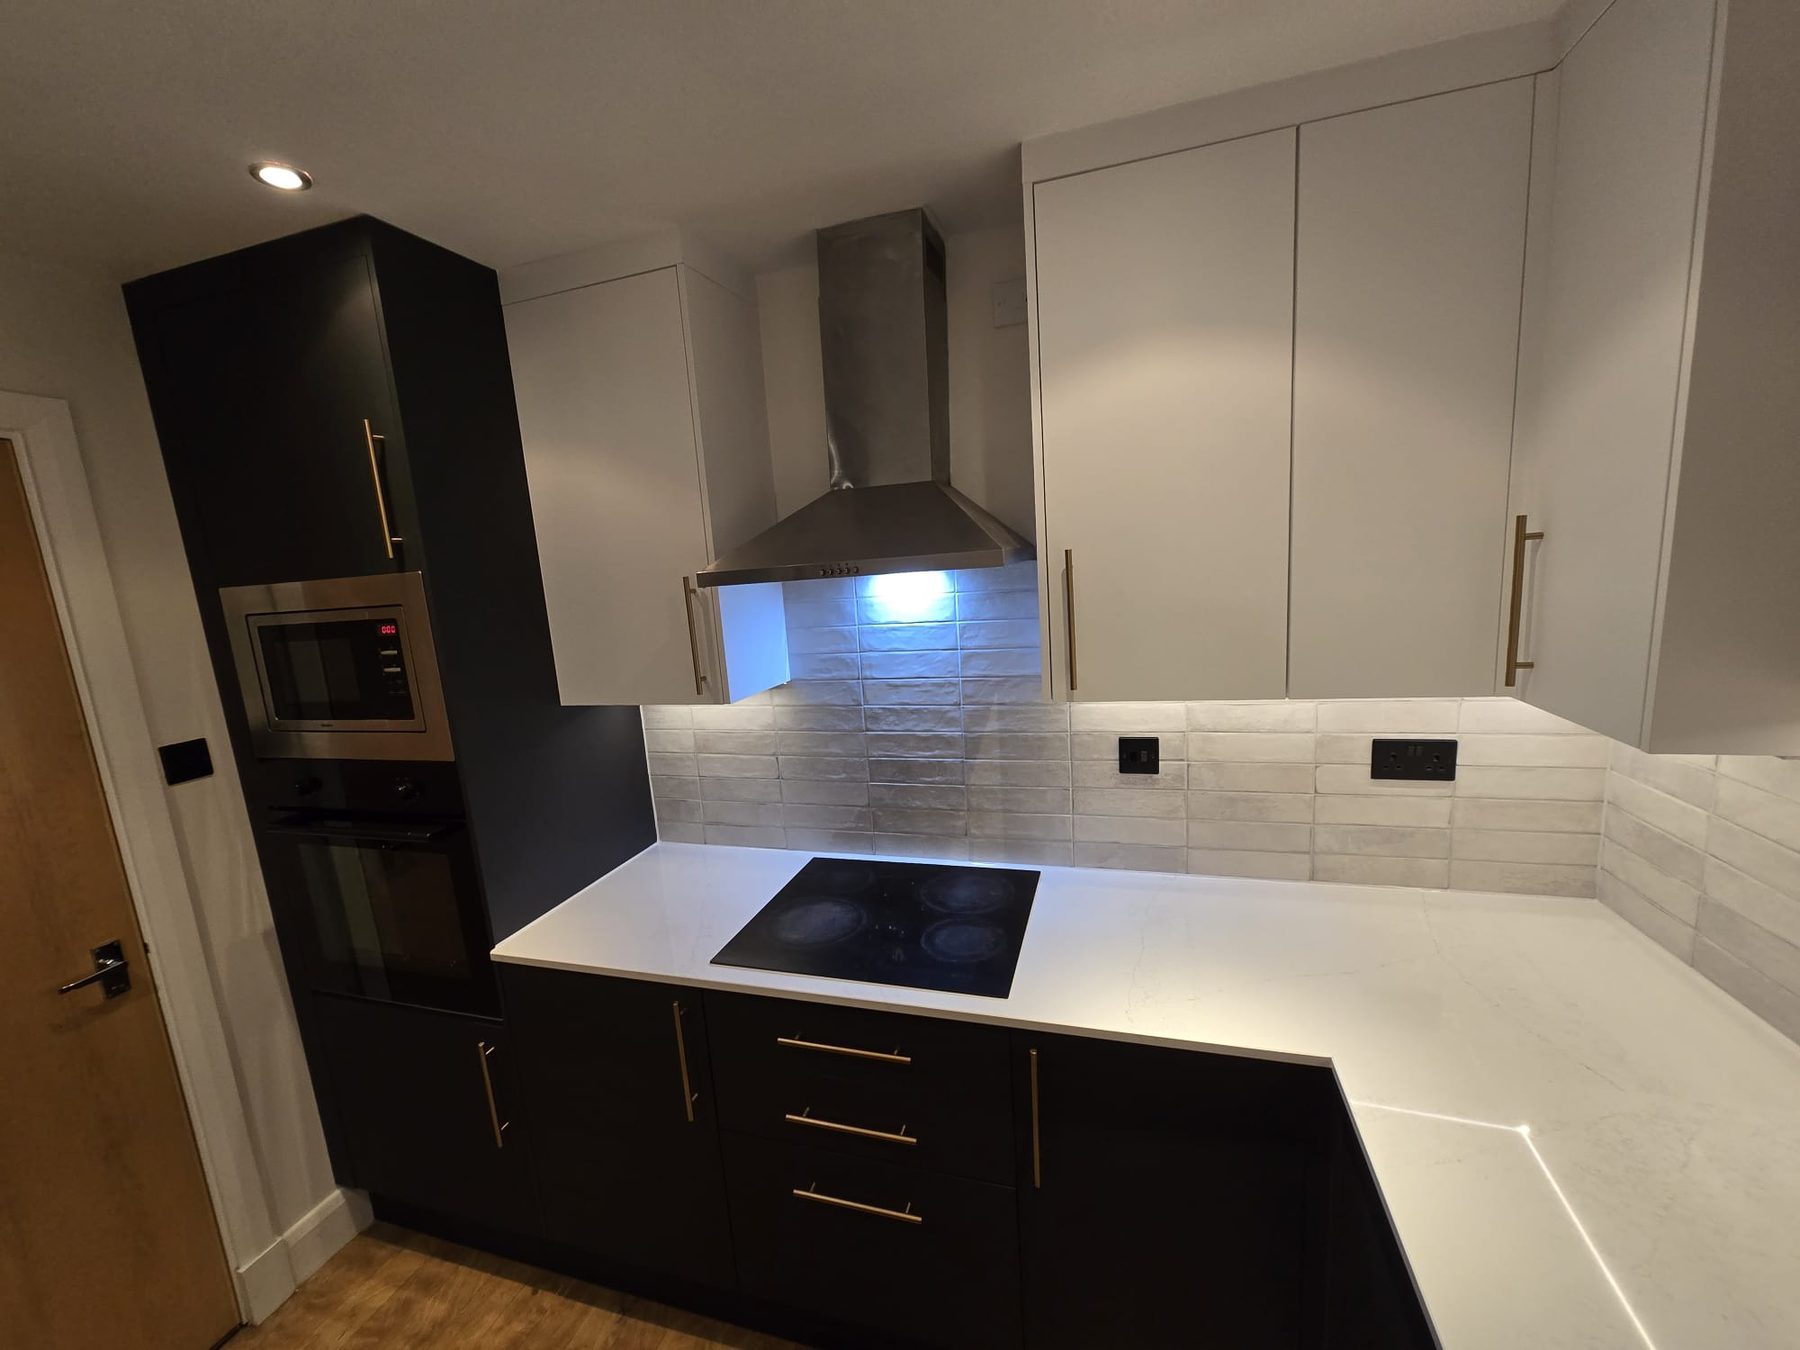
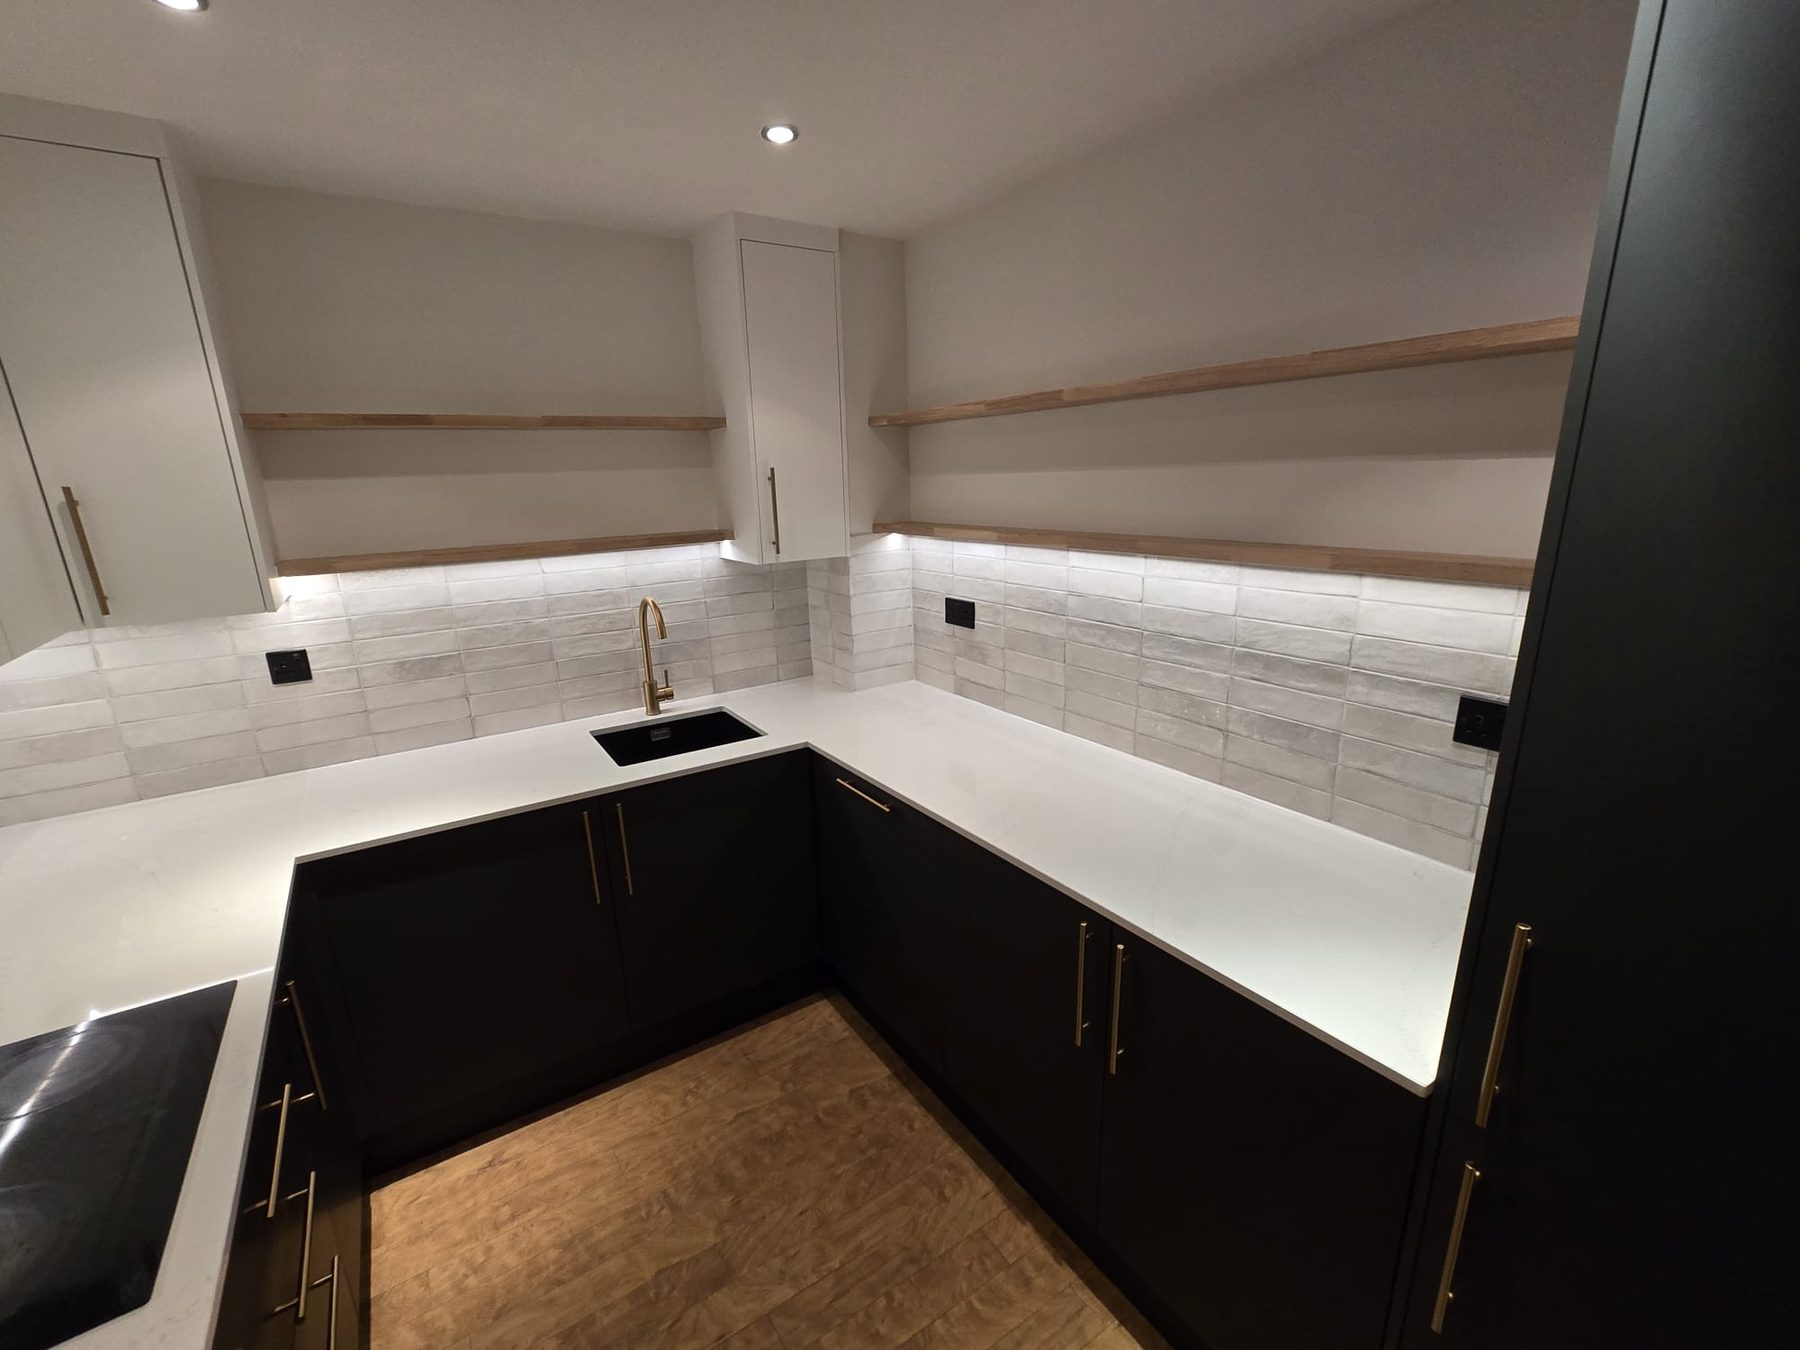
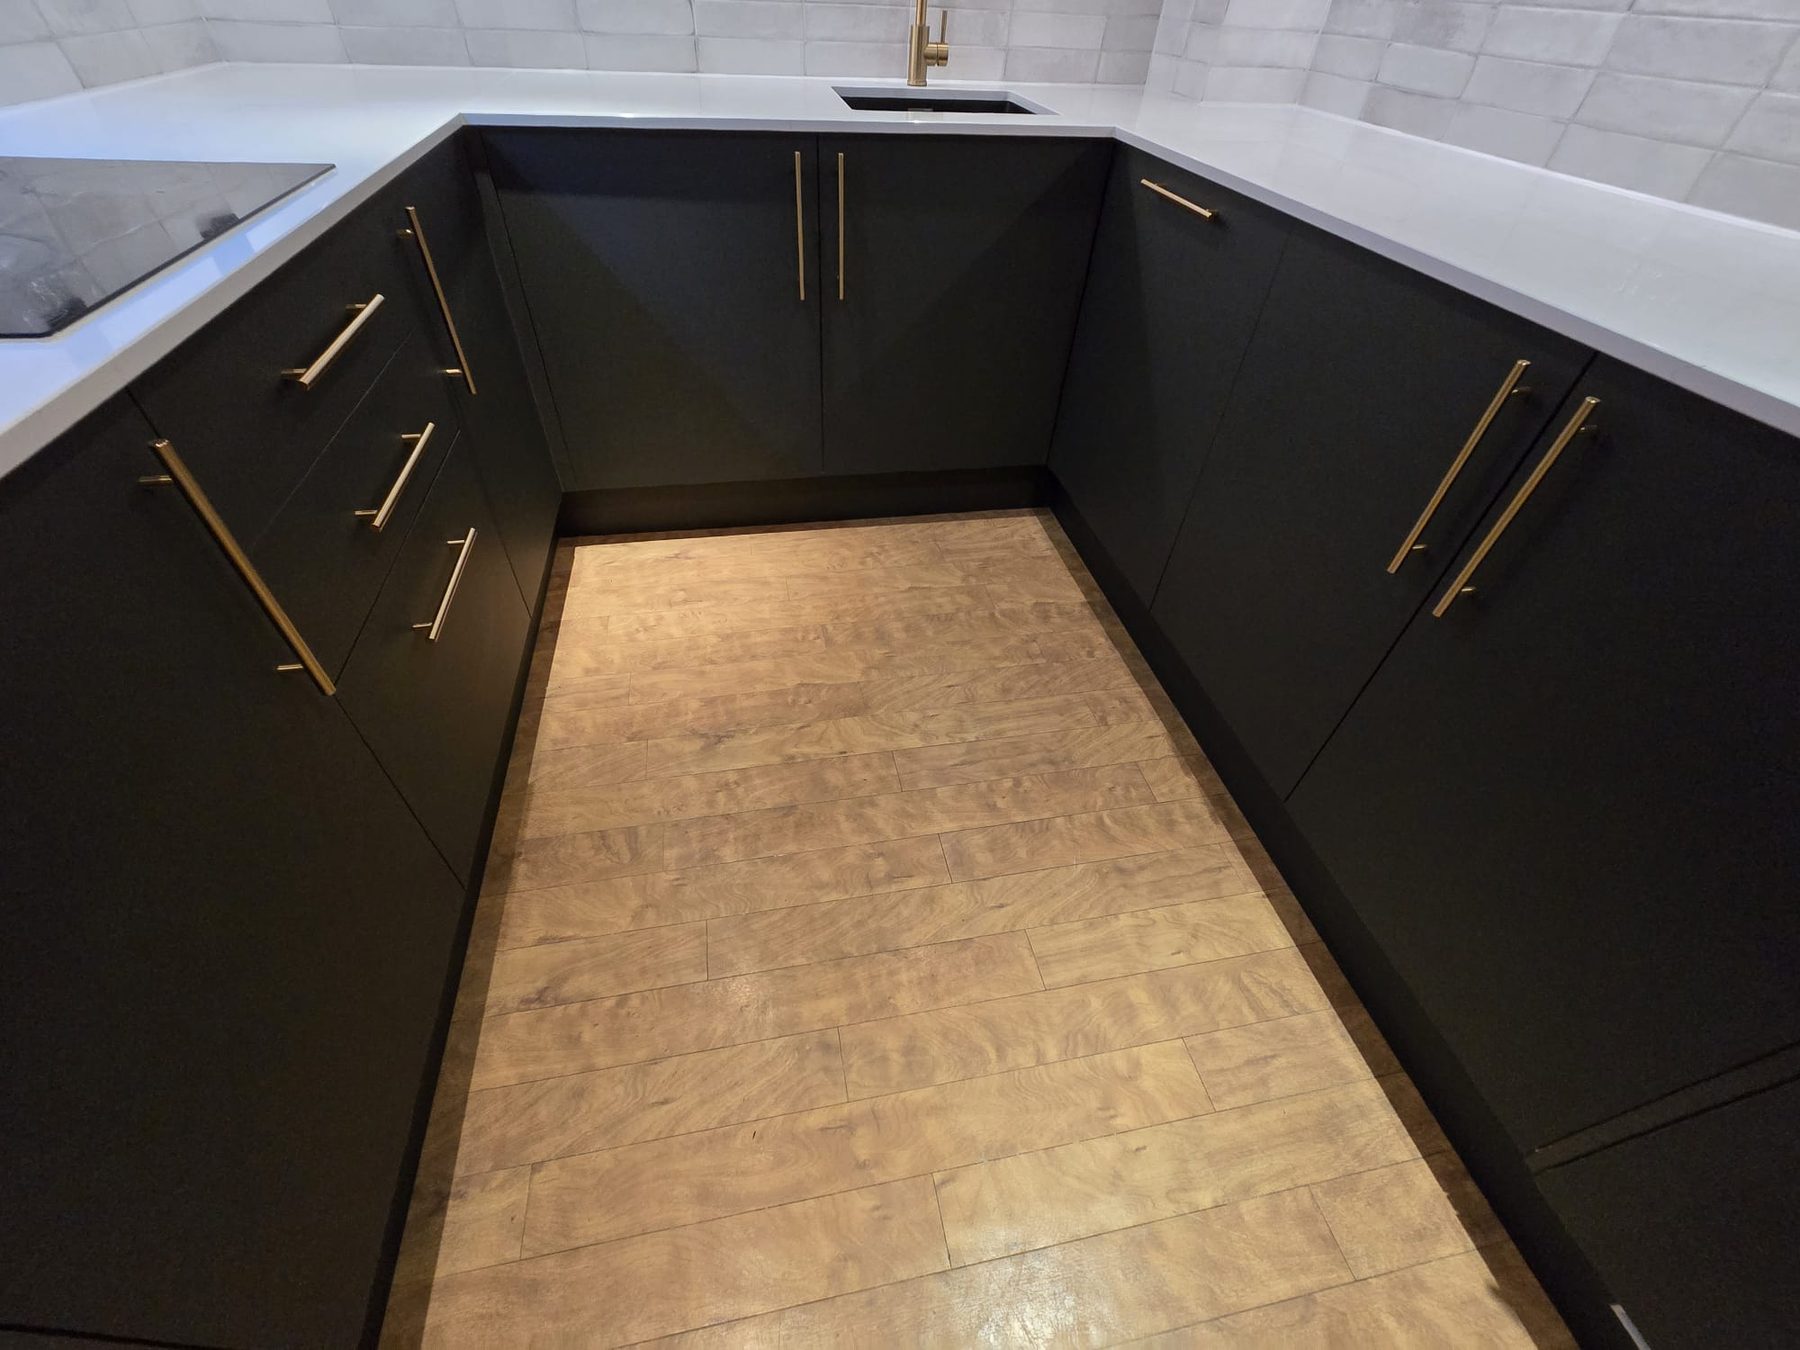
This kitchen was stripped back and rebuilt with a more refined, contemporary layout. The finished design combines dark lower and tall units with clean white wall cabinetry, timber open shelving, white worktops, a tiled splashback and brass-tone handles and fittings.
Full kitchen refurbishmentCabinet installationWorktopsWall tilingLightingAppliance integrationDecorating
Before & After
From stripped kitchen to a finished modern space.
Drag the divider to compare the stripped-out kitchen with the completed refurbishment.
BEFOREAFTER
↔
Strip-out & preparationExisting kitchen units and finishes removed ready for the new installation.
Cabinetry & storageTwo-tone cabinetry installed with integrated tall units and practical base storage.
Tiling & lightingFresh splashback tiling combined with under-cabinet and ceiling lighting.
Final finishWhite worktops, timber shelves and brass-tone handles bring the design together.
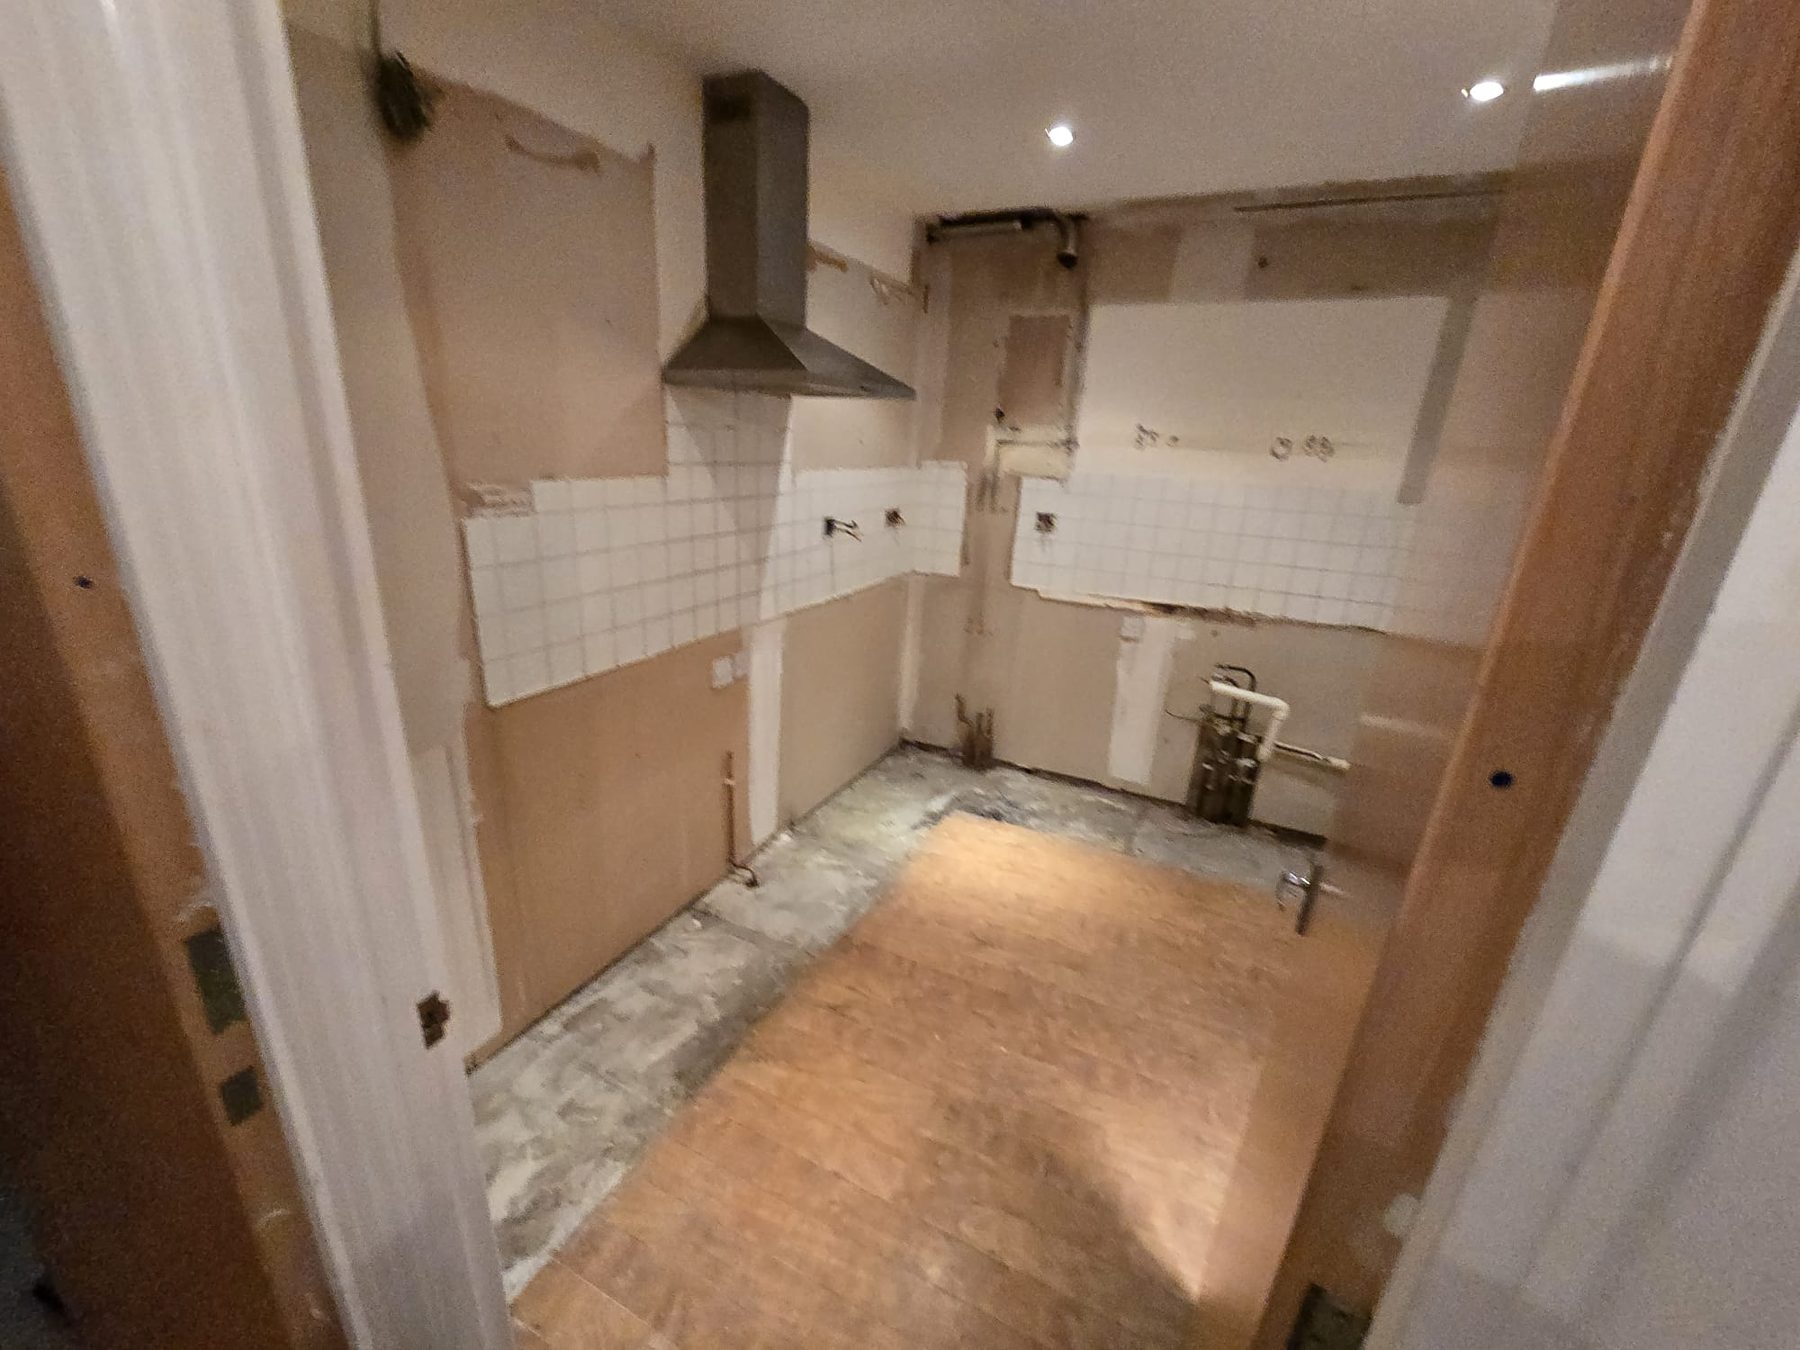
Before
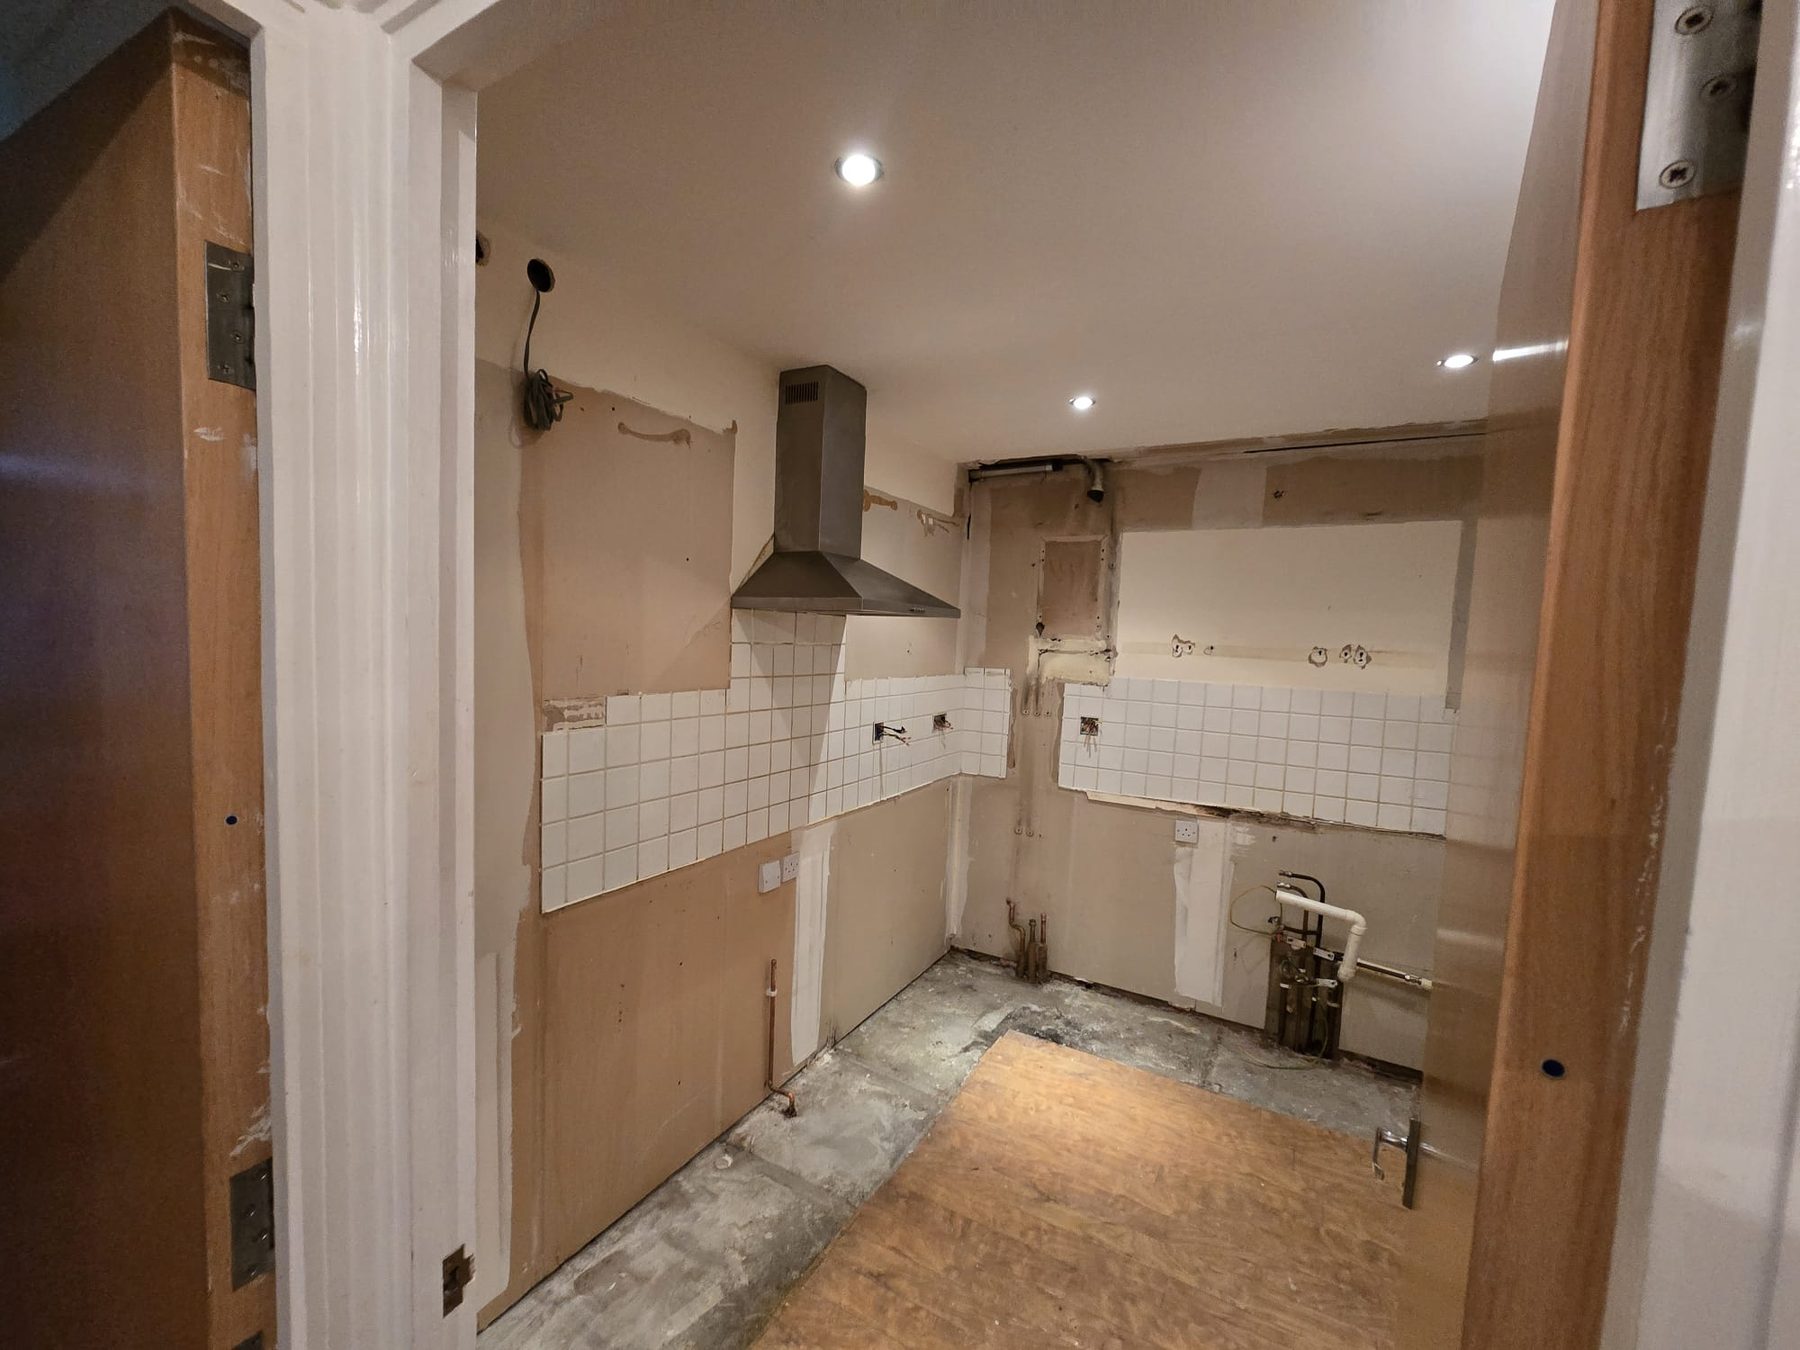
Starting condition
The old kitchen had been largely stripped, leaving exposed wall areas, plumbing and a partial floor finish ready for a complete rebuild.
BeforeBeforeBefore
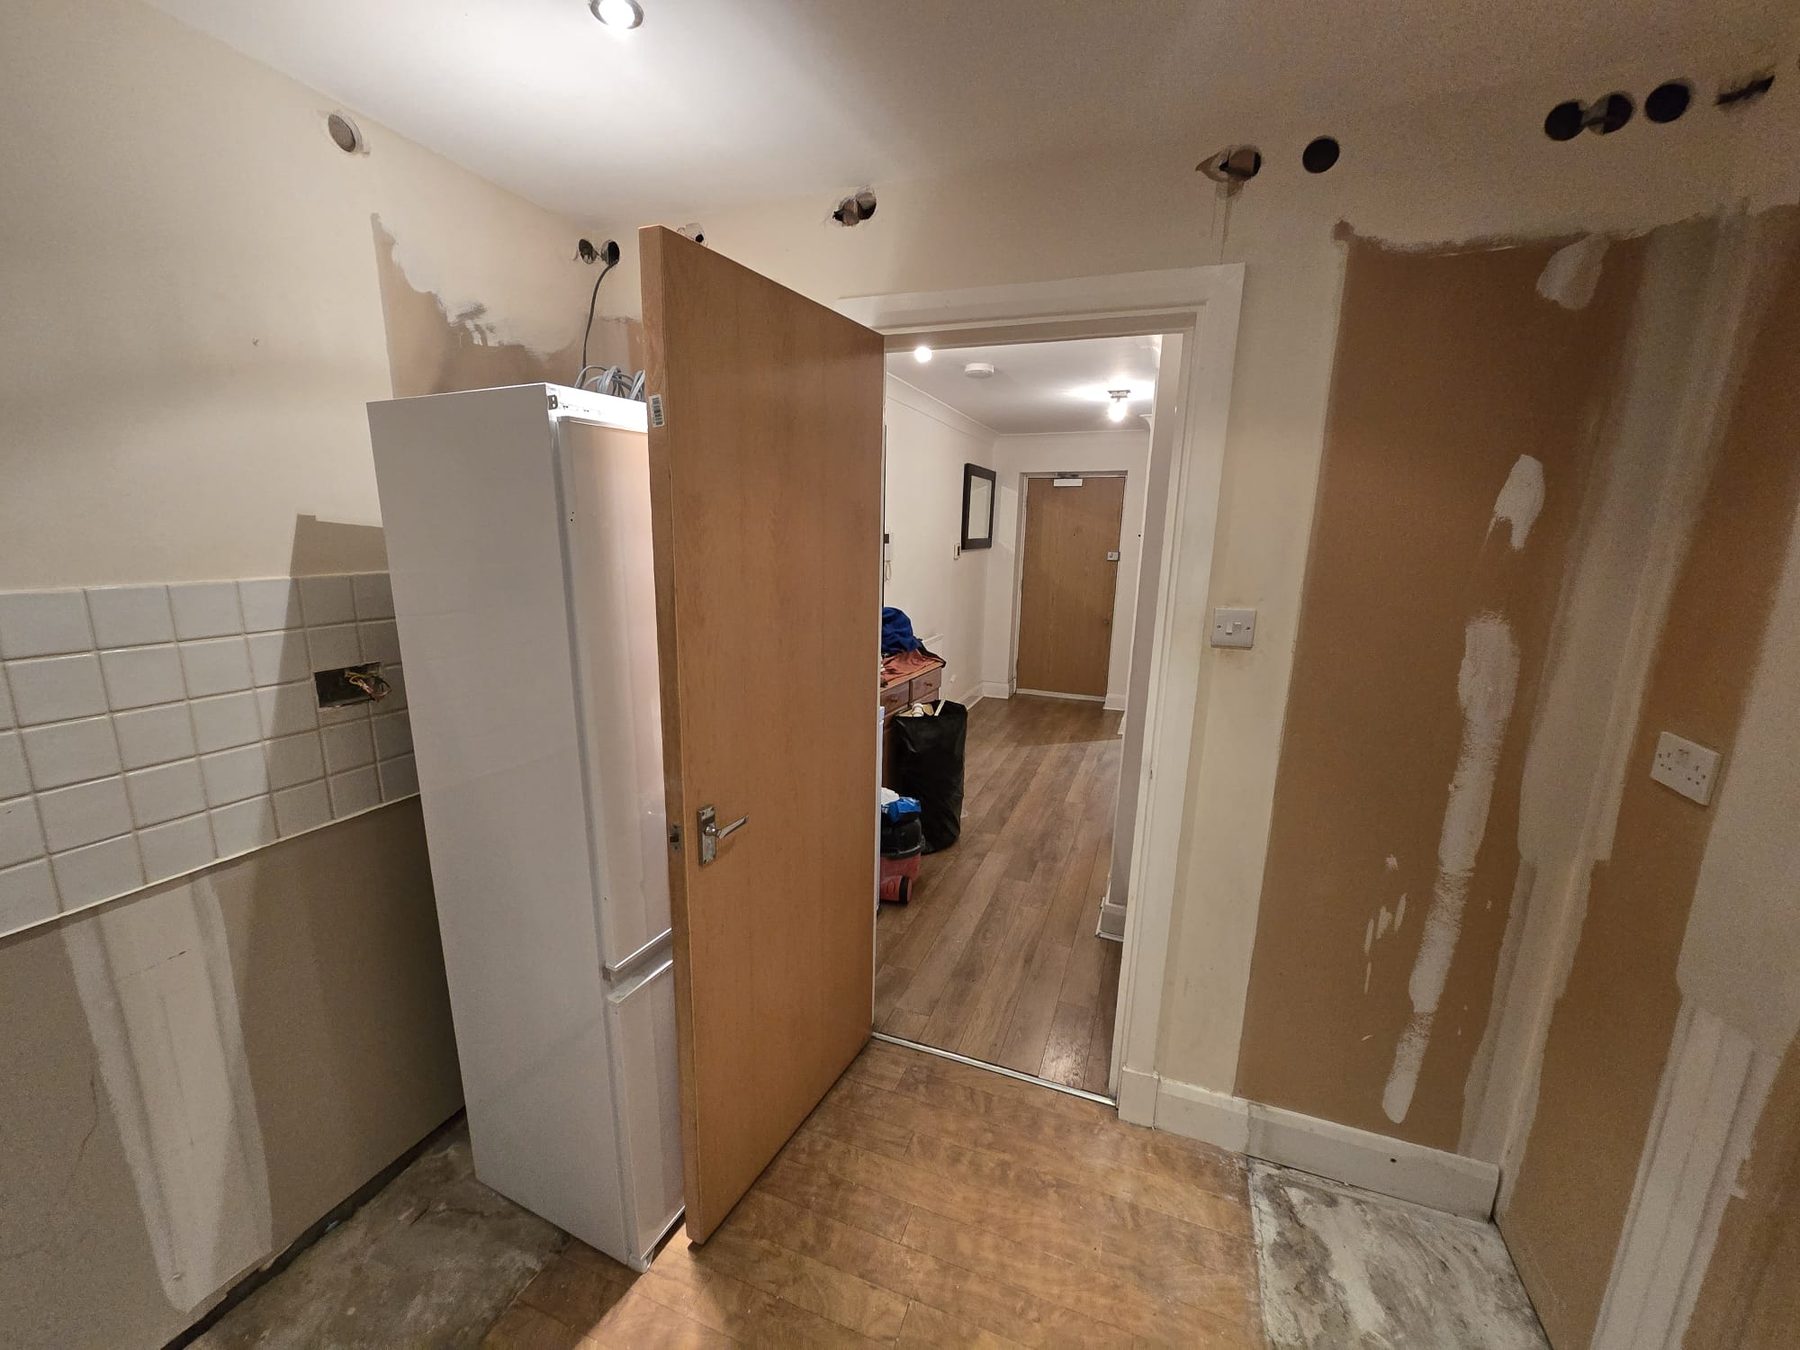
Installation
Kitchen build in progress
Cabinetry, wall units, open shelving, tiled splashbacks and integrated fittings were installed before the worktops and final finishing stages.
The completed kitchen combines strong contrast, practical storage and warmer detailing for a clean contemporary result.
AfterAfterAfterAfter
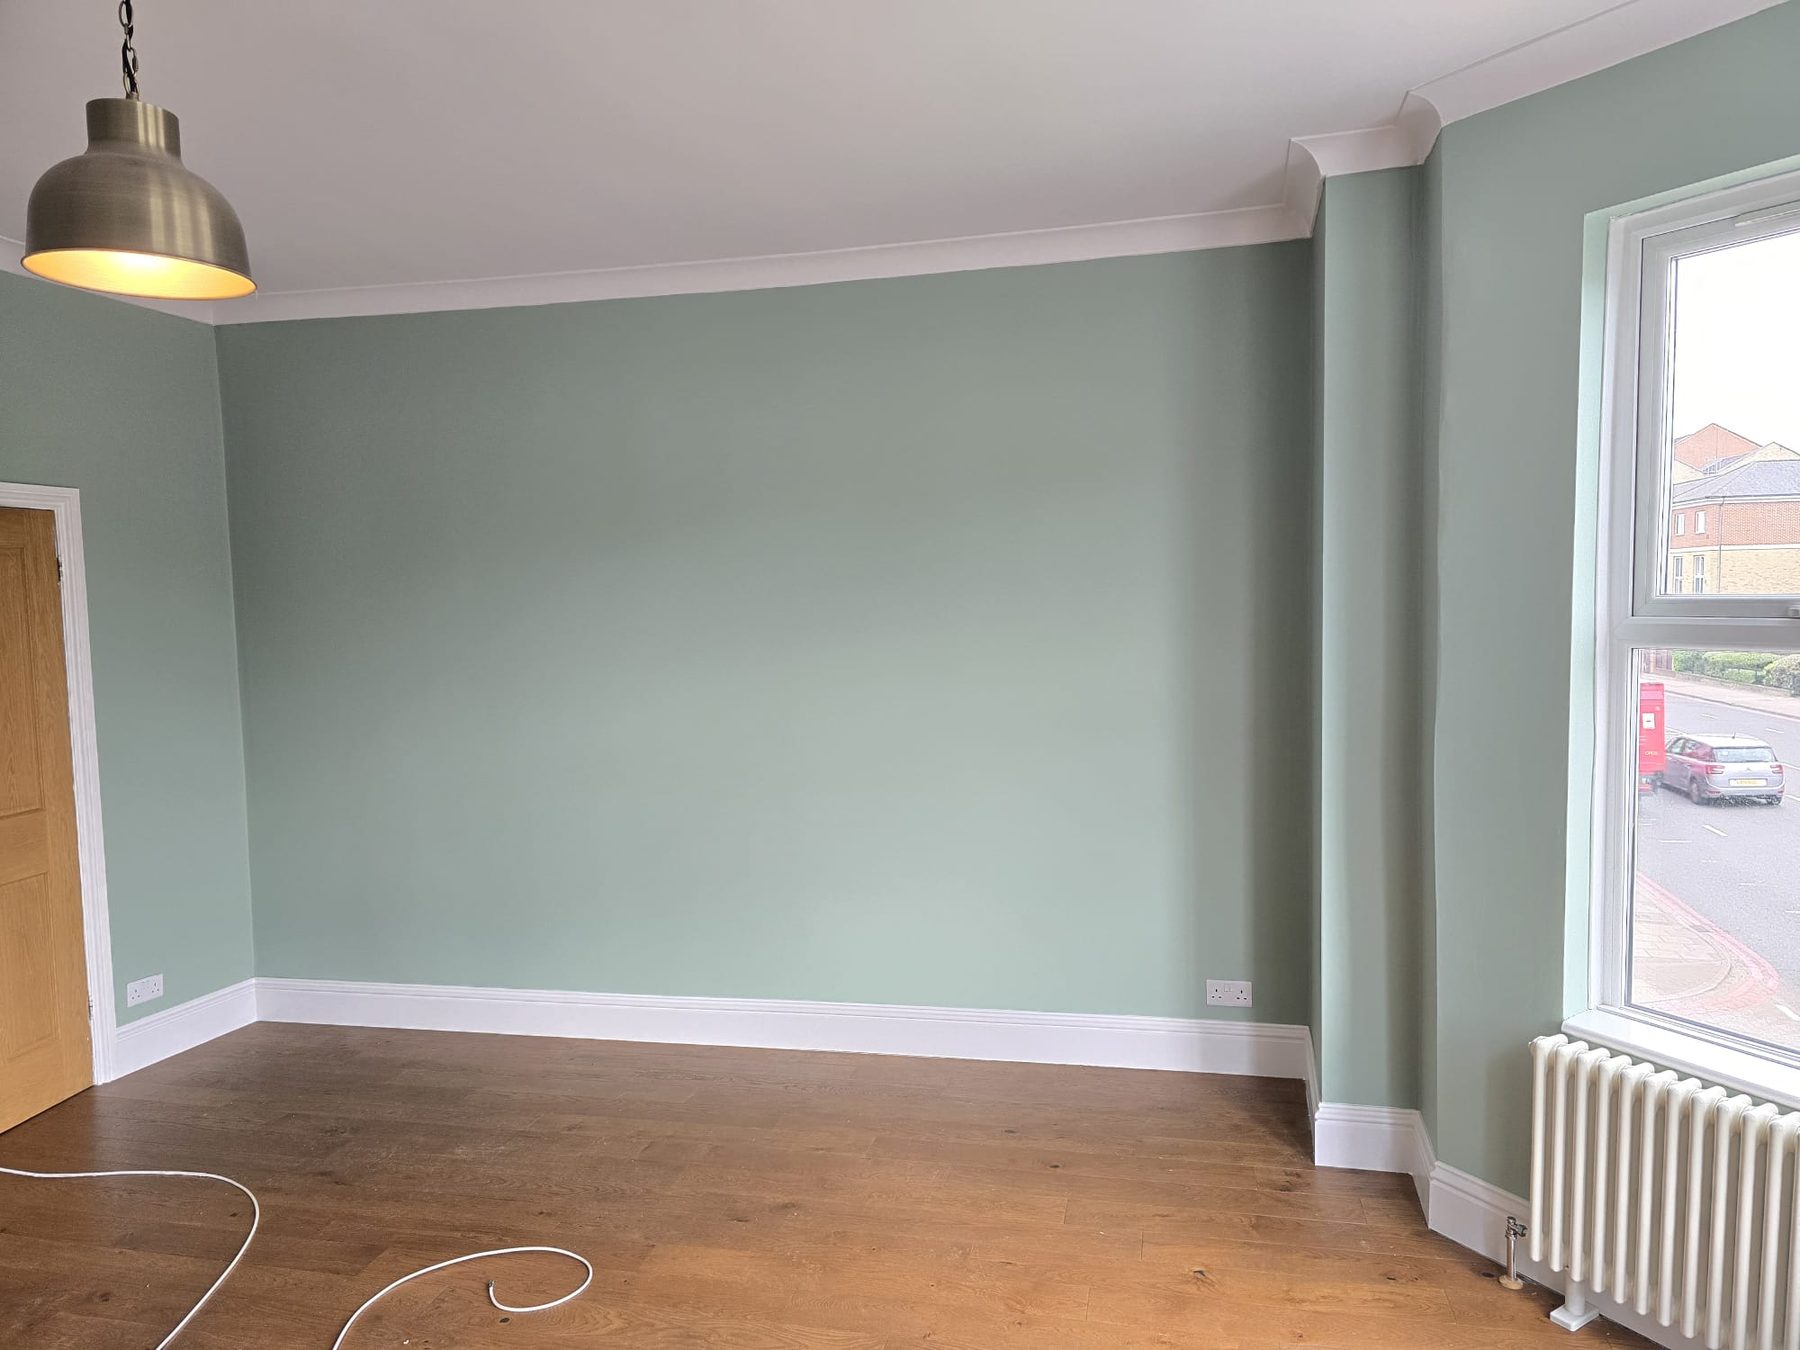
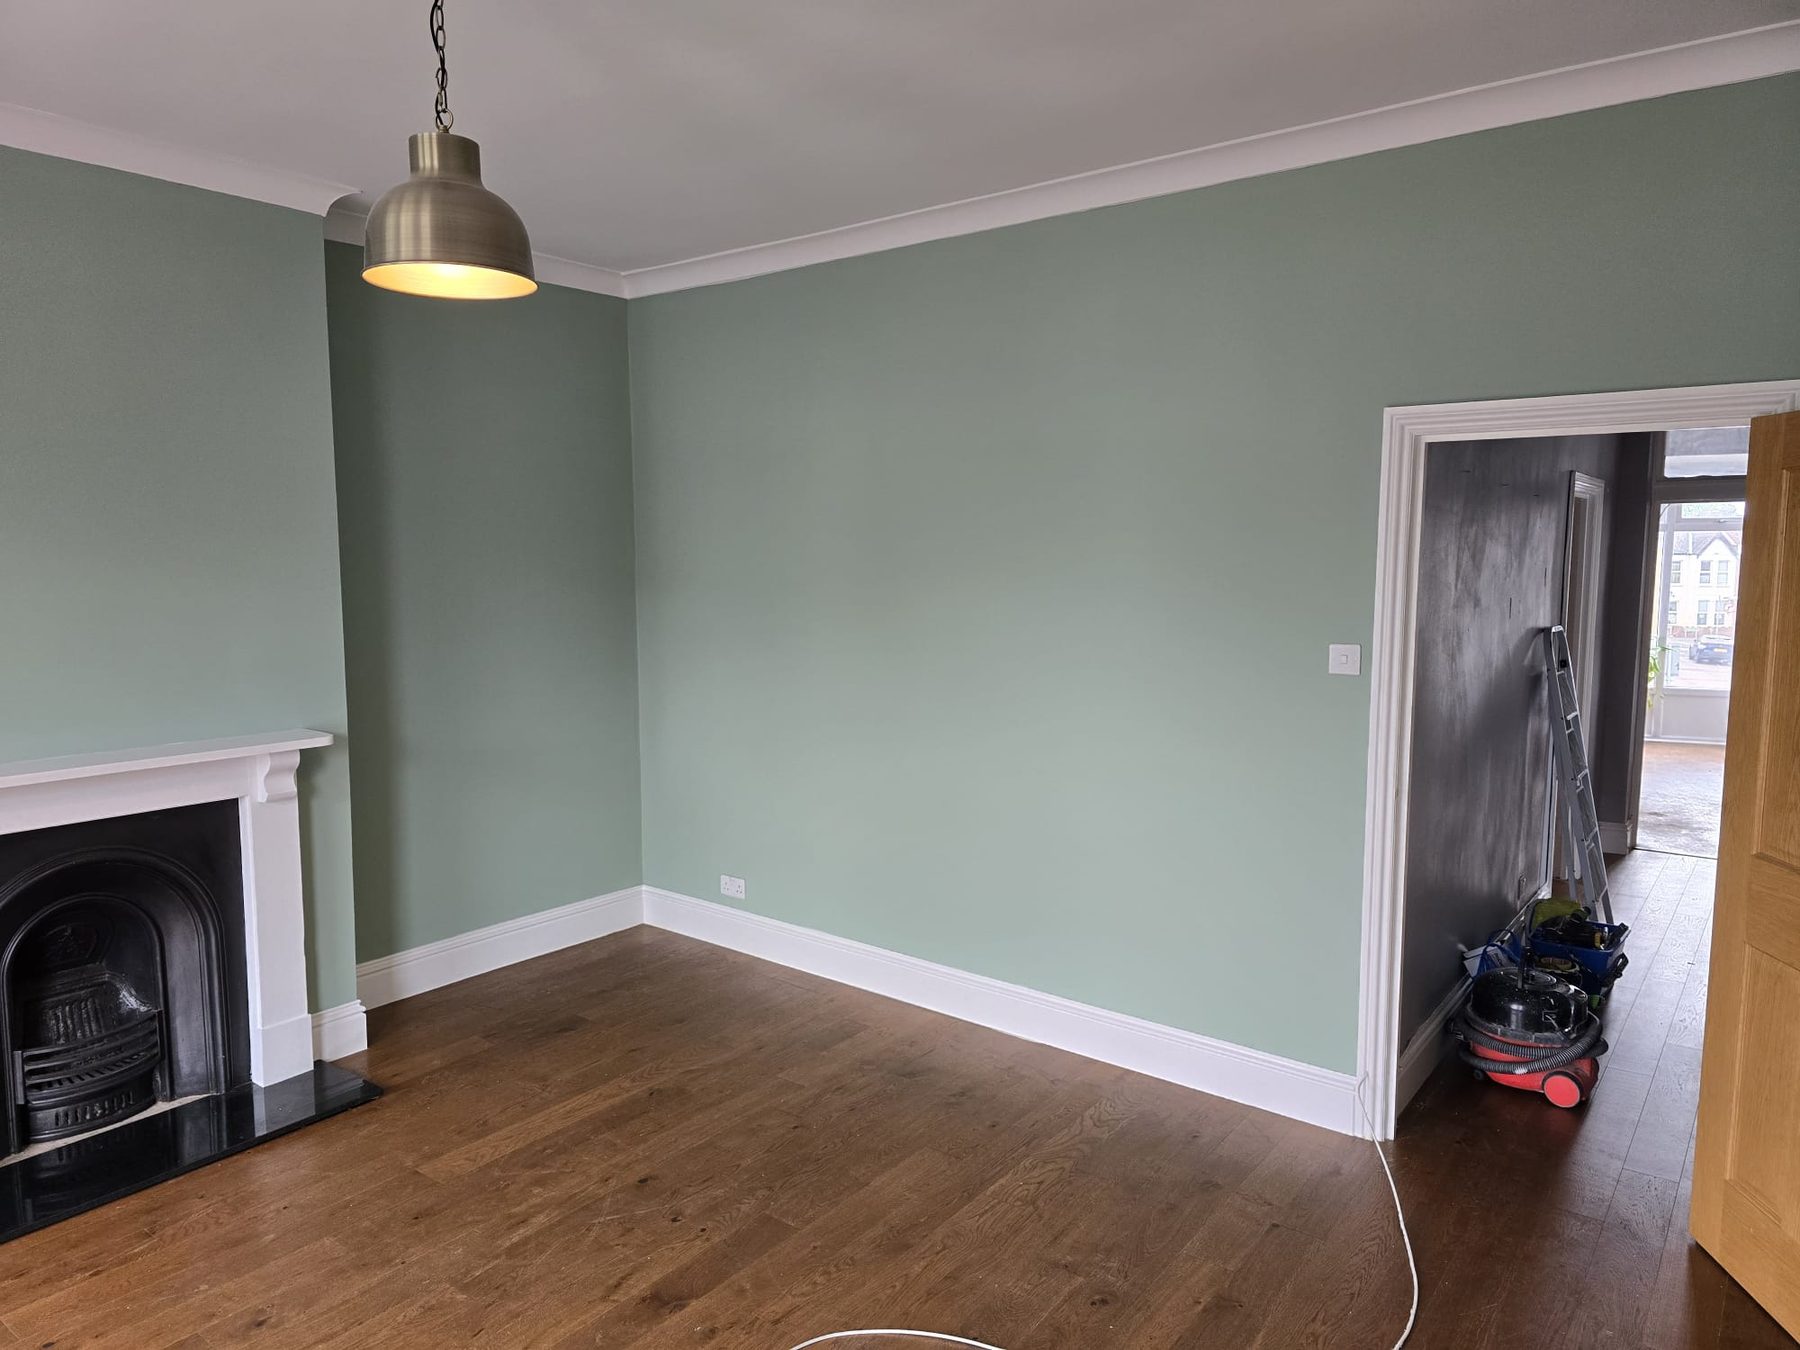
Living Room Refurbishment
Fresh, elegant living room transformation with restored period character.
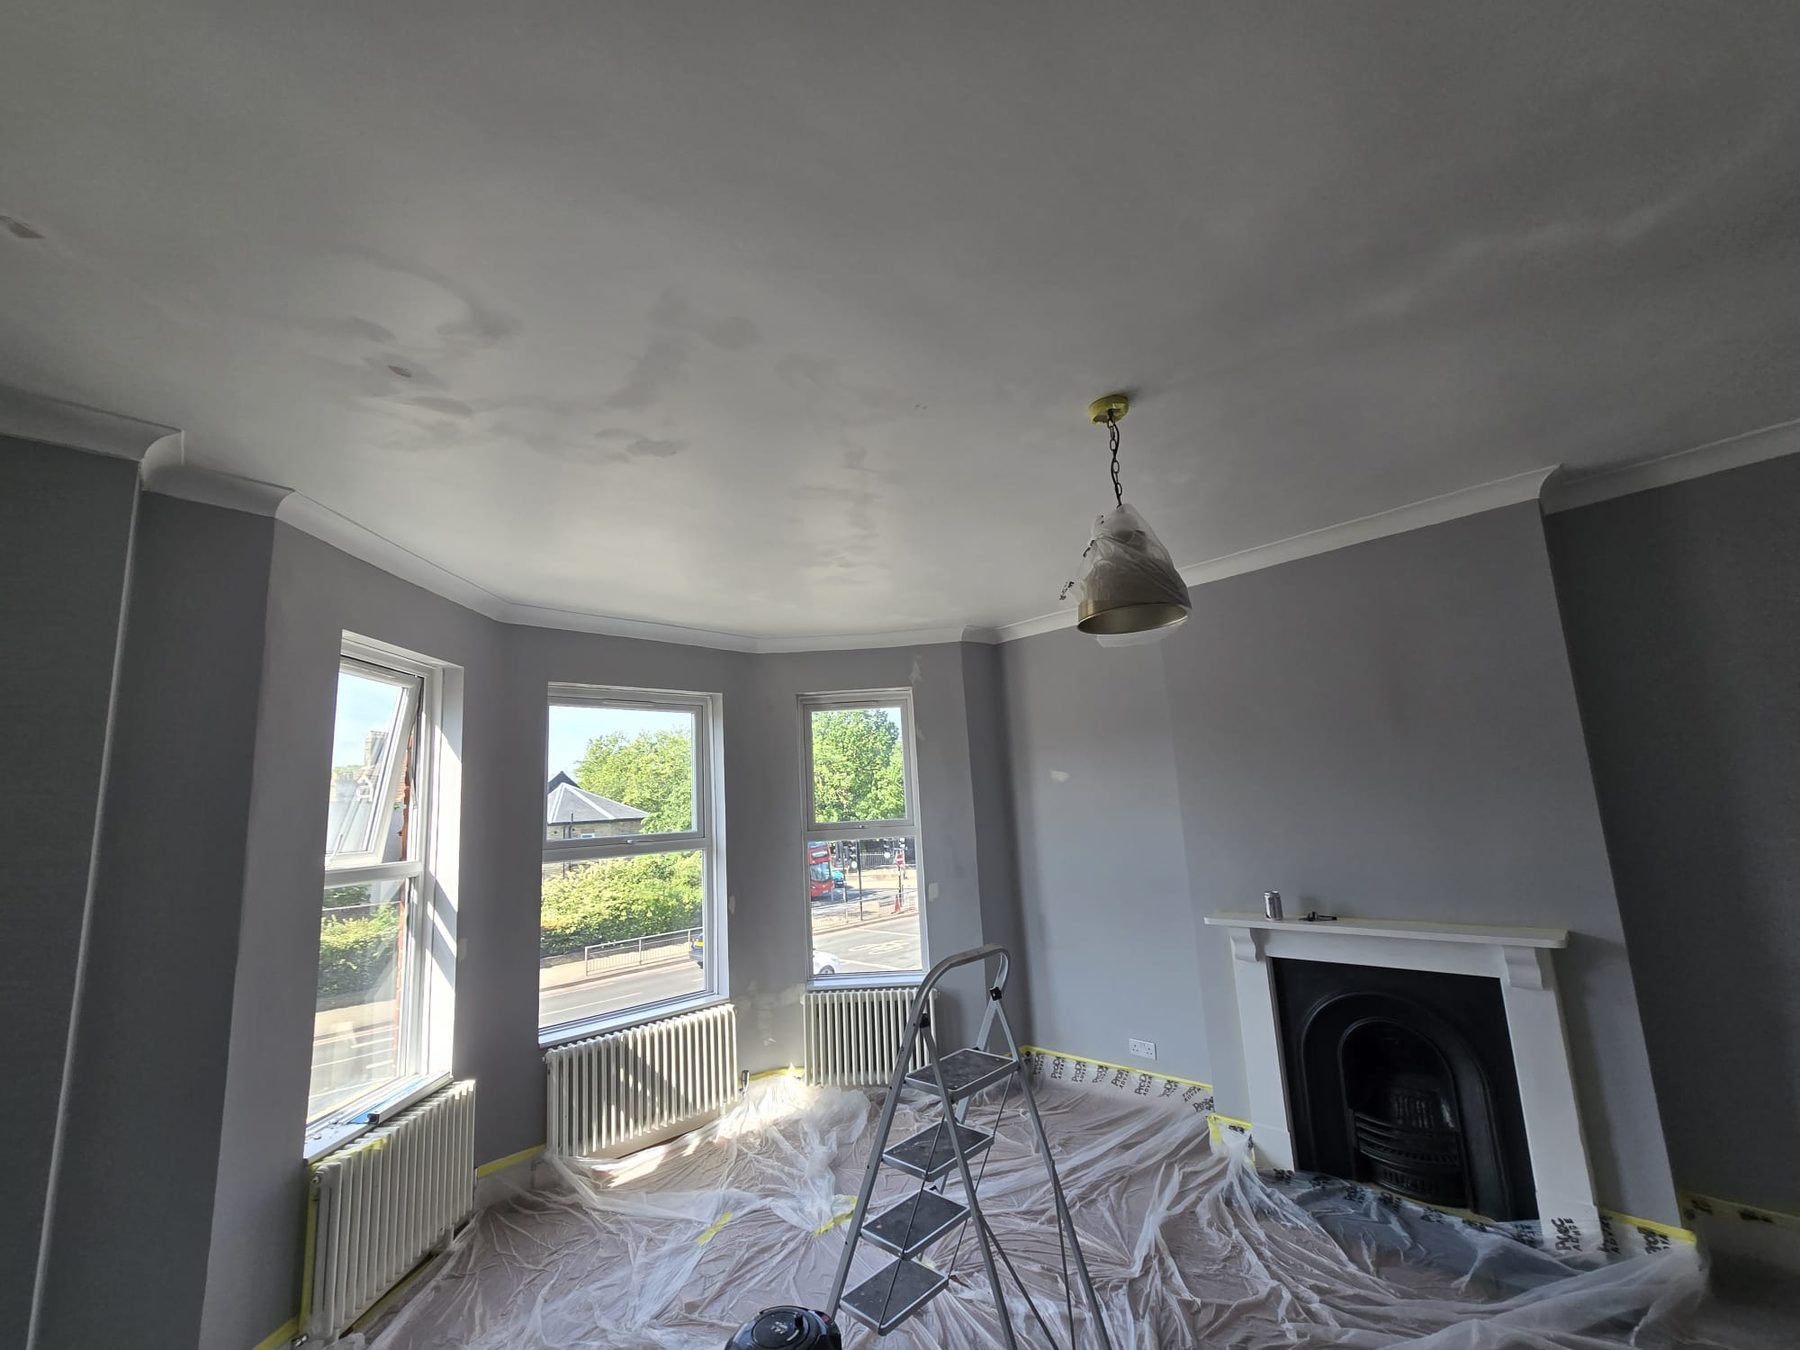
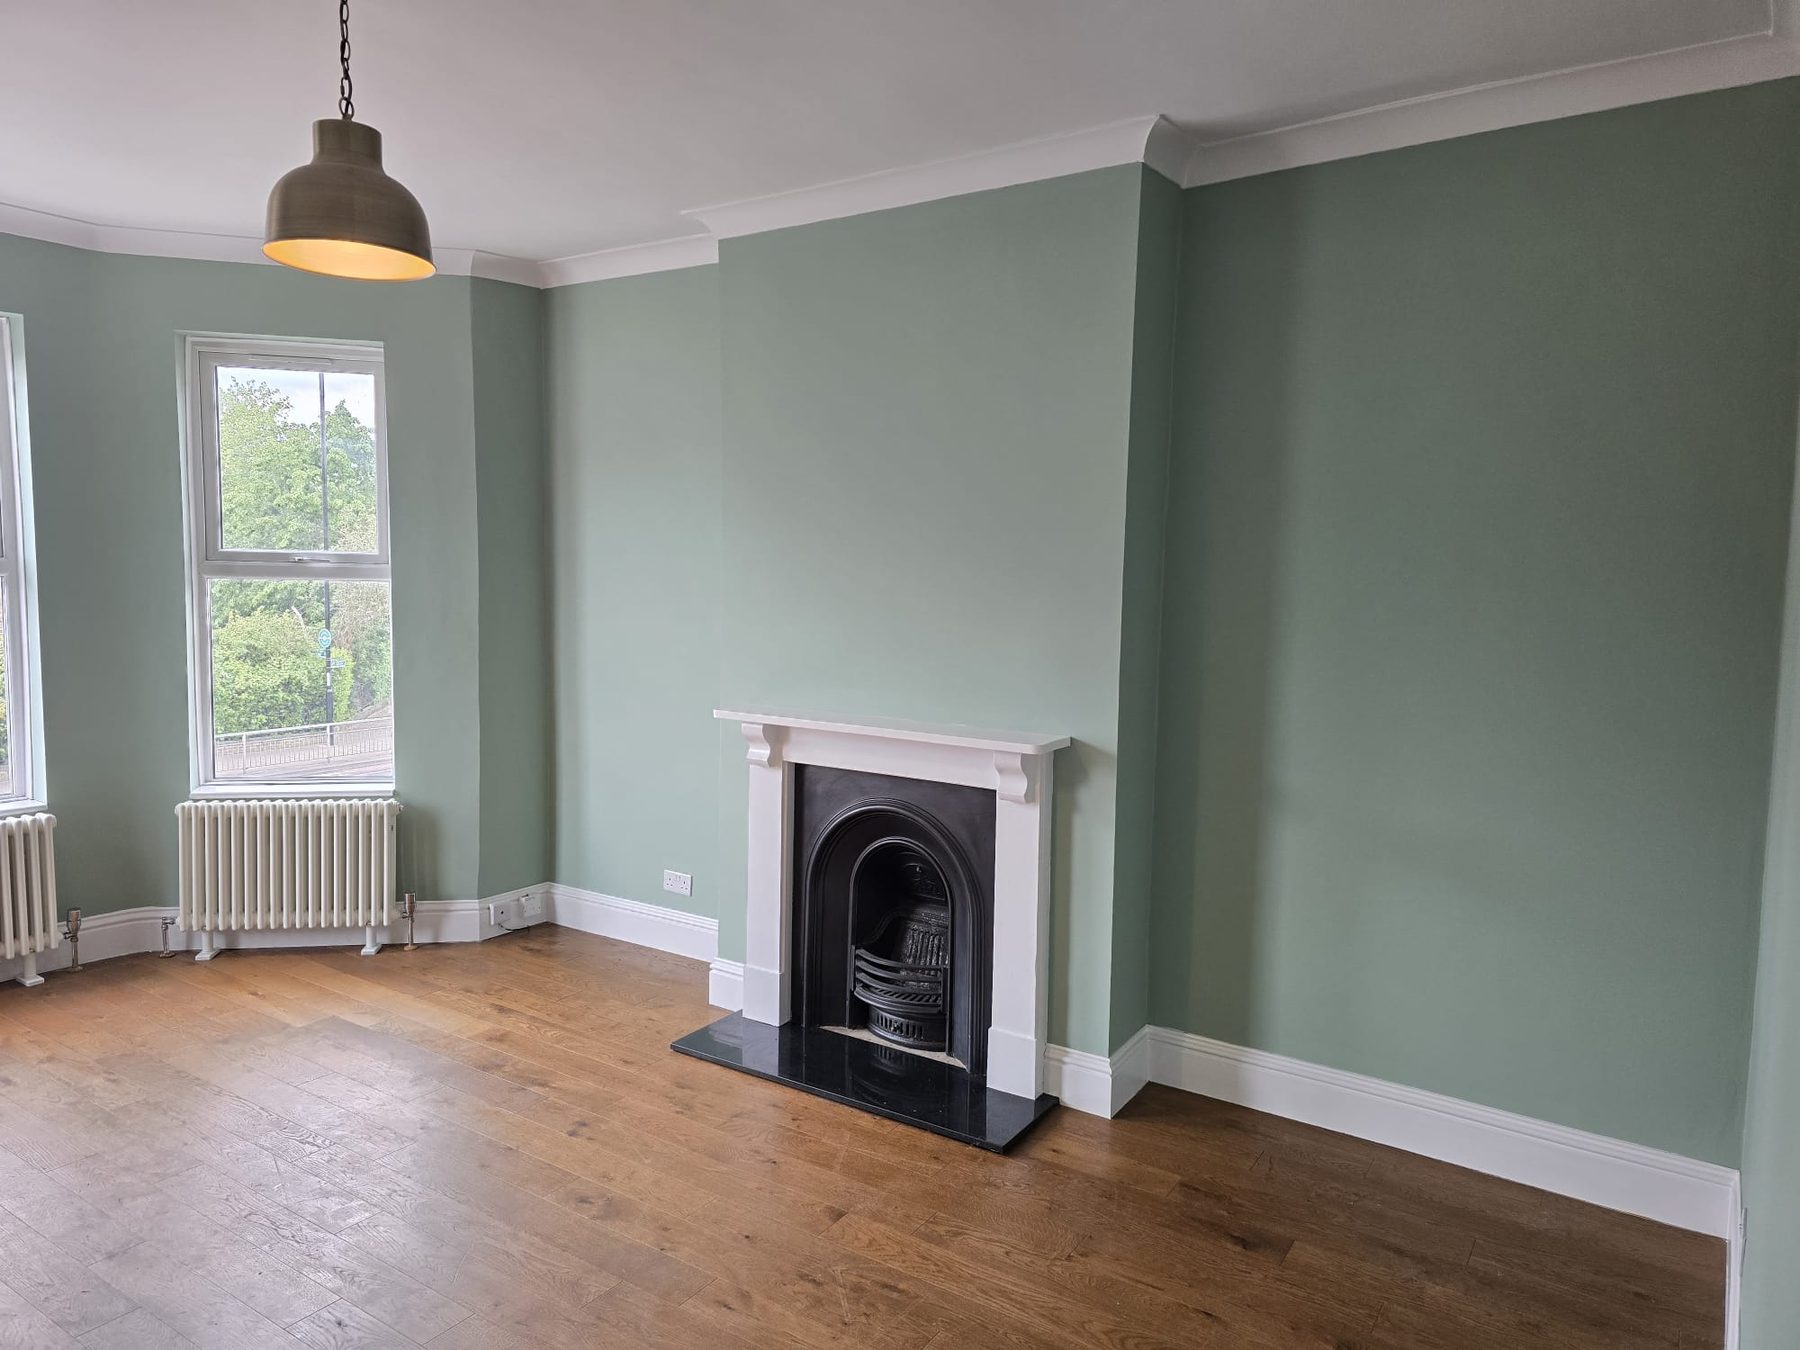
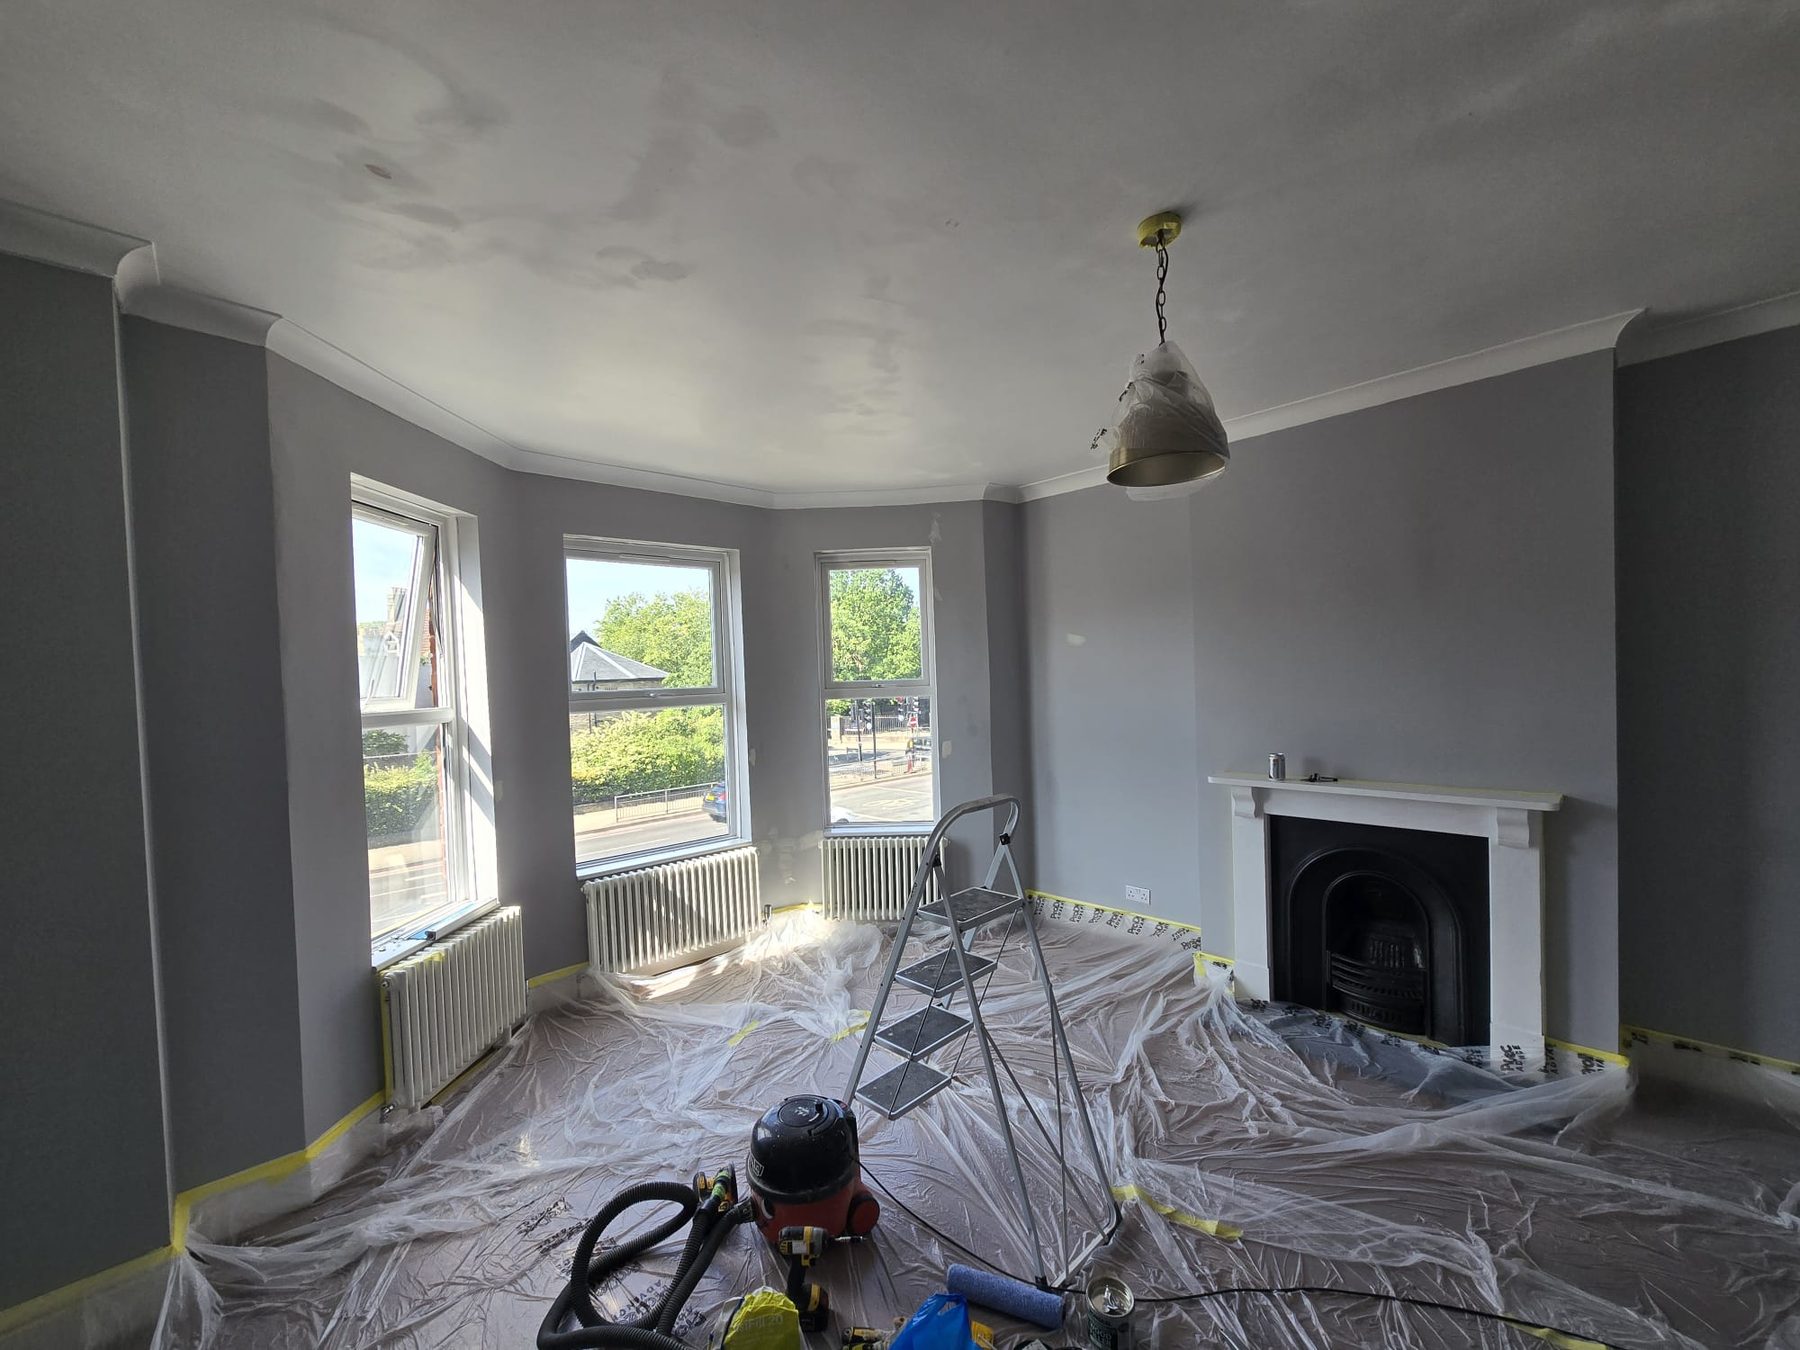
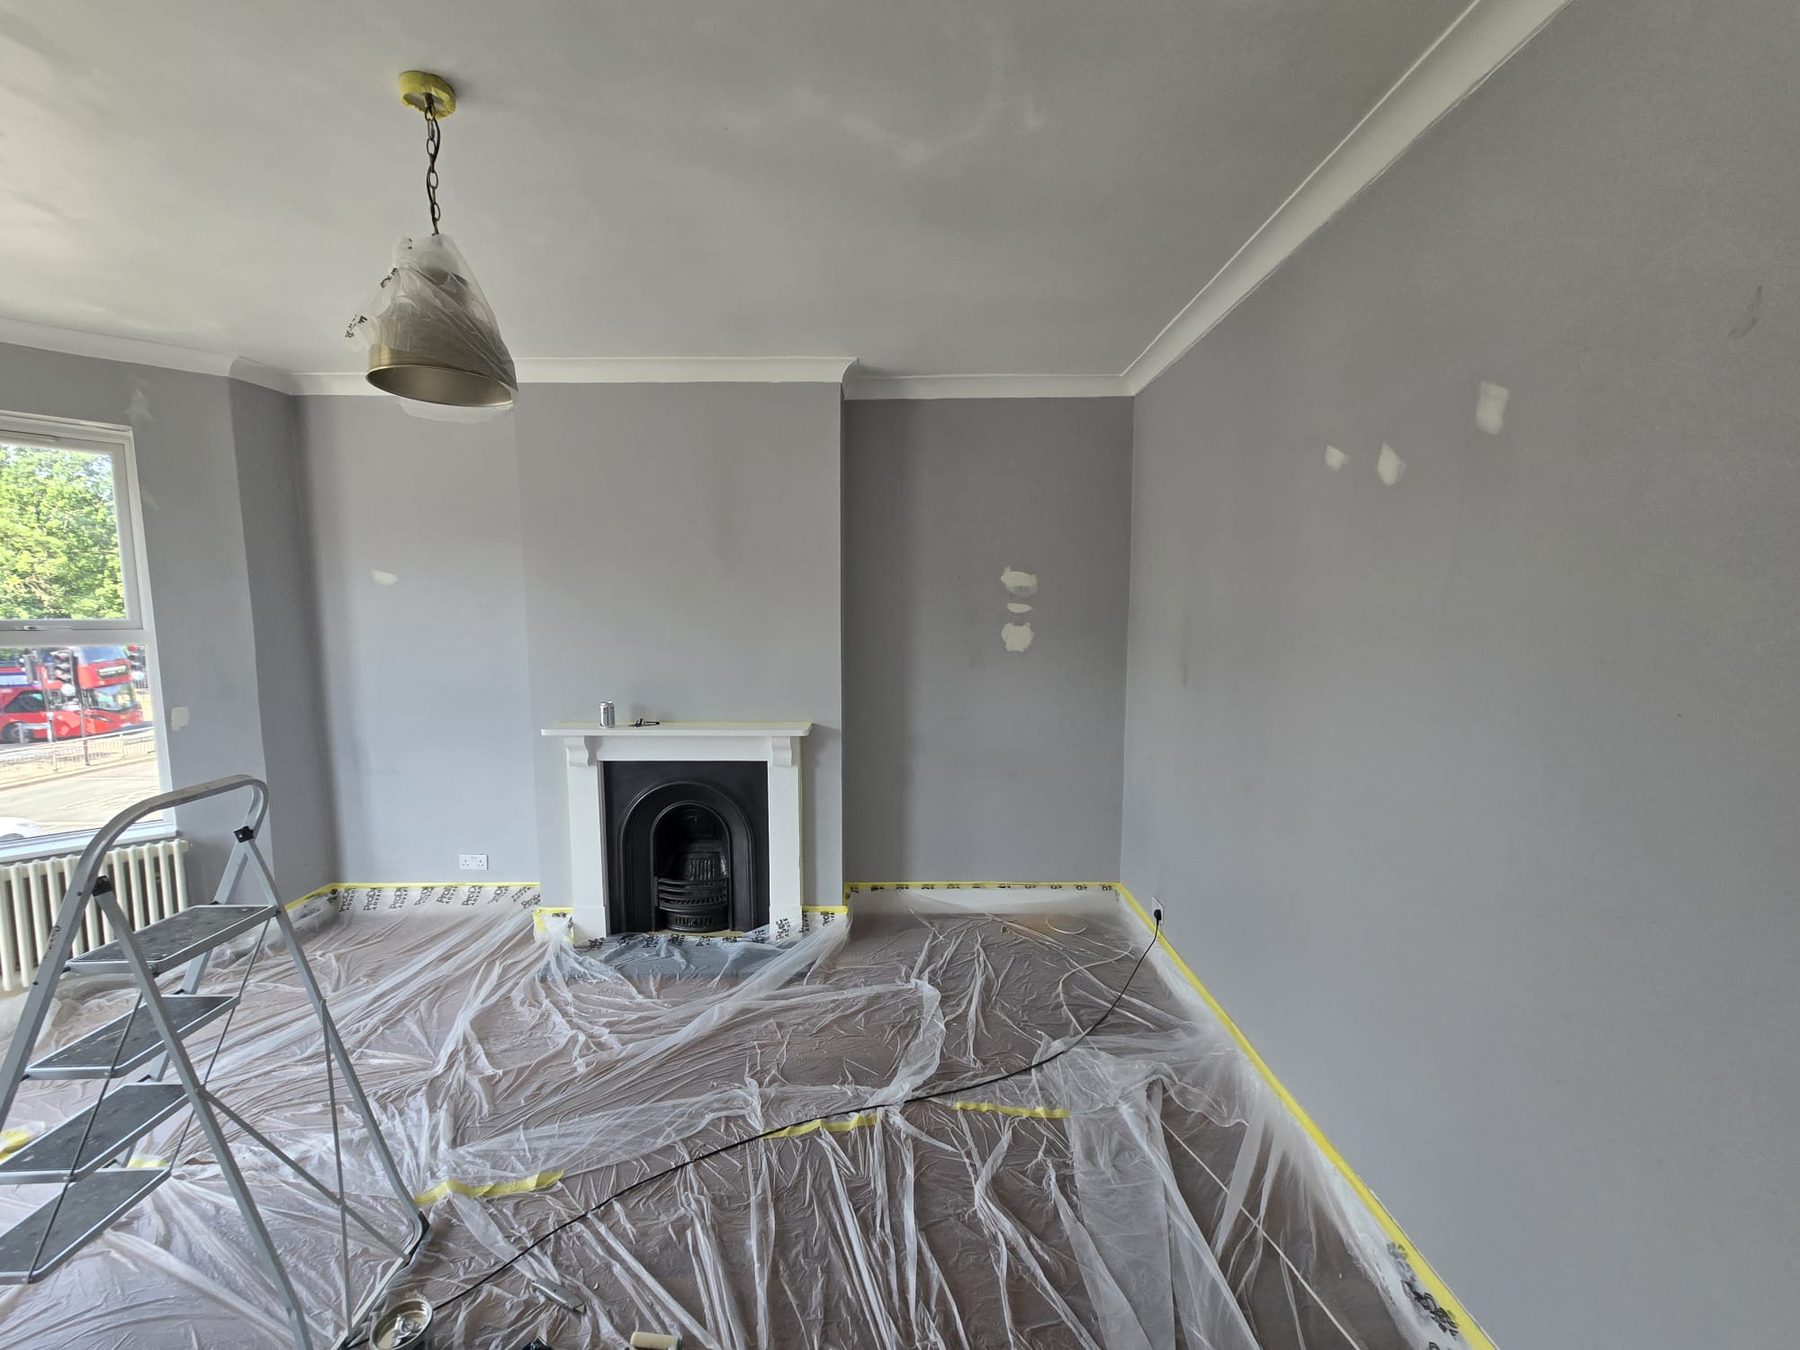
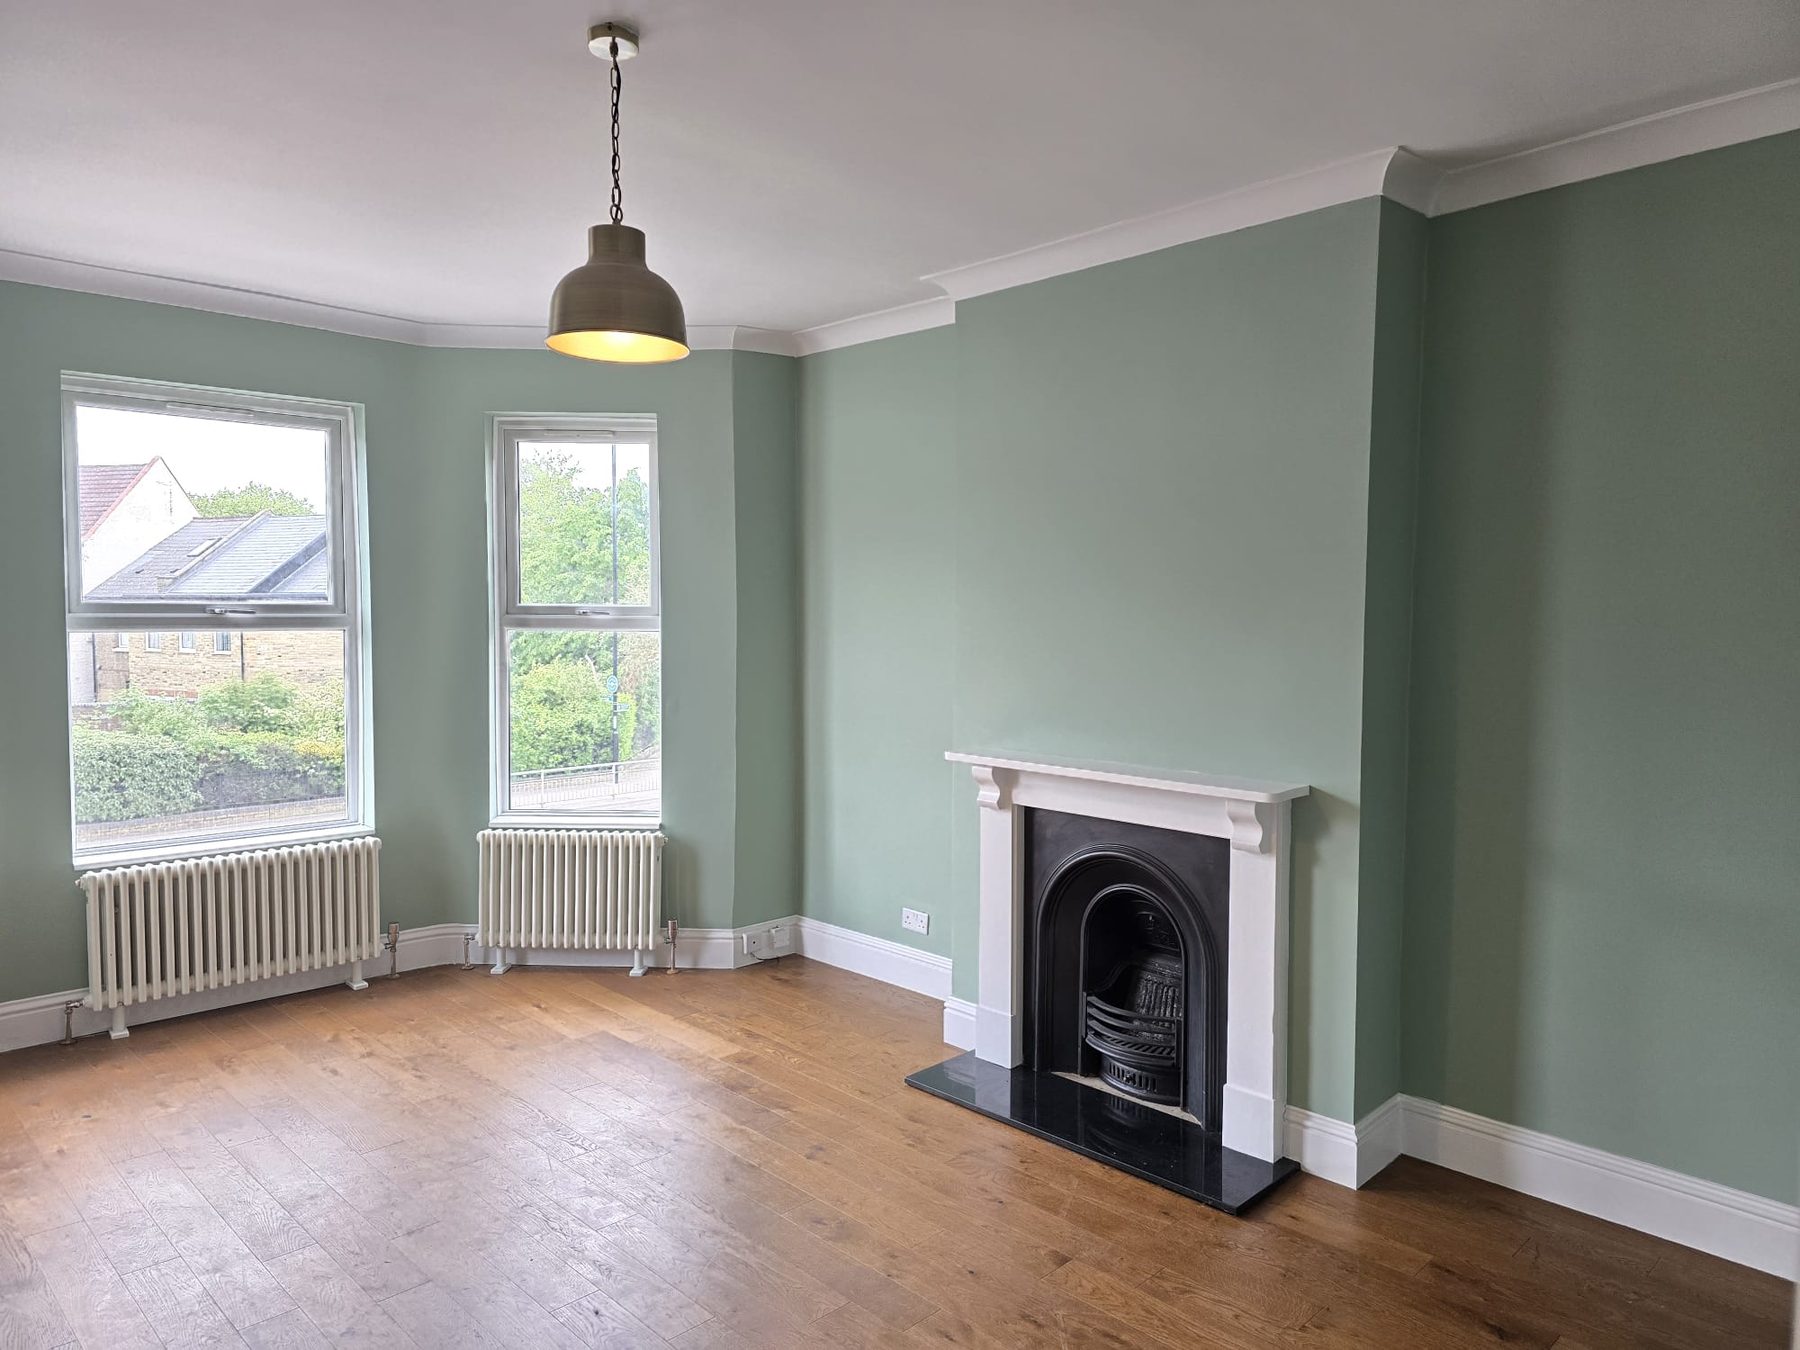
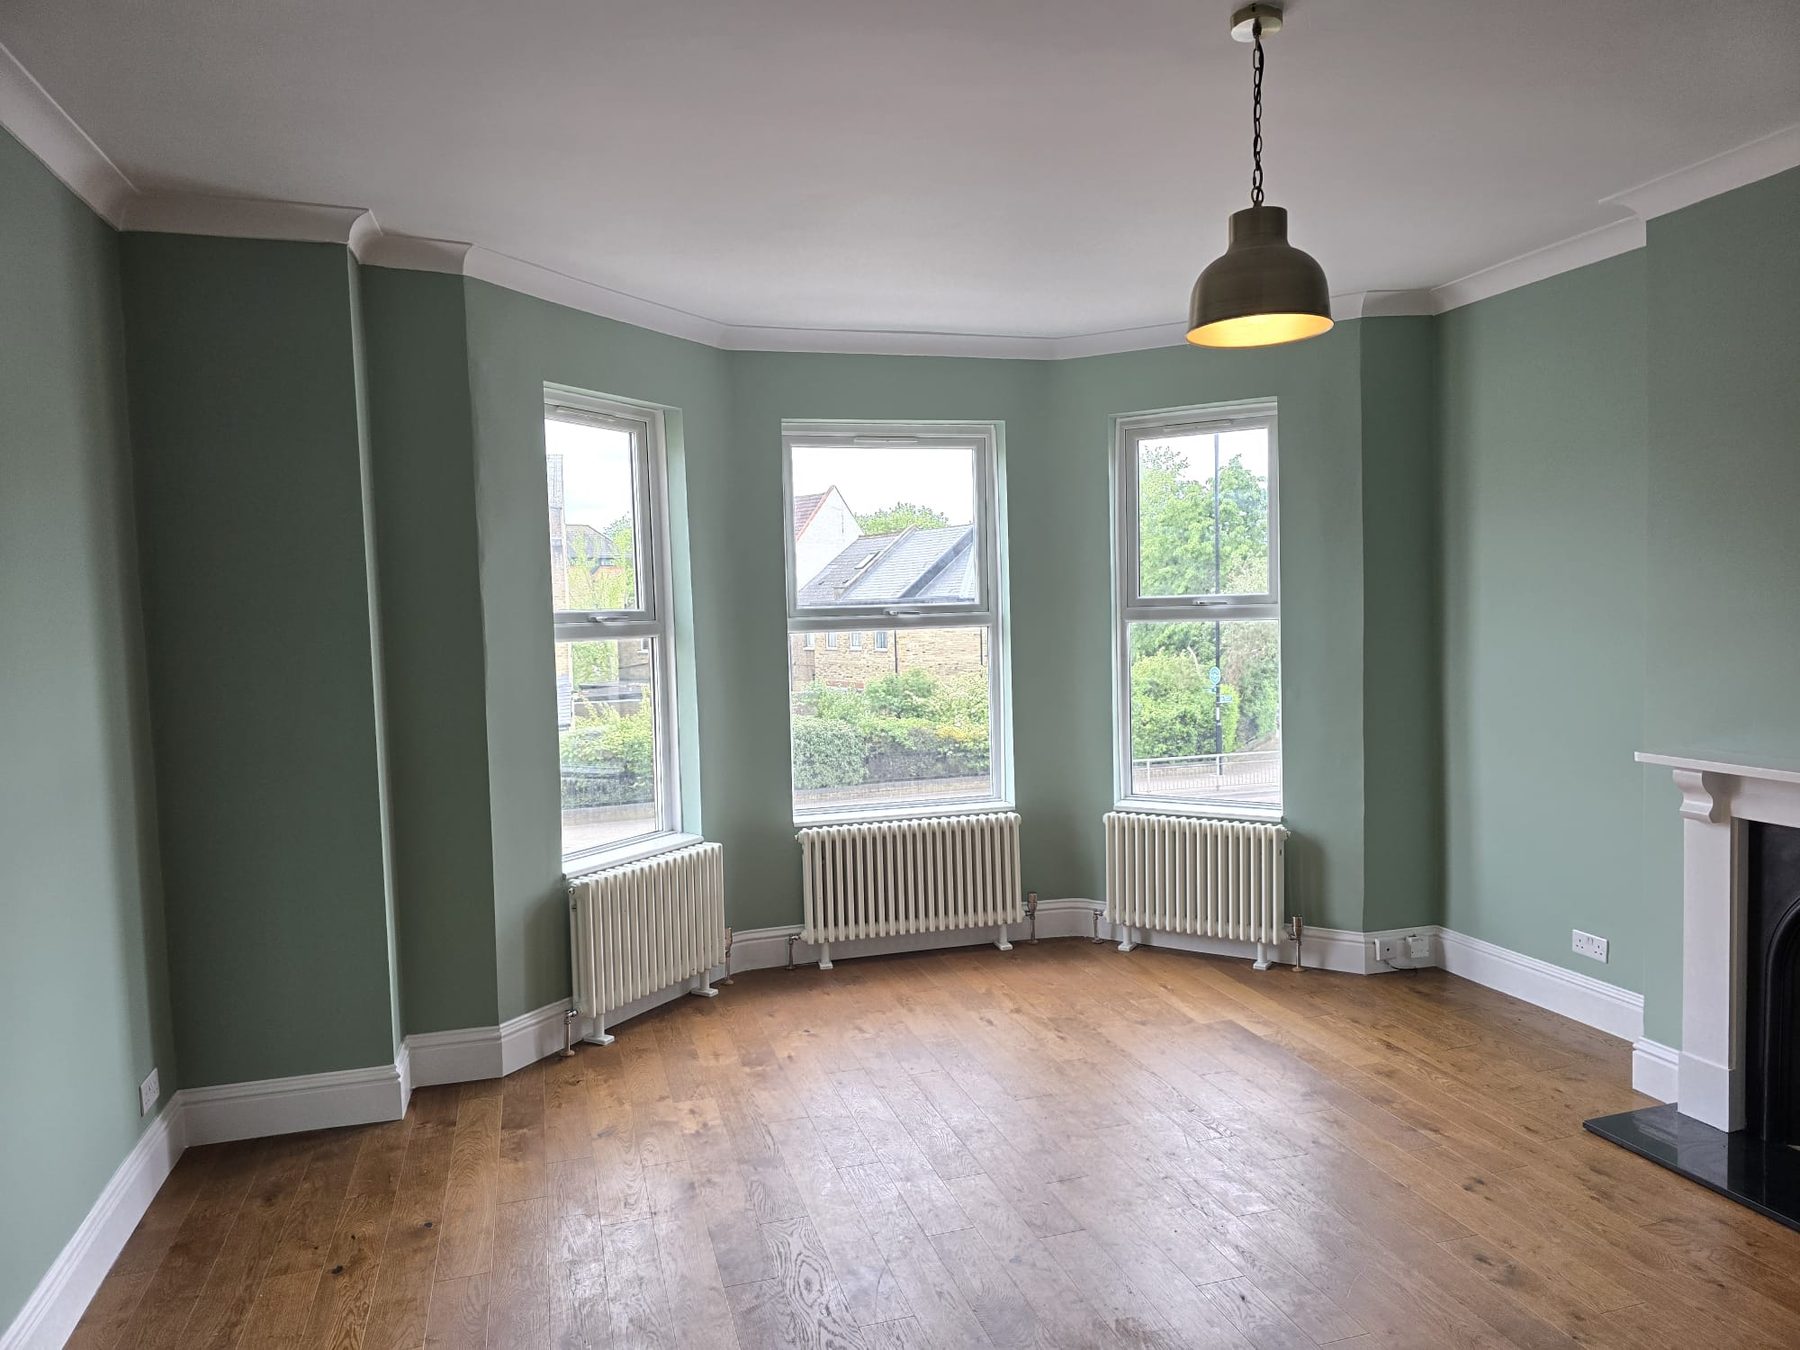
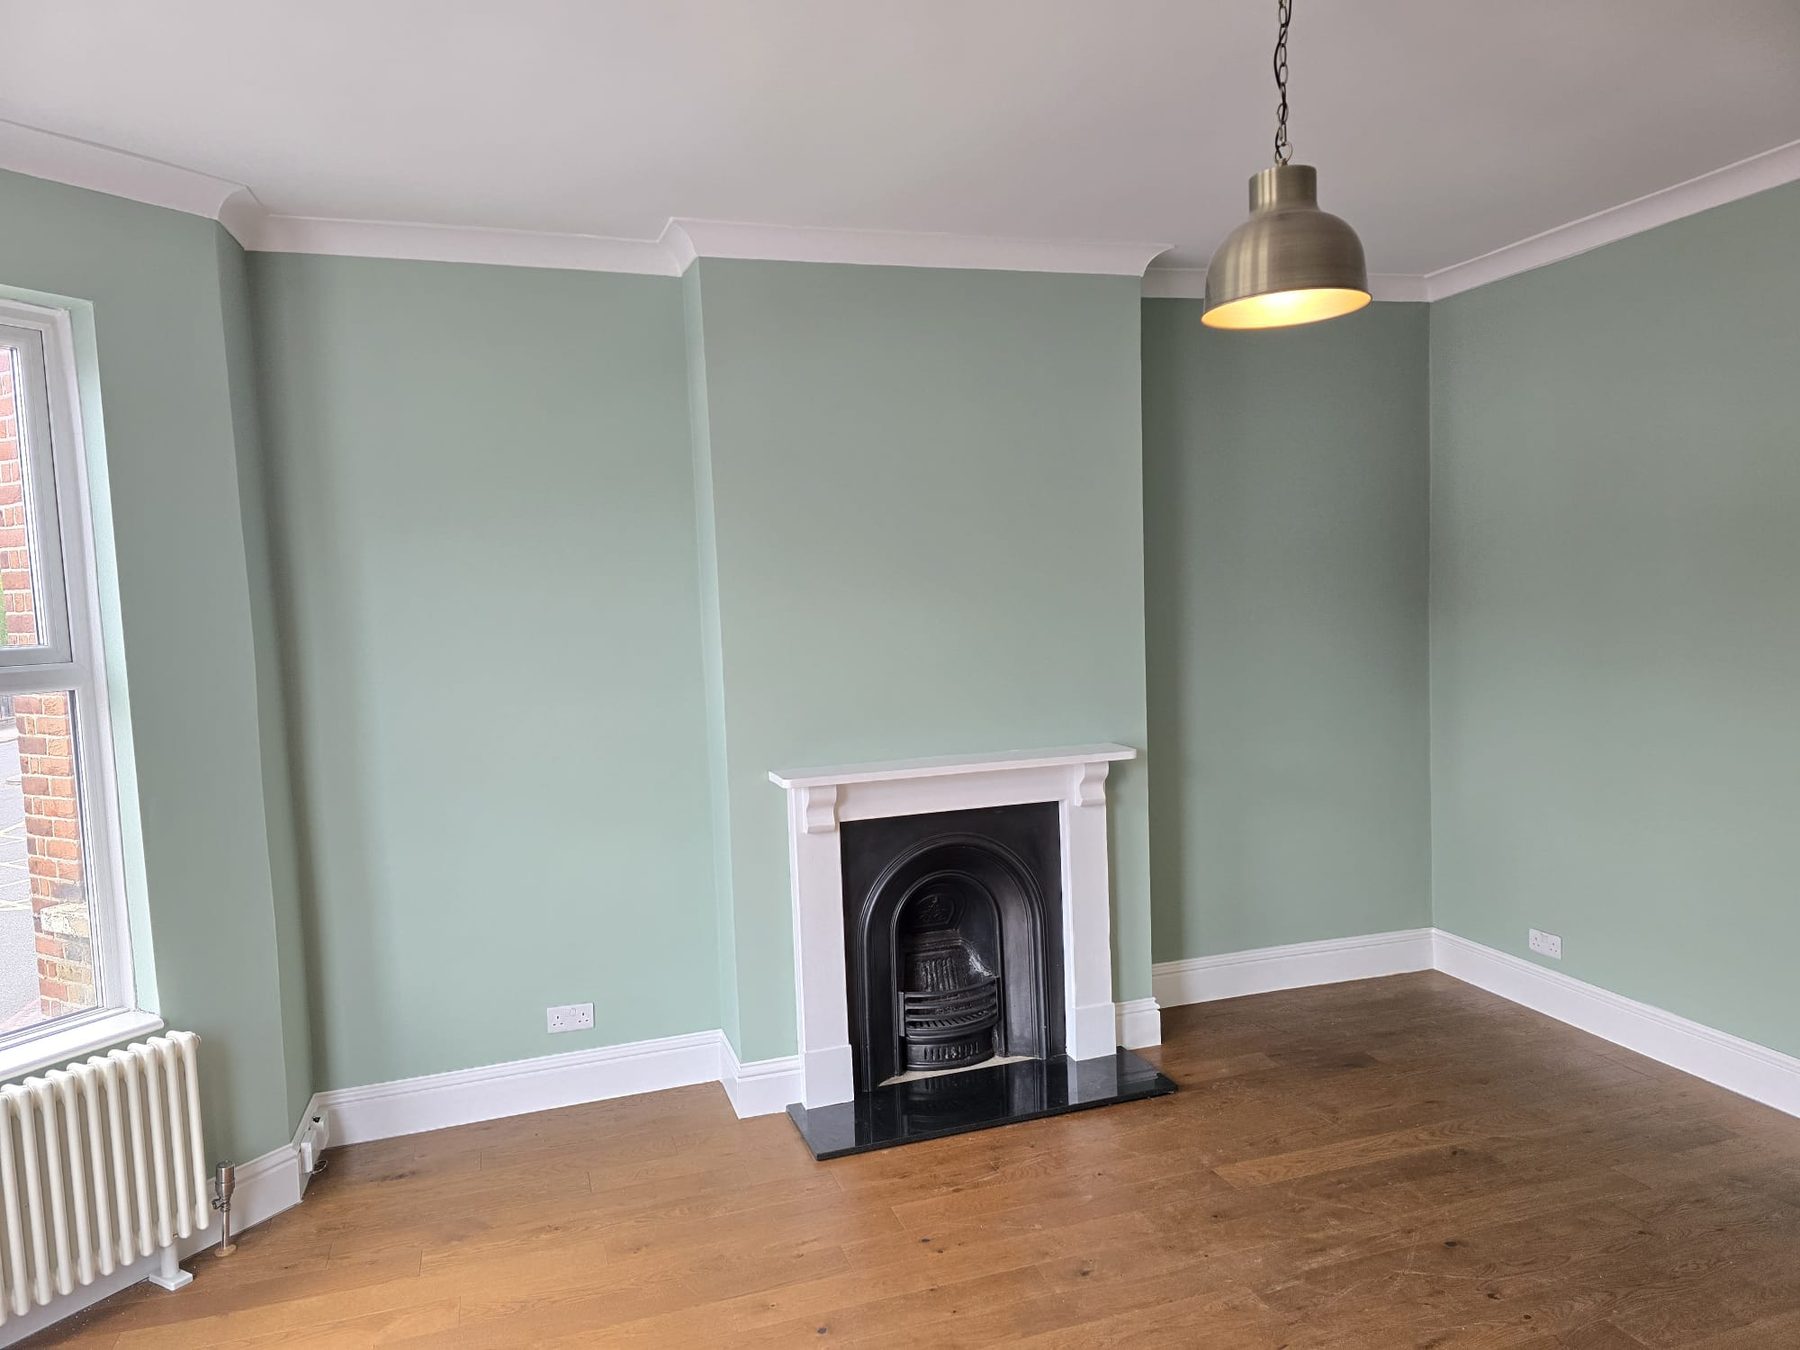
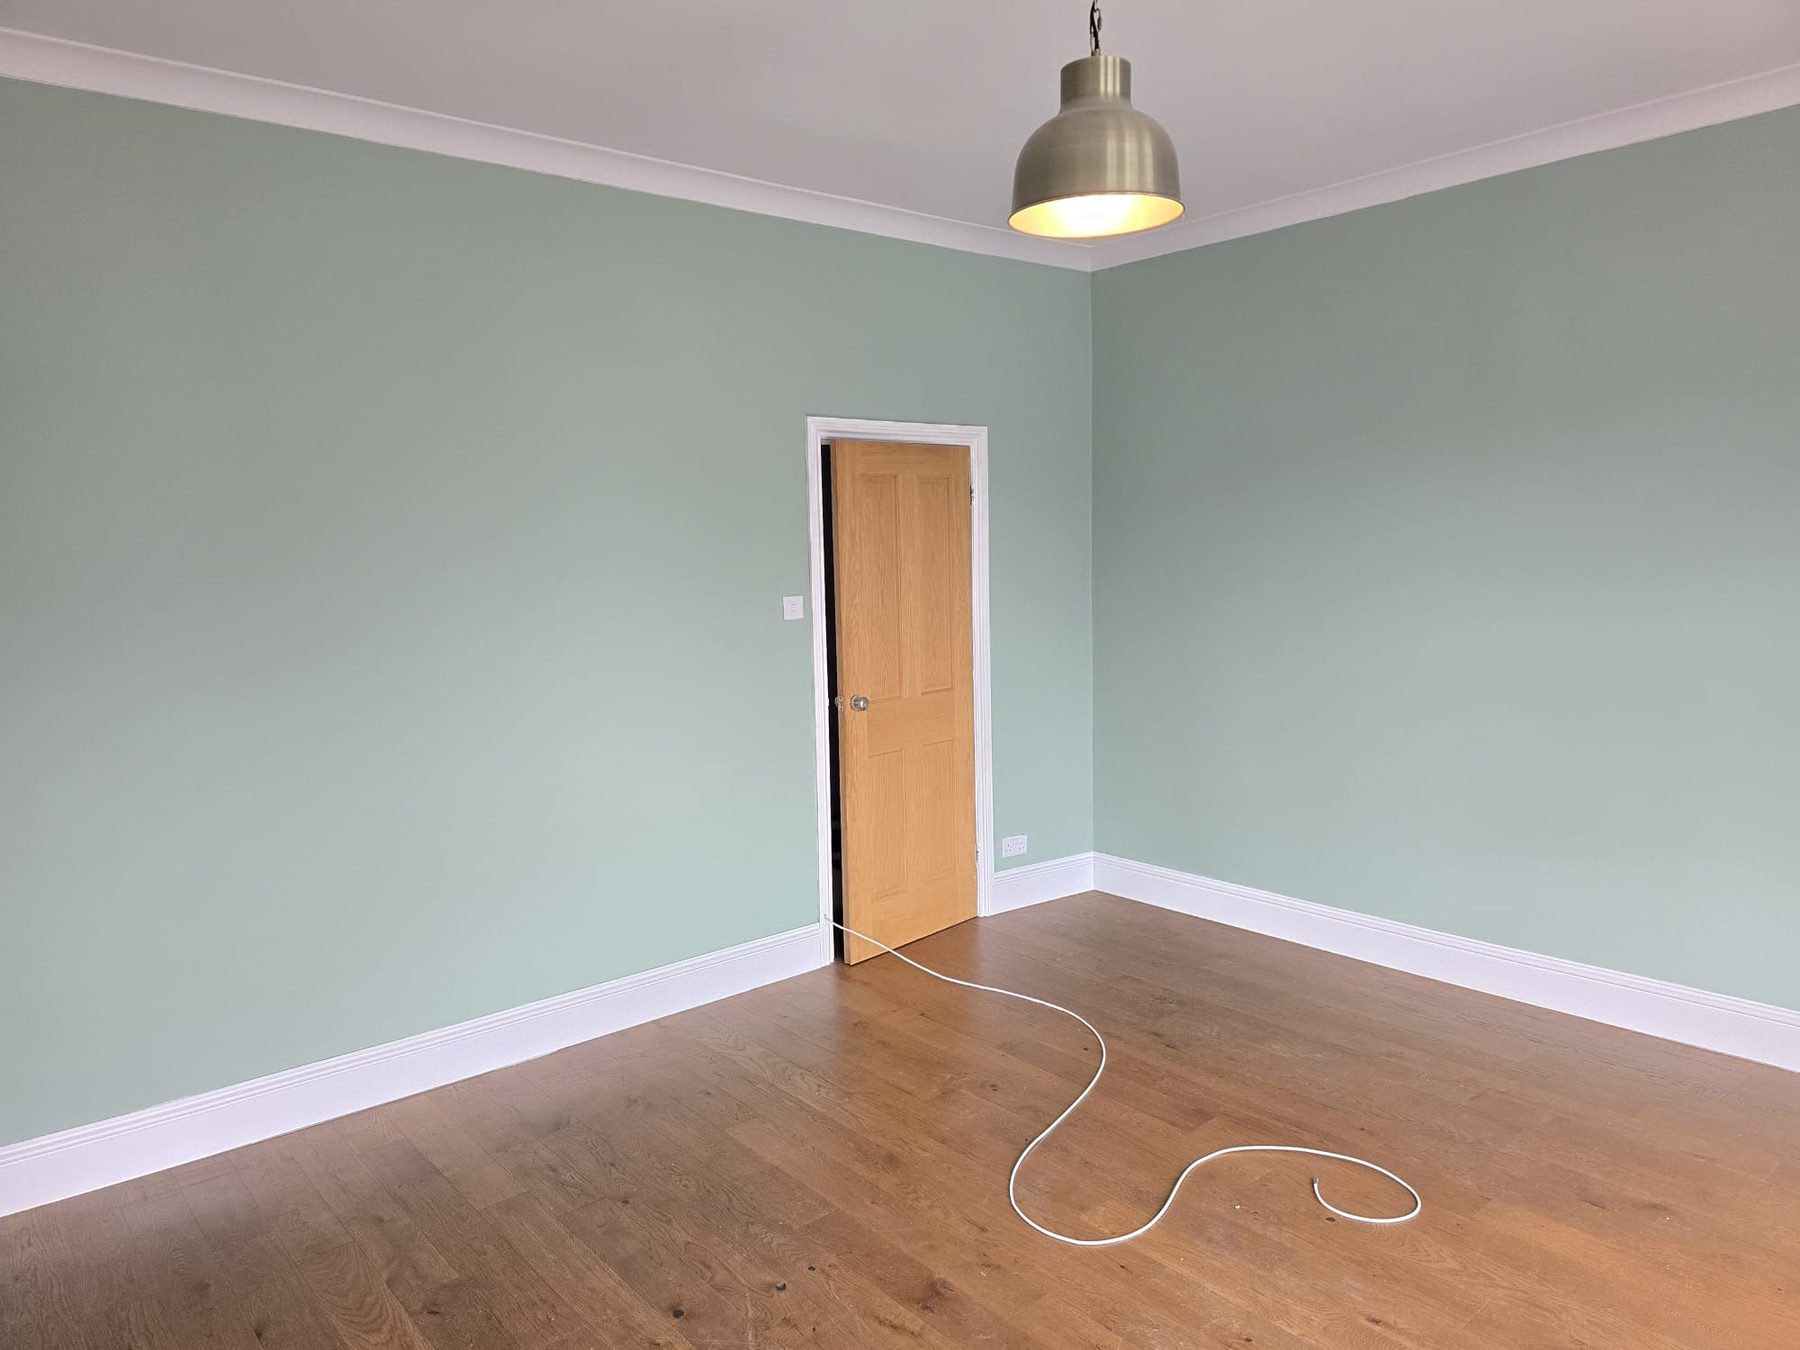
The room was carefully prepared and redecorated, with ceiling and wall repairs, crisp white woodwork, a soft sage-green finish and the original fireplace retained as a strong focal point. The result is a bright, clean living space that keeps the character of the property.
Full redecorationCeiling repairsWall preparationWoodwork finishingFinal detailing
Before & After
From preparation to finished room.
Before / preparationAfter
Preparation & Decorating
Behind the finished result
Ceiling & wall preparationRepairs & protection
Completed
Finished living room
Fireplace & feature wallBay windows & restored radiatorsClean period detailingFresh sage-green finishDecorated roomFinal finish
Living Room Refurbishment
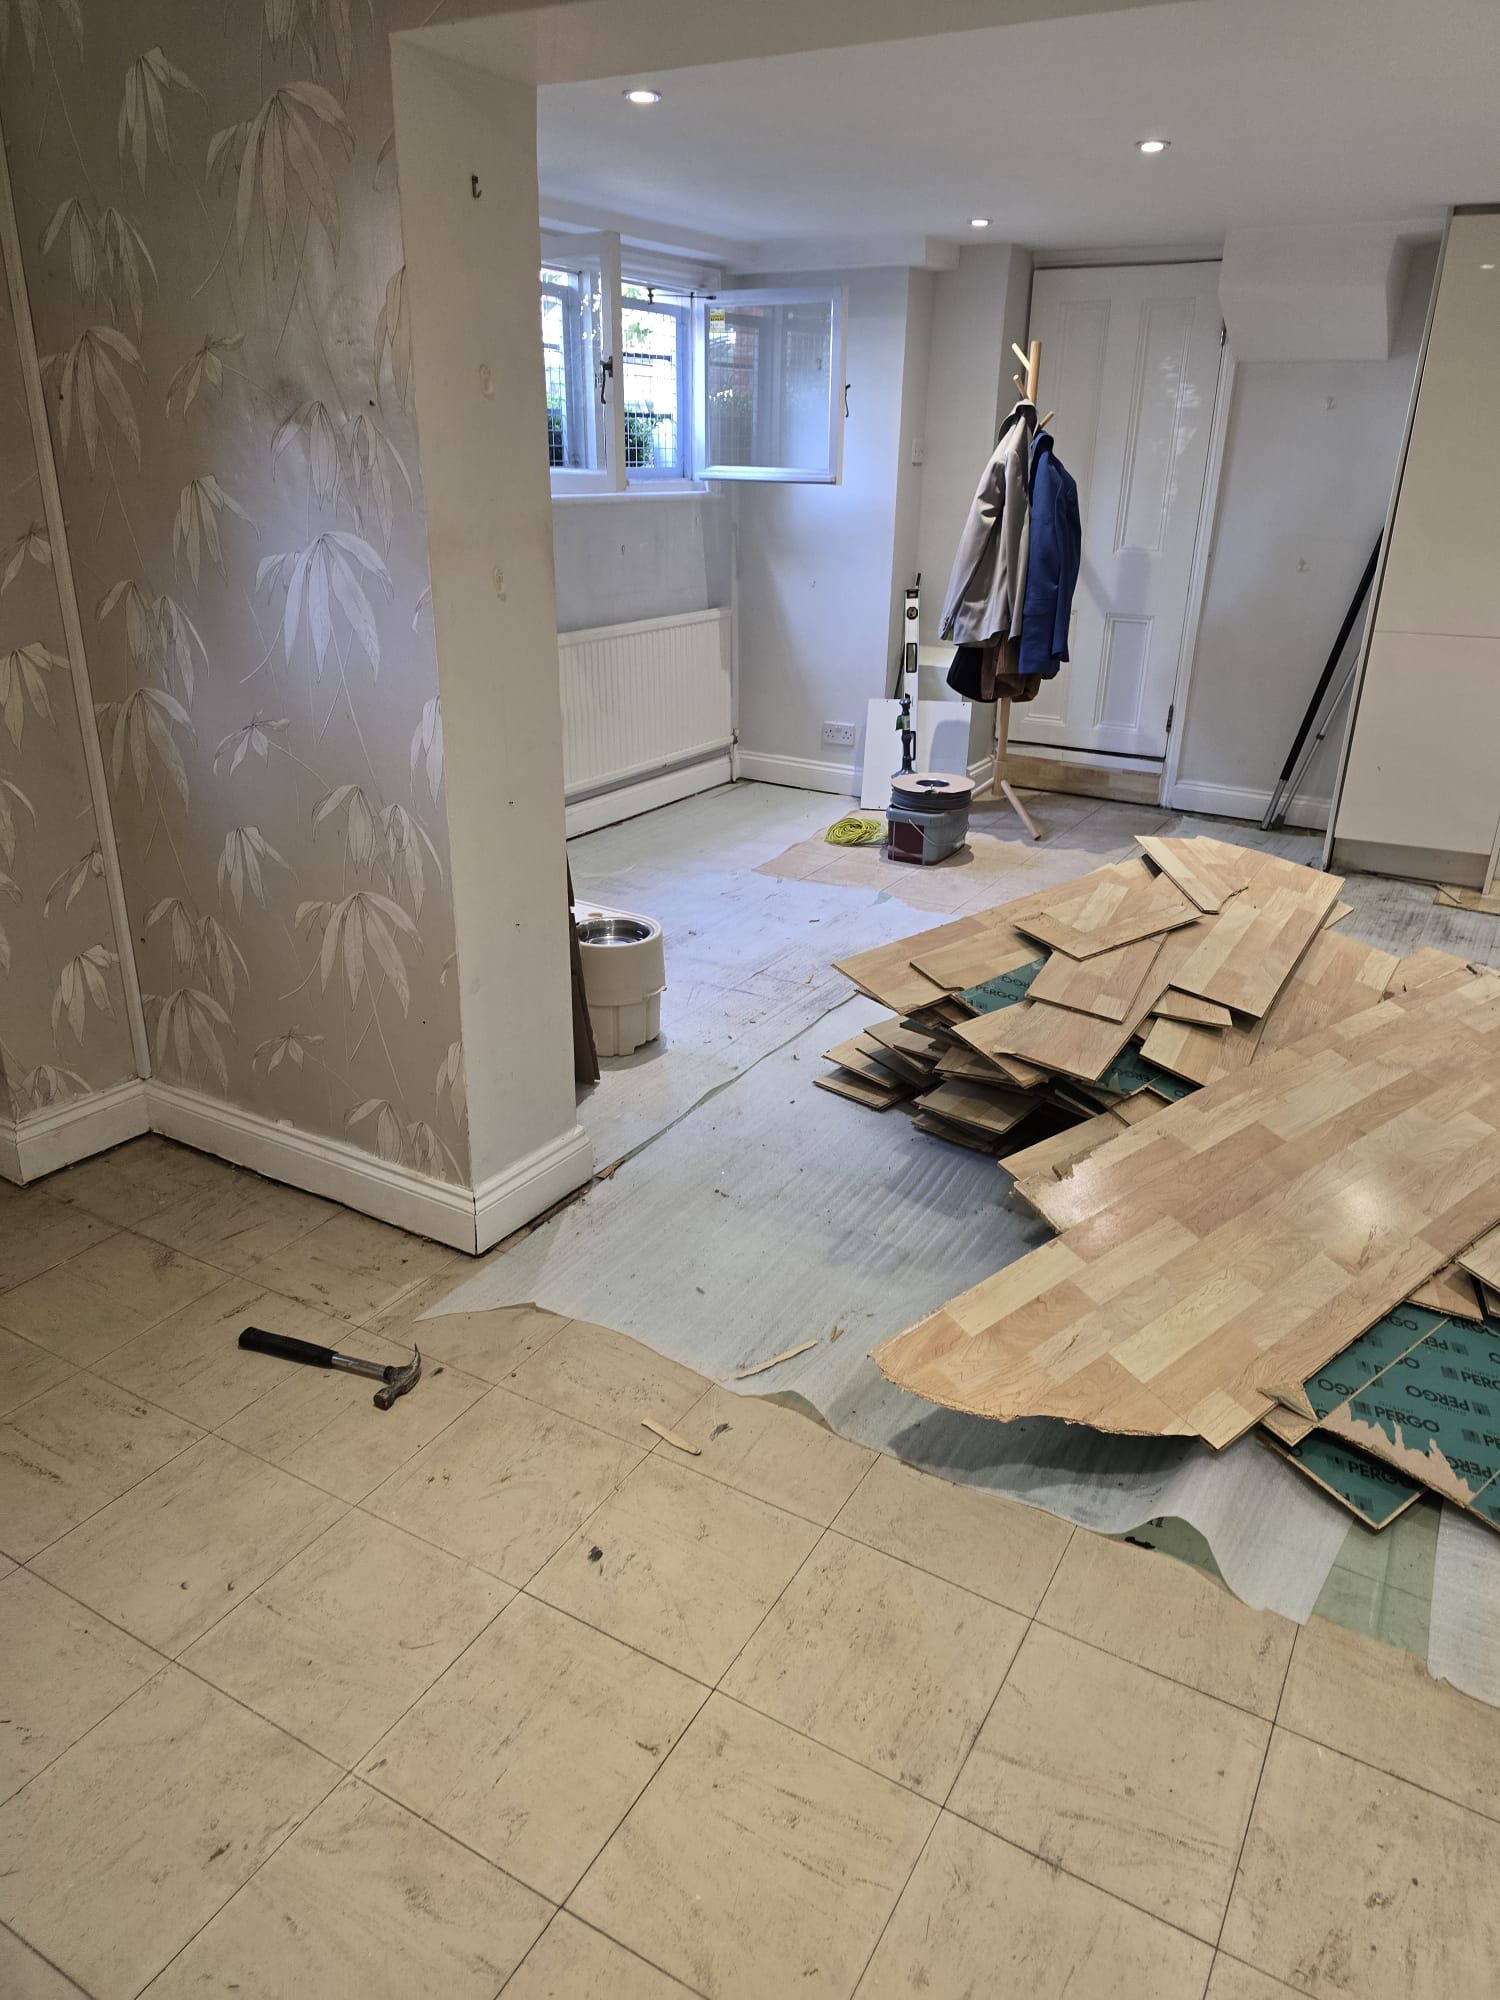
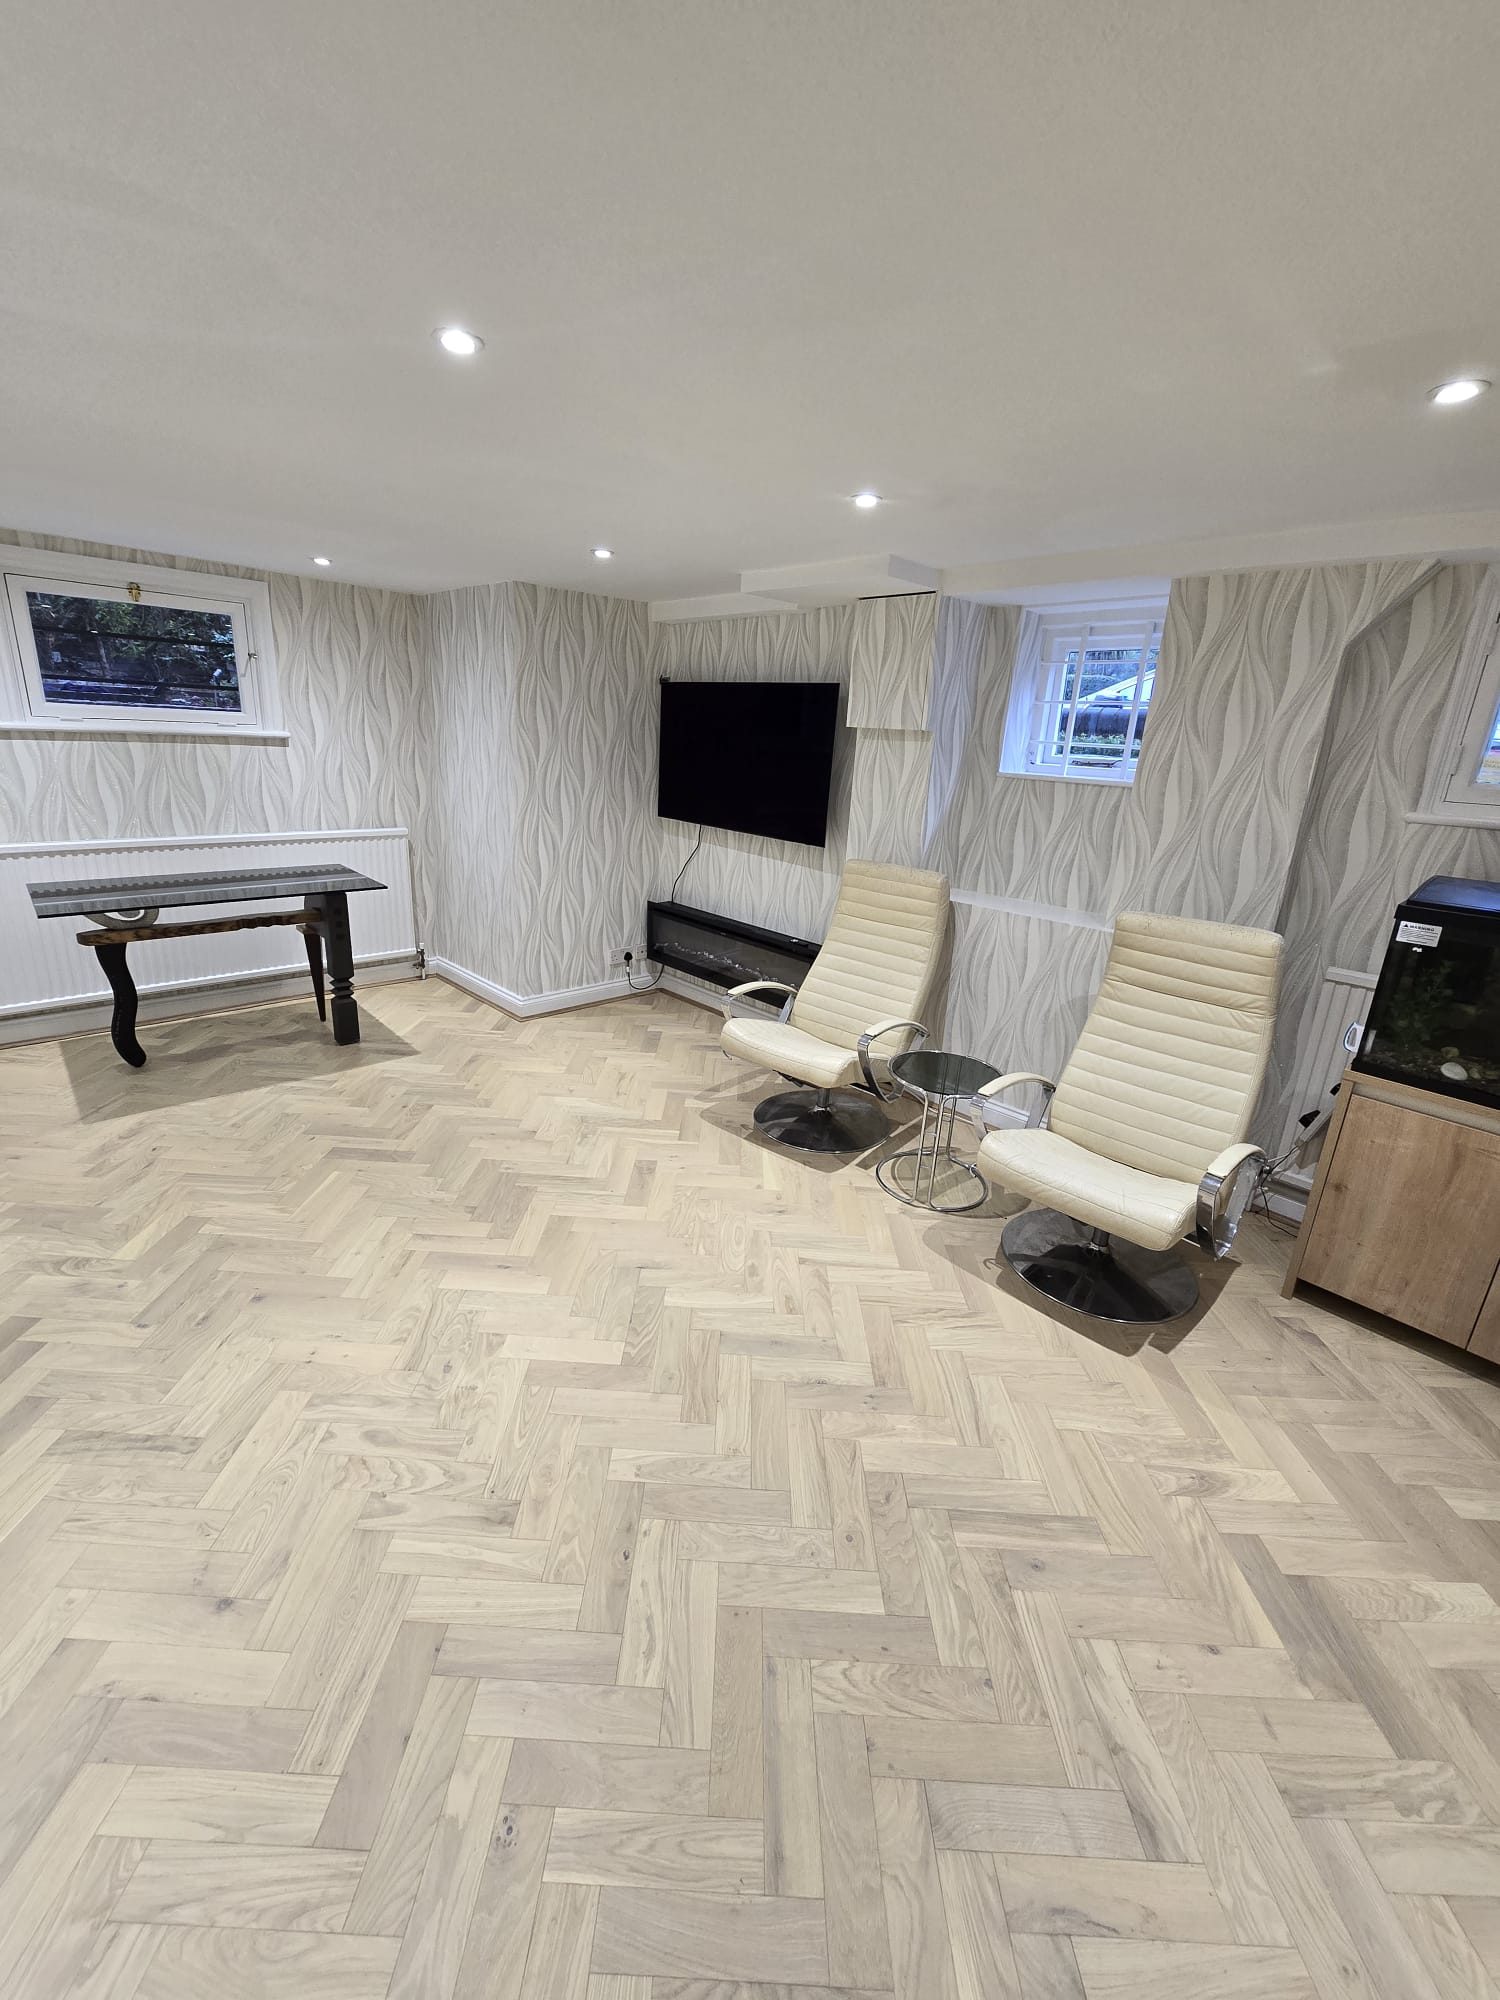
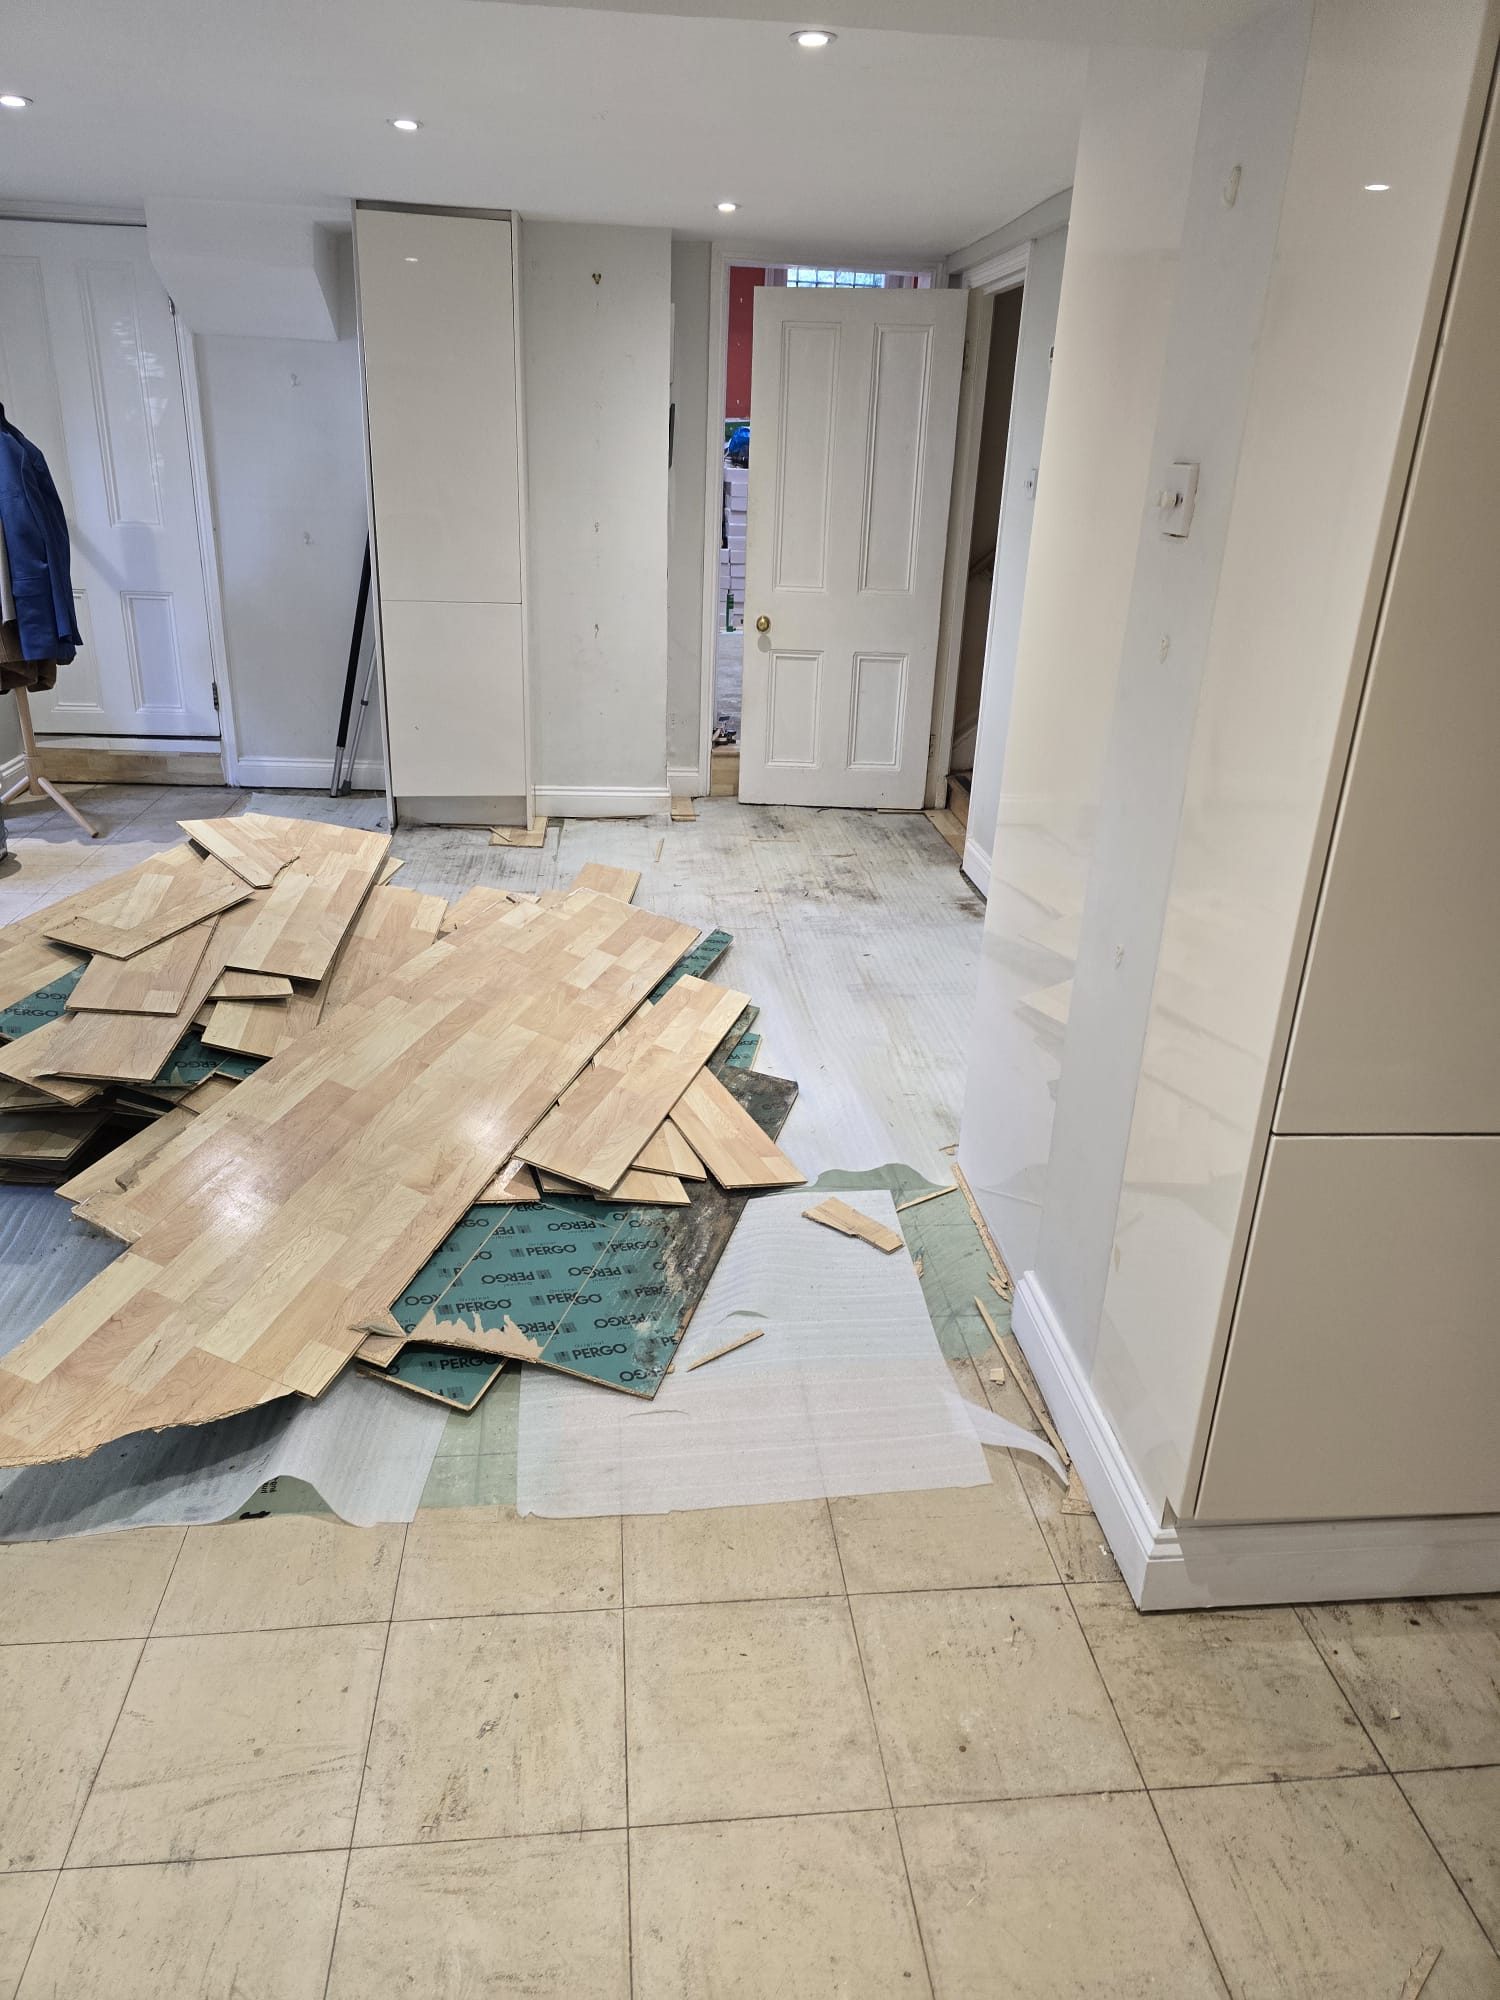
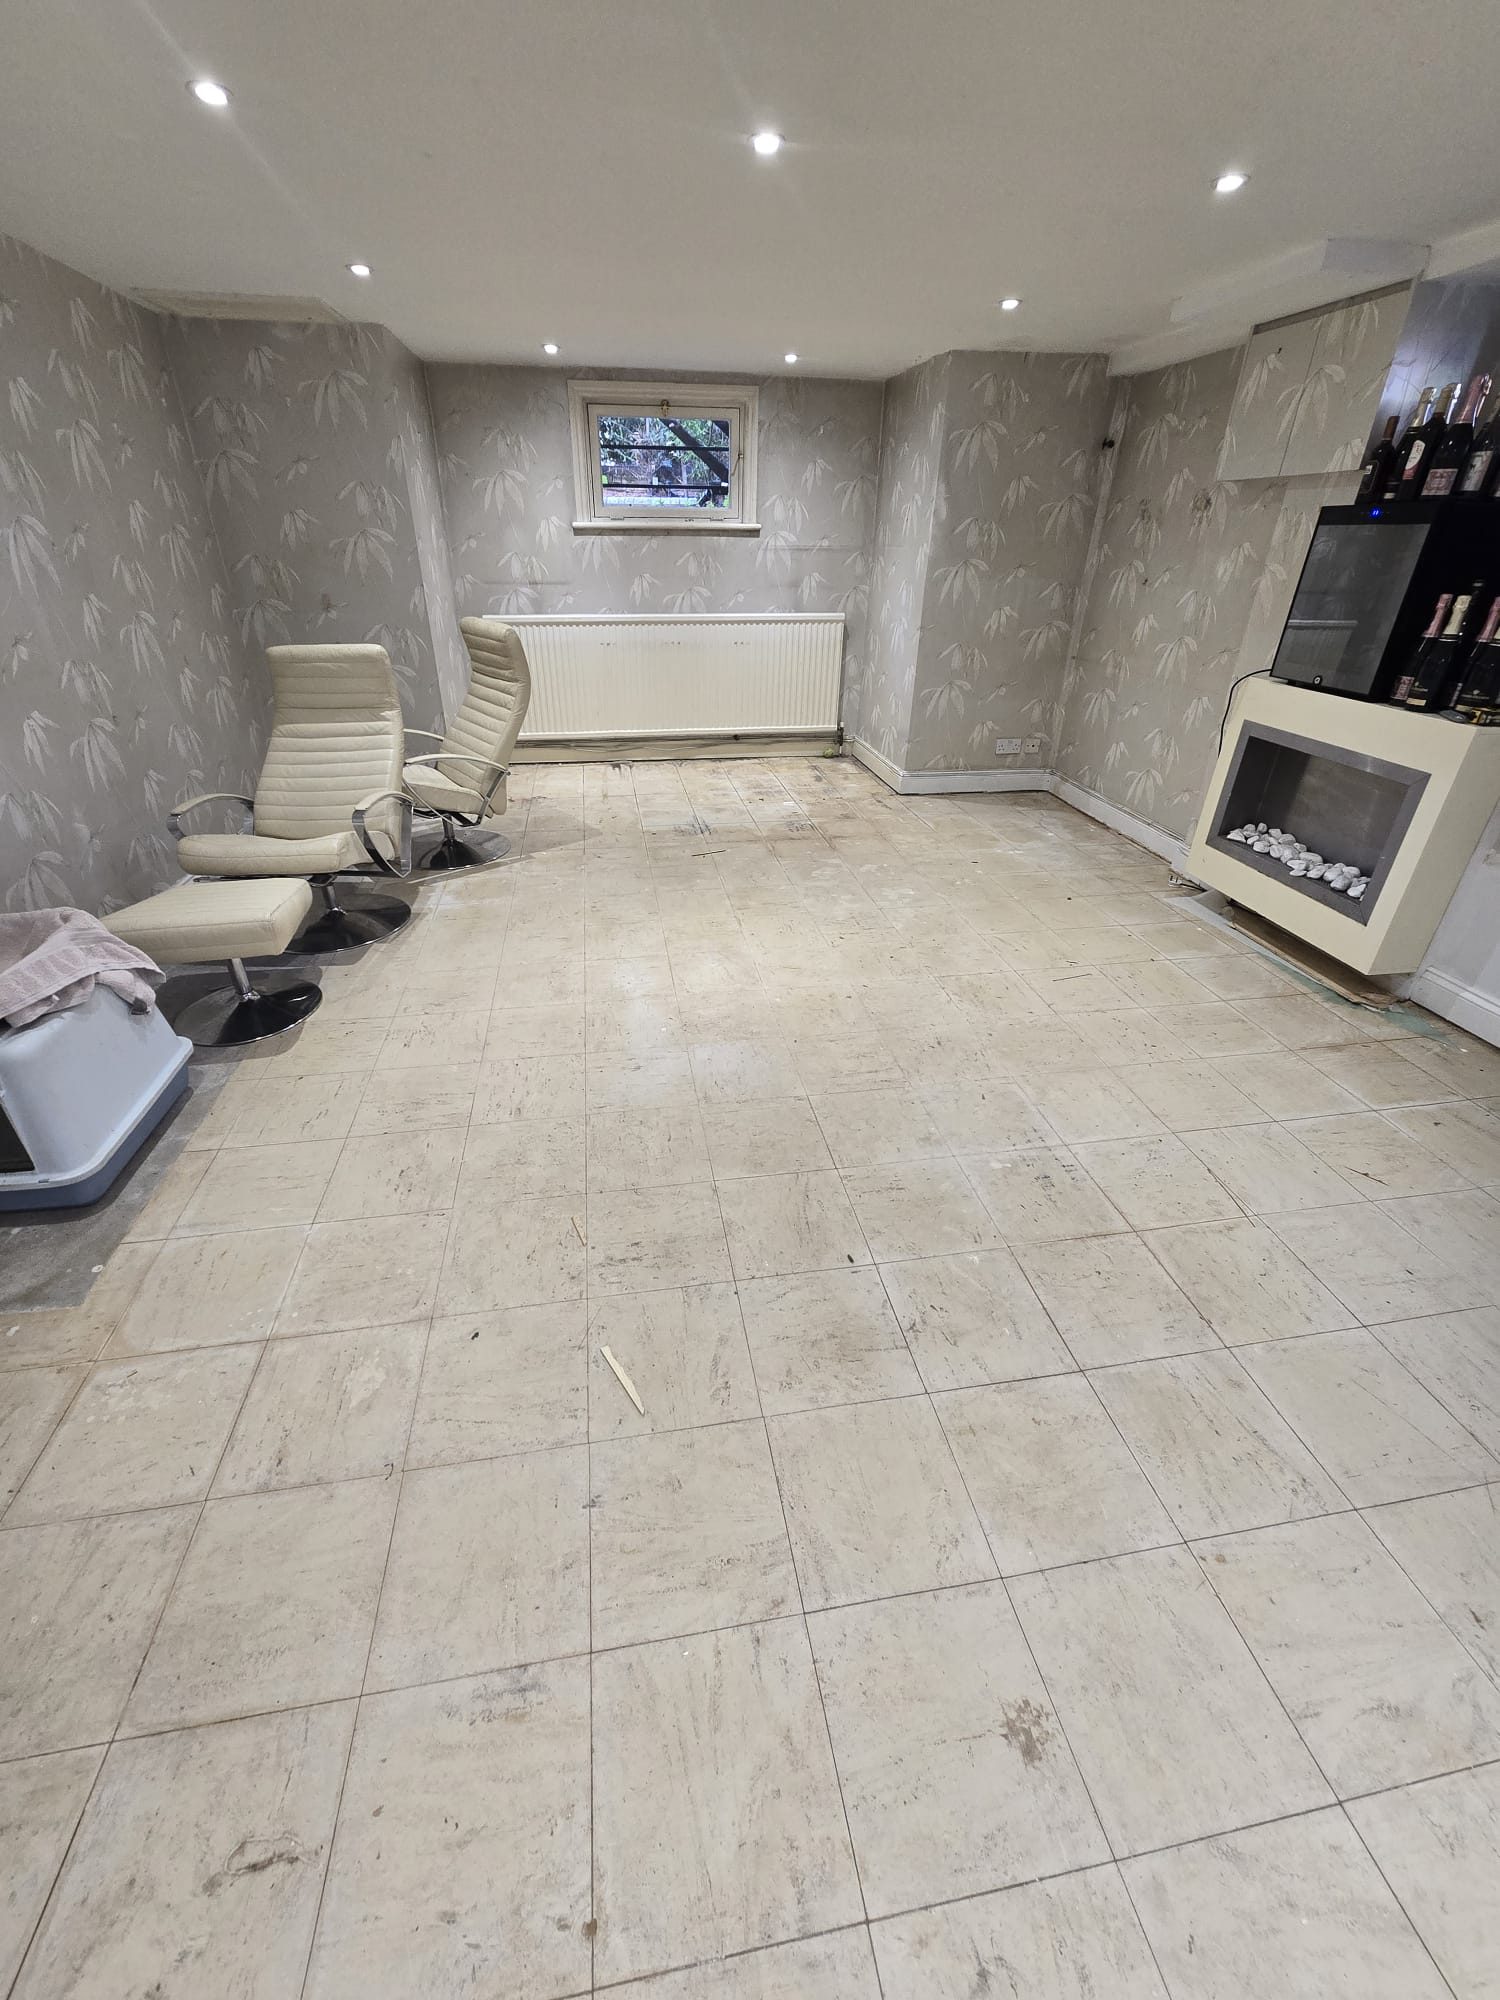
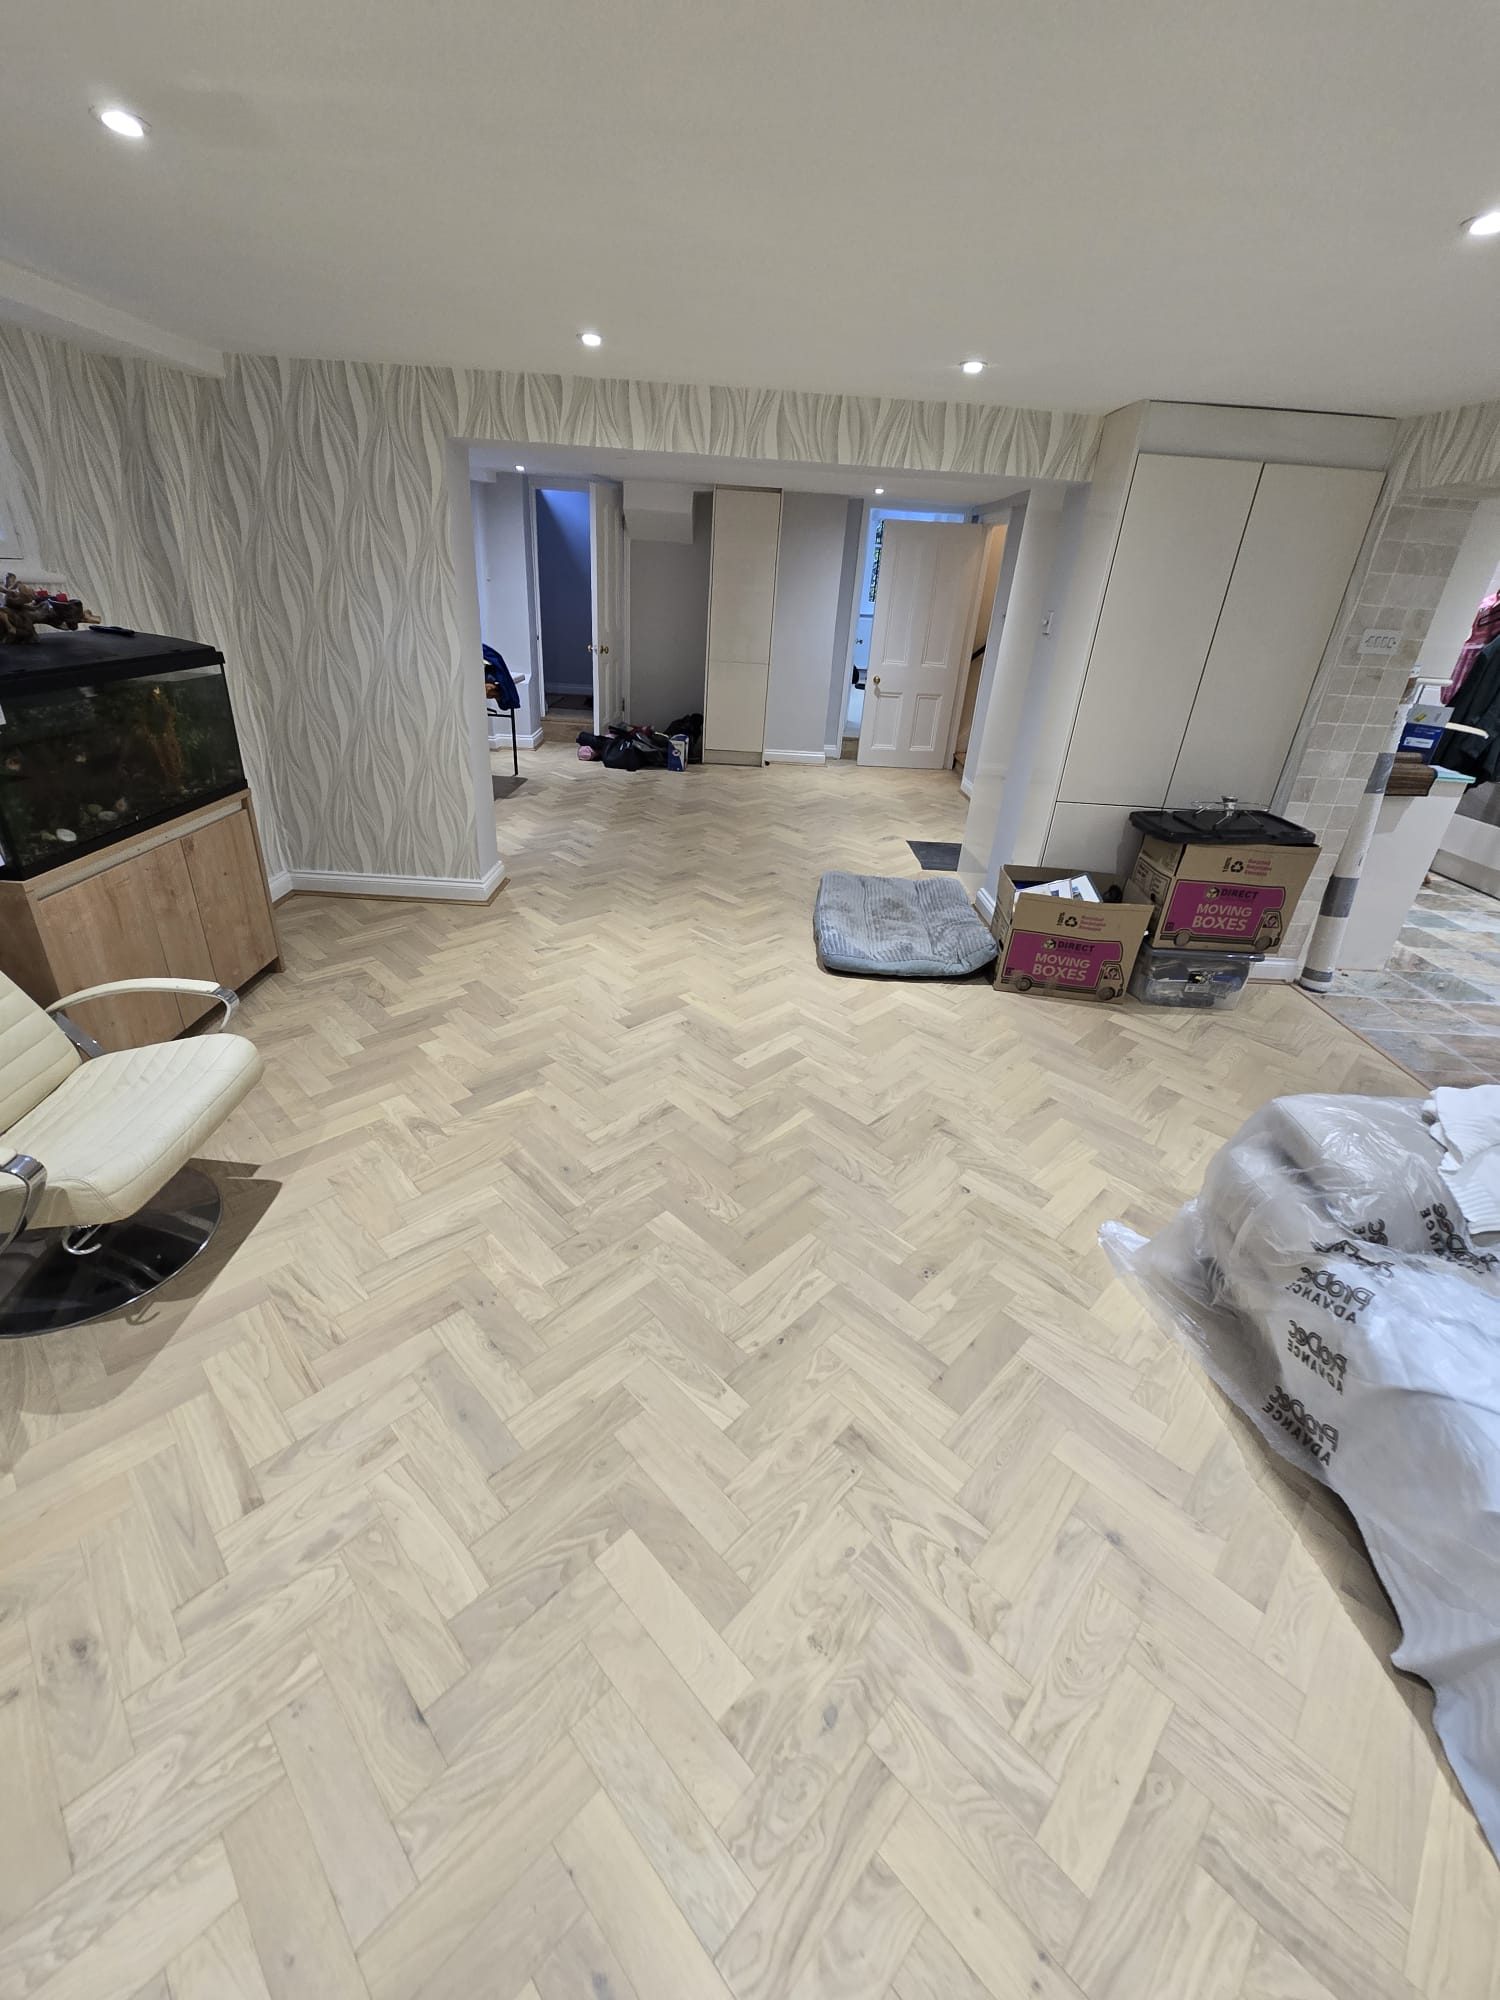
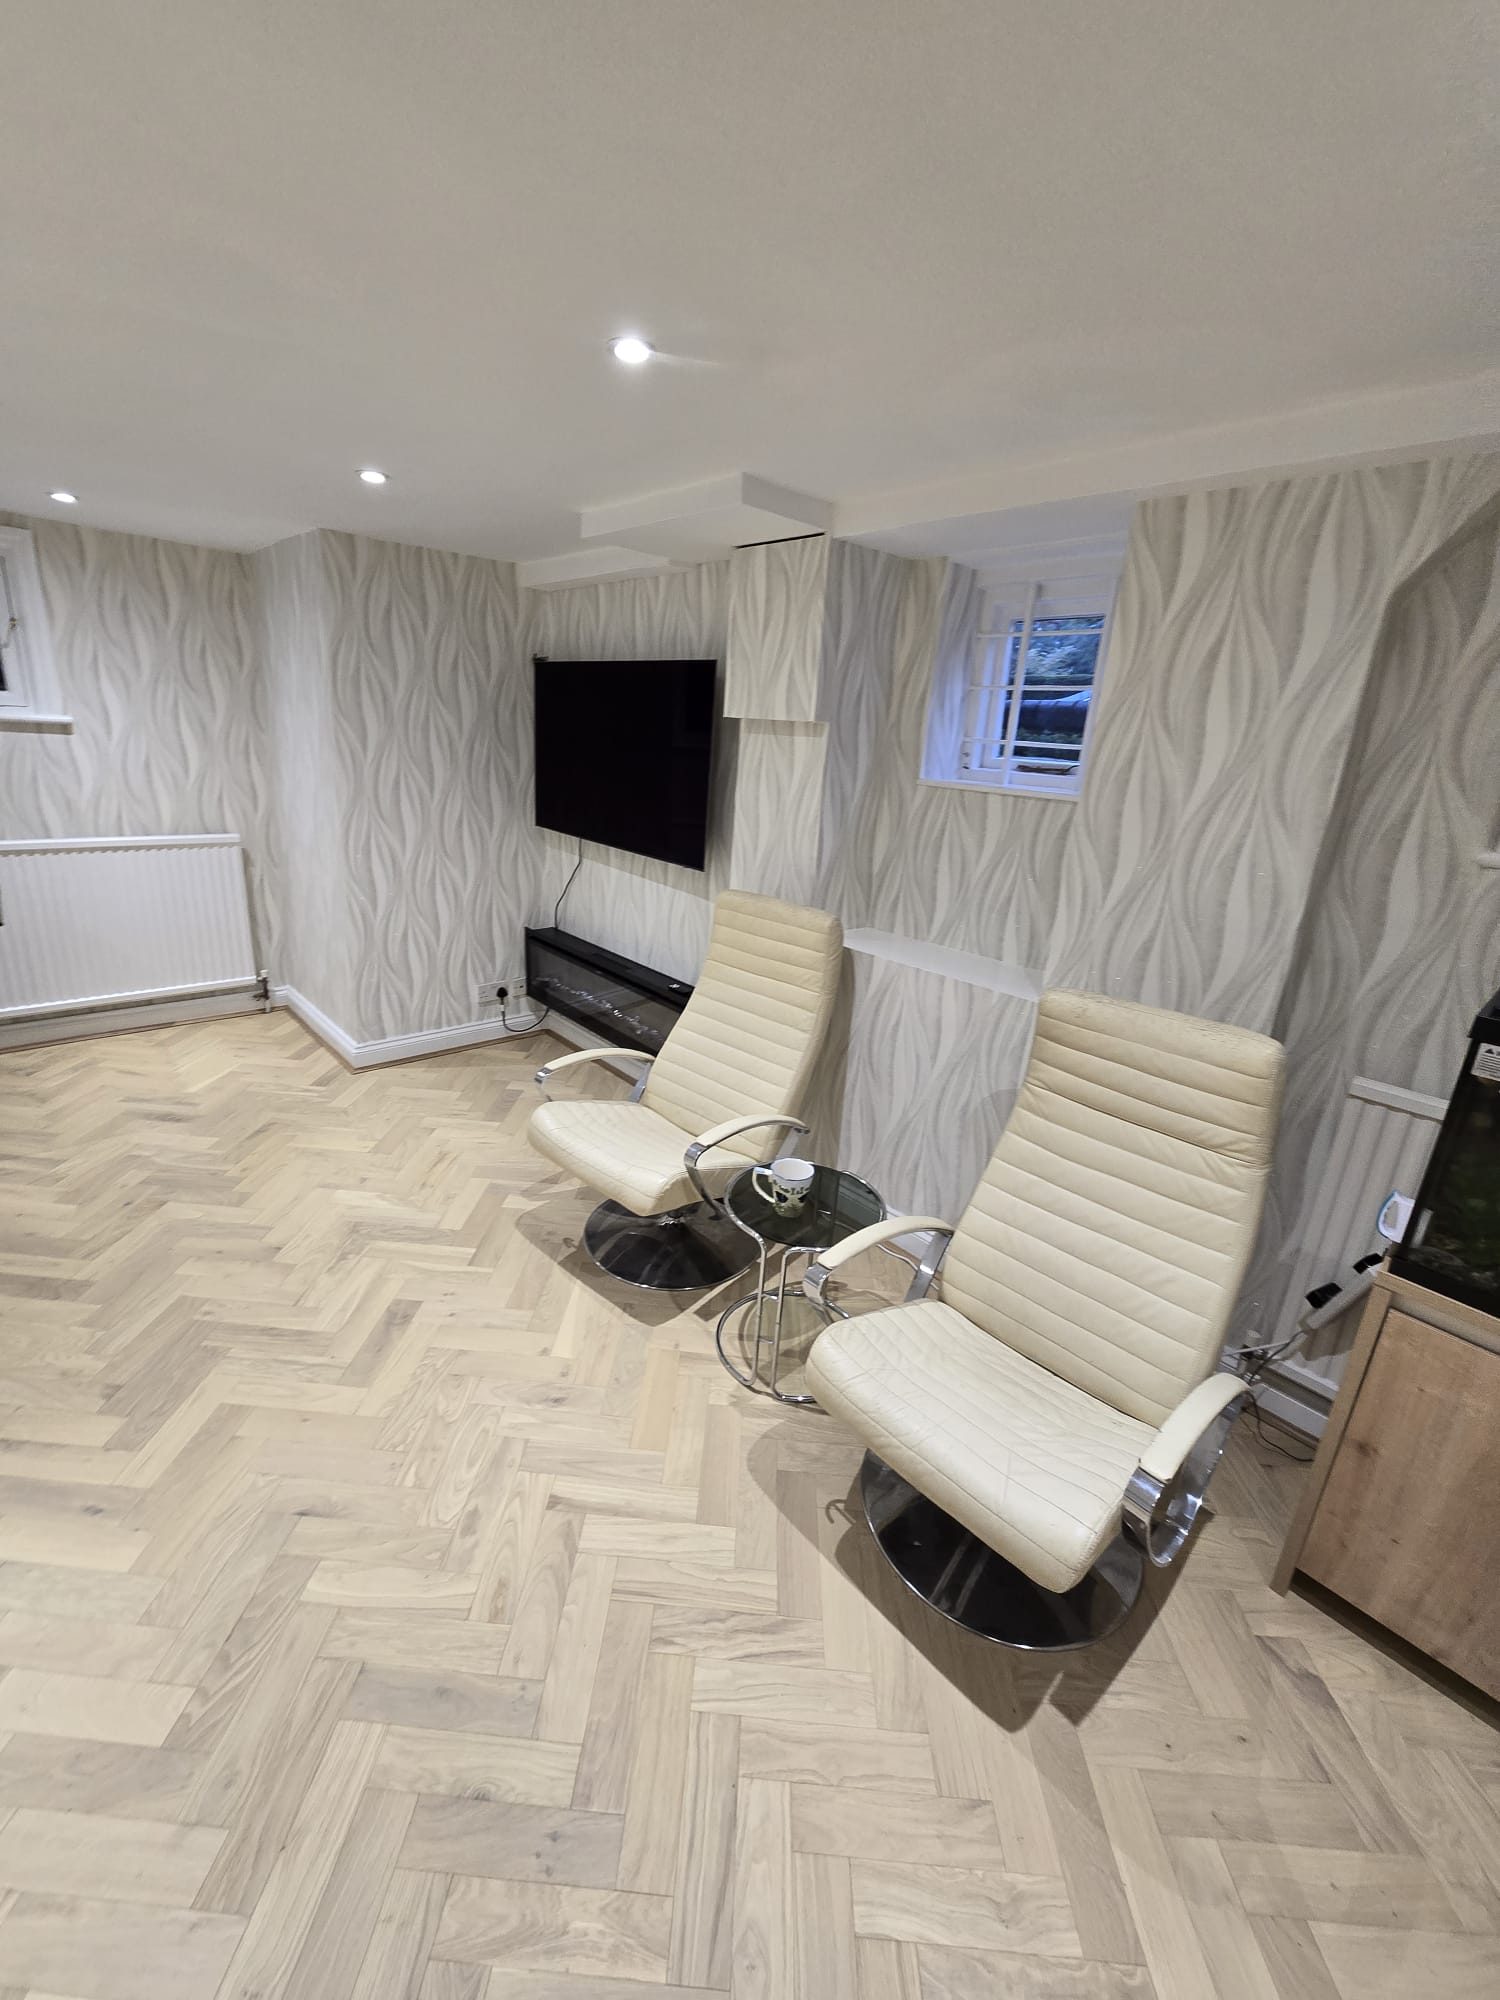
From tired flooring to a bright herringbone living space.
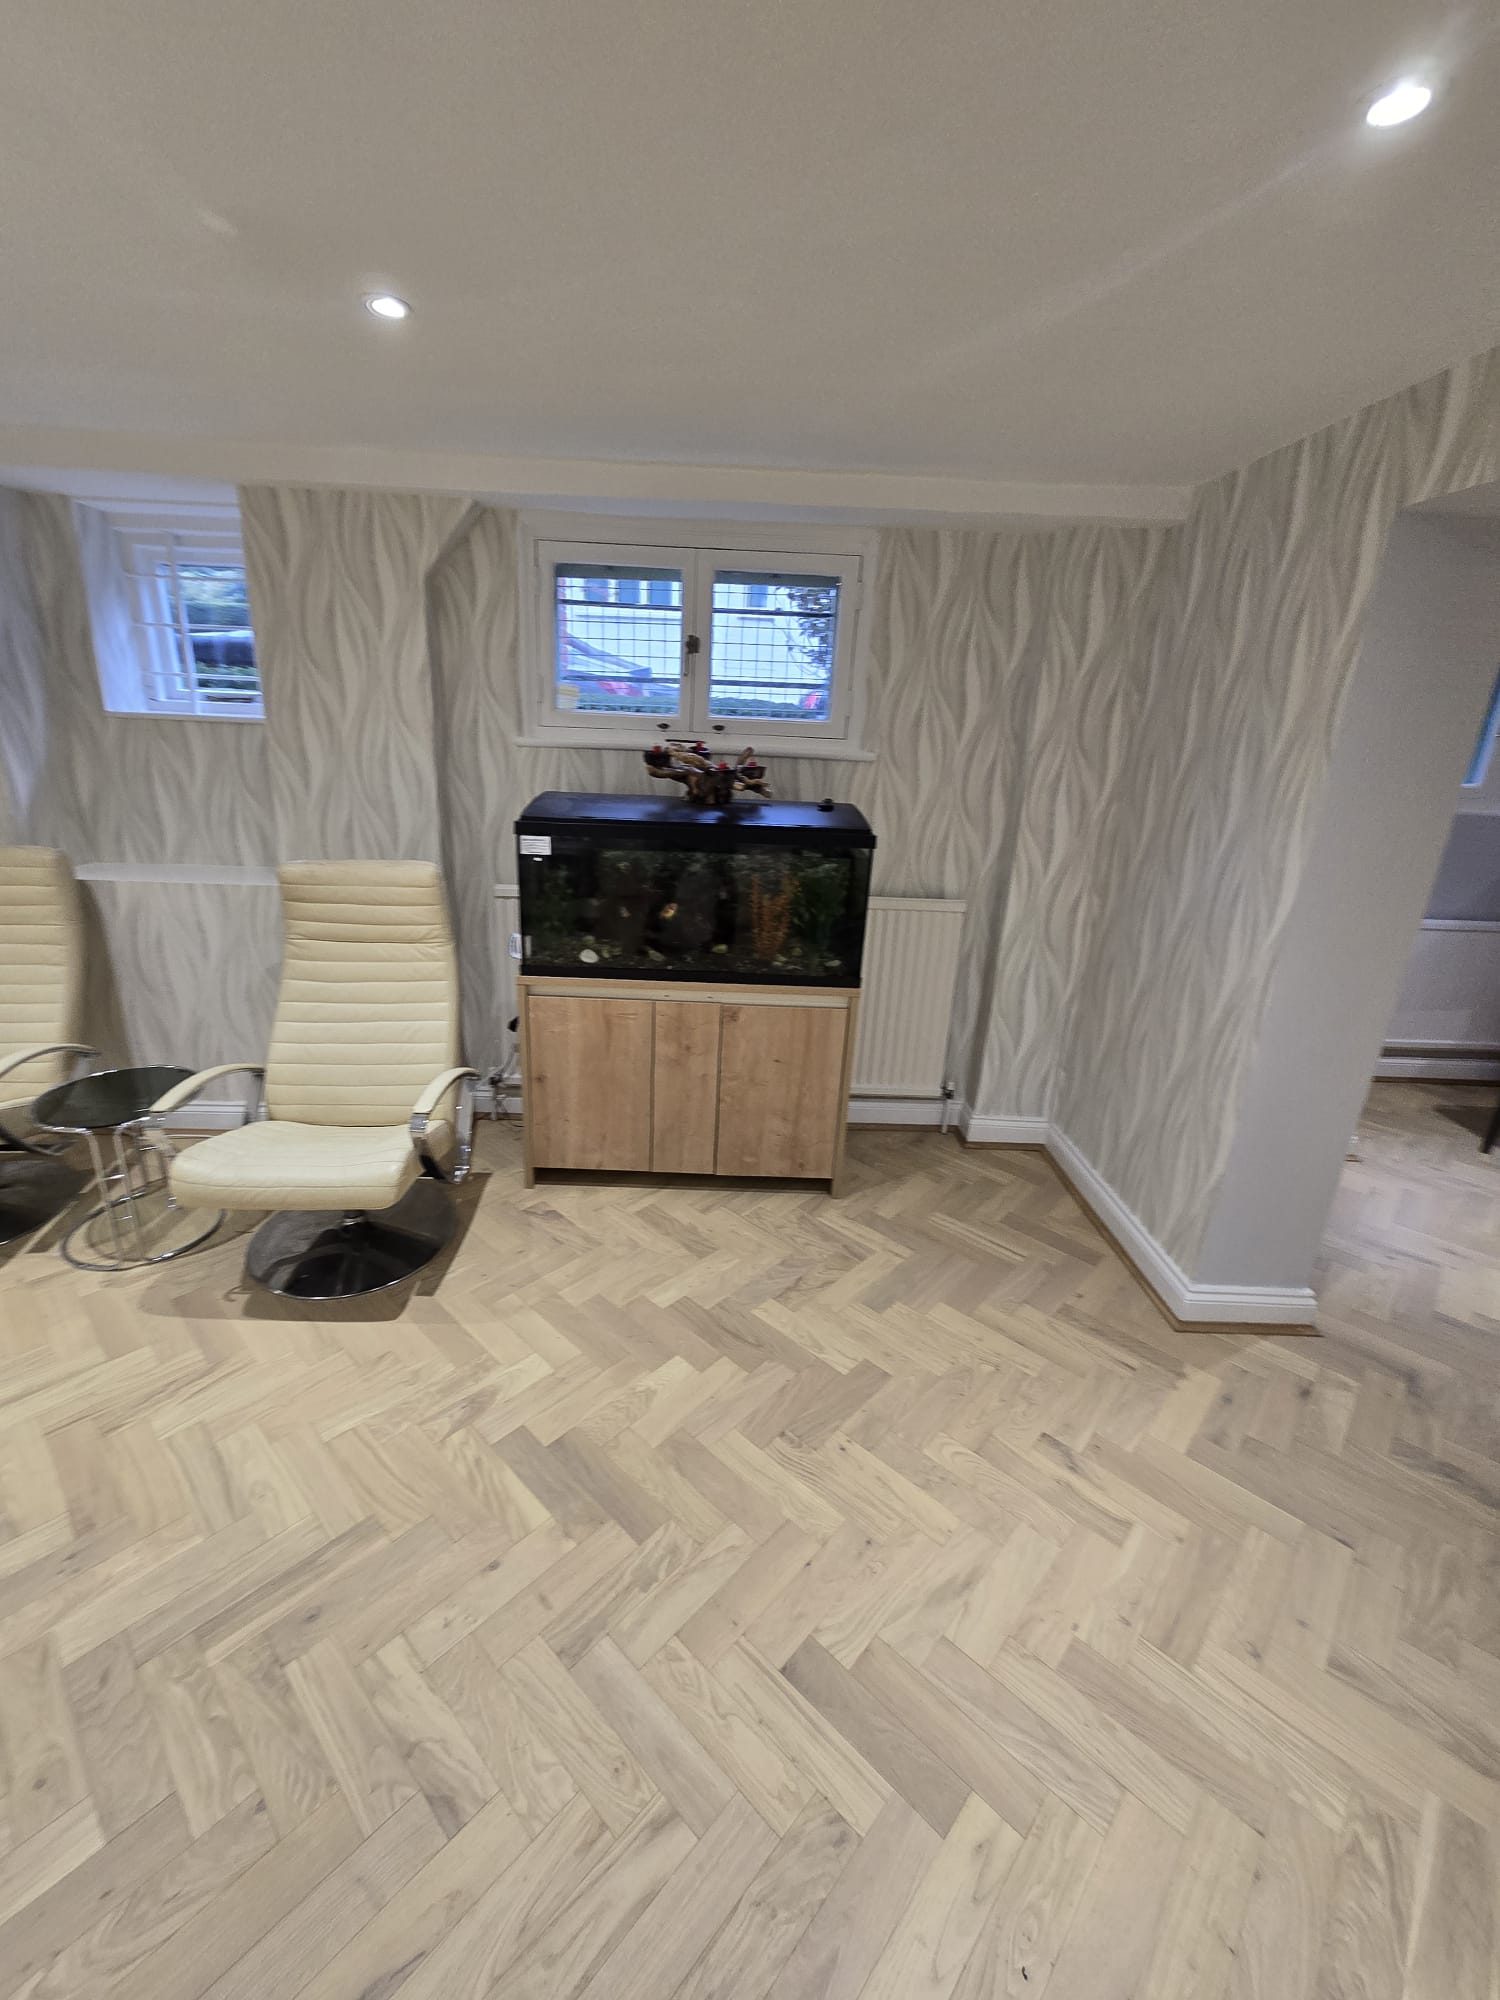
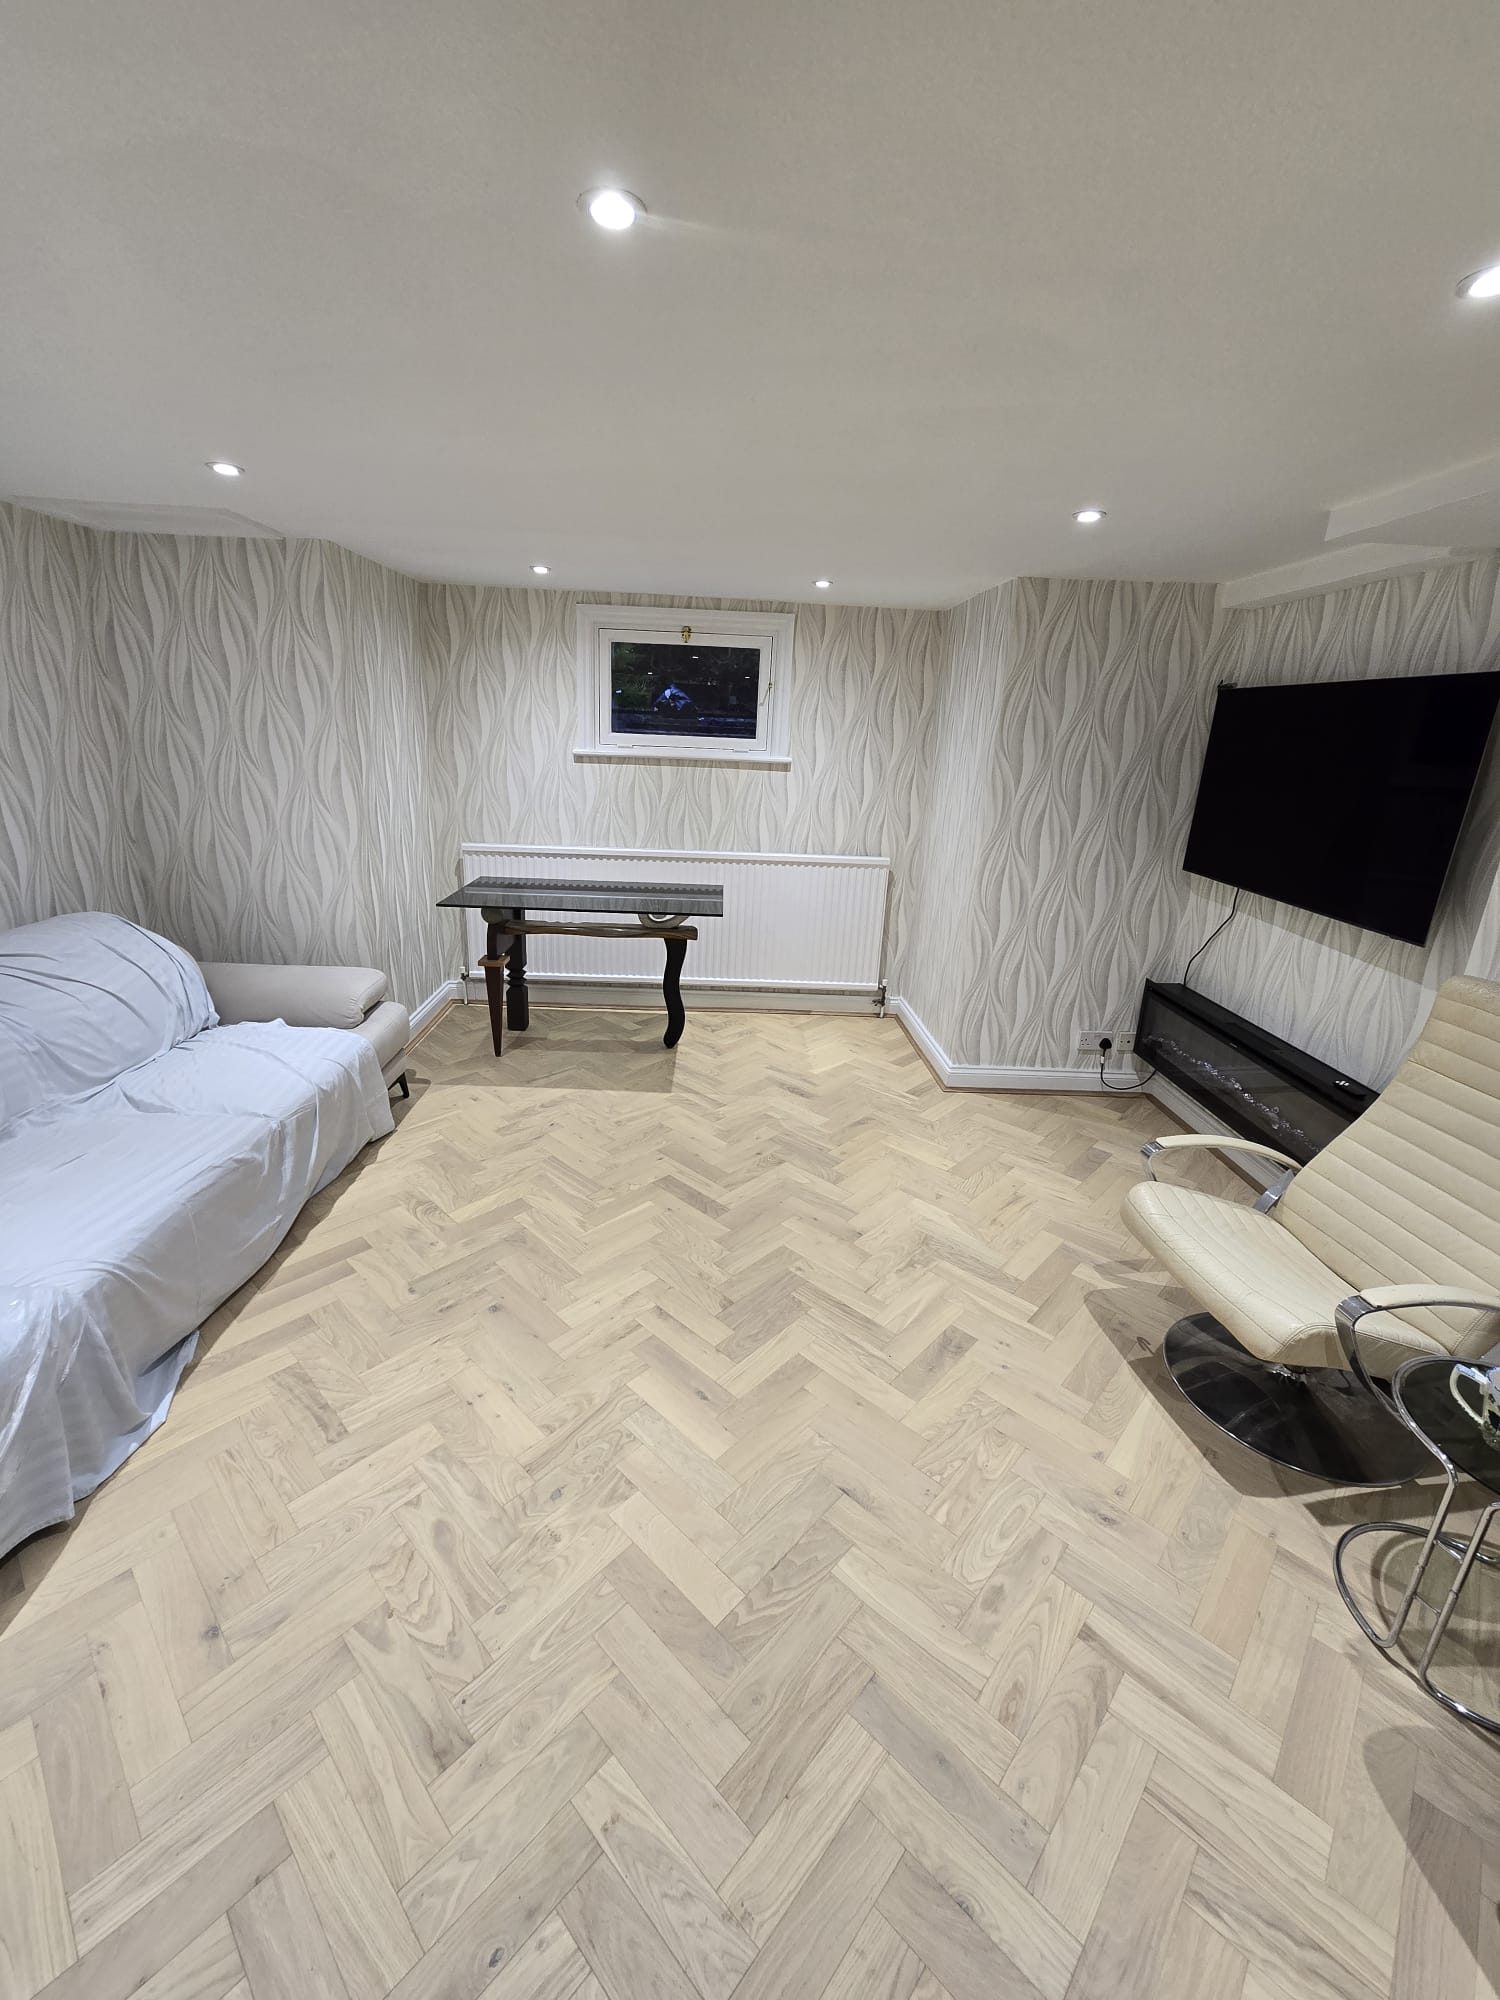
This living room and adjoining area were refreshed with the old flooring removed, the base prepared and a new light-oak herringbone floor installed throughout. The finished room combines the new flooring with clean white detailing, patterned wall finishes and a crisp, modern overall appearance.

 BEFOREAFTER